PowerProtect Data Manager 19.18 has been released and in this article I’ll go over the key new features within it – and take you through the update process.
New Features
Continuing language support enhancements, Data Manager agents can now also be used to protect data on Portuguese operating systems.
Path to Power is enhanced in this release to allow Data Manager to onboard and show information about Avamar servers, assets and backups – regardless of whether that came from Avamar or IDPA solutions. You can use Data Manager to find Avamar backup copies and launch directly into the Avamar restore UI.
There are a number of protection enhancements including:
- VMware Live Site Recovery (VLSR) – formerly known as SRM – can now be used with Transparent Snapshot Data Mover (TSDM) backup configurations. So that’s ultra high speed non-impact VMware image-based backups with SRM/VLSR integration. Brilliant!
- Staying on the topic of VMware for the moment, excluding VMDKs is now easier, with enhanced sorting, filtering and disk properties available for view when you’re in the disk exclusion dialog.
- Oracle backups get updated in this release as well to support backup and restore of pfile-mounted RMAN databases.
- A huge one for PowerMax users – Data Manager has now added support for backup and restore of local snapshots on PowerMax storage arrays! Great for achieving high speed backup of your most mission-critical workloads.
Another big enhancement with Data Manager 19.18 is the release to tech preview of PowerProtect Data Manager Anomaly Detection, which can be used to generate reports about unusual patterns based on inspection of backup metadata – unusual patterns that may indicate a security problem within your environment. This supplements the second-to-none Cyber Vaulting capability you can deploy by providing security highlights from your production backup environment.
Staying with the topic of security, the Data Manager root CA can now be replaced with an intermediate CA at any time, rather than just during new deployments.
Update Process
Now I’ve covered the big-ticket update items, let’s have a look at that update process.
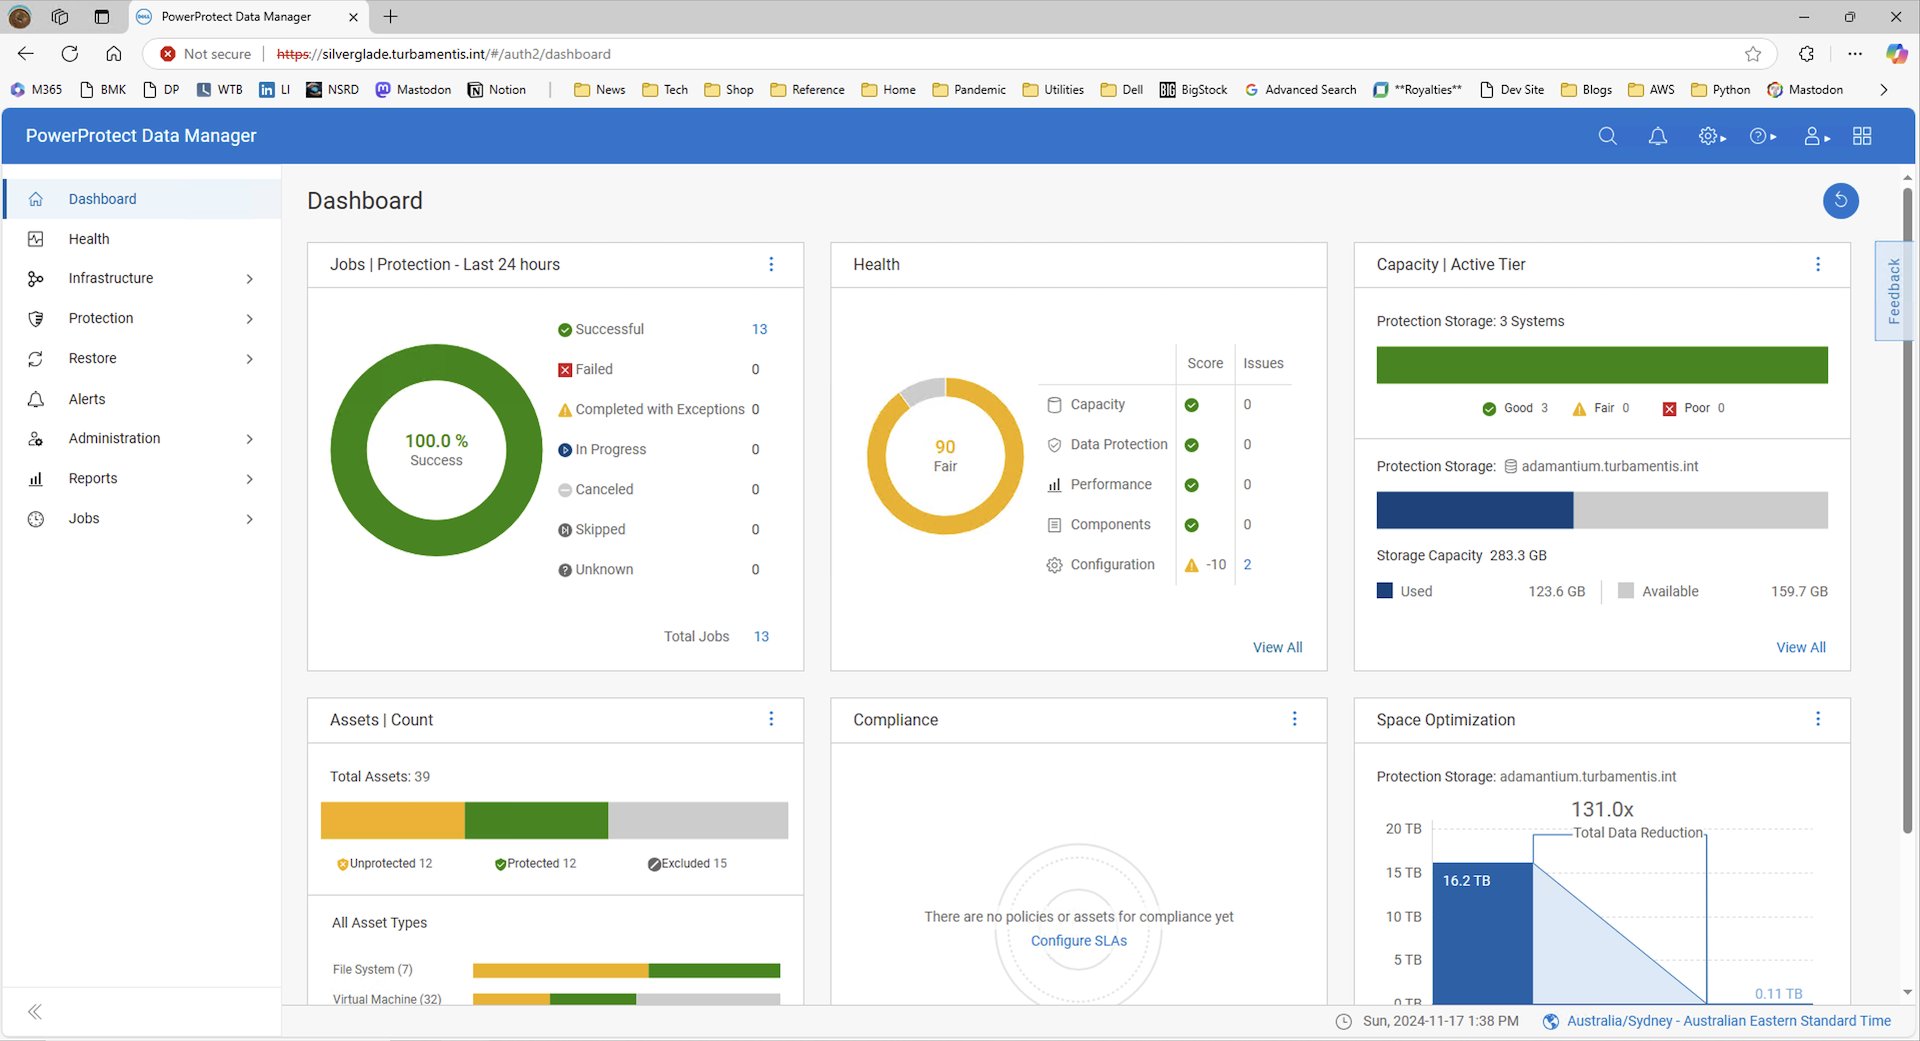
Logging into Data Manager, the next step is to go to the gear/system menu in the mast-head and choose software update:
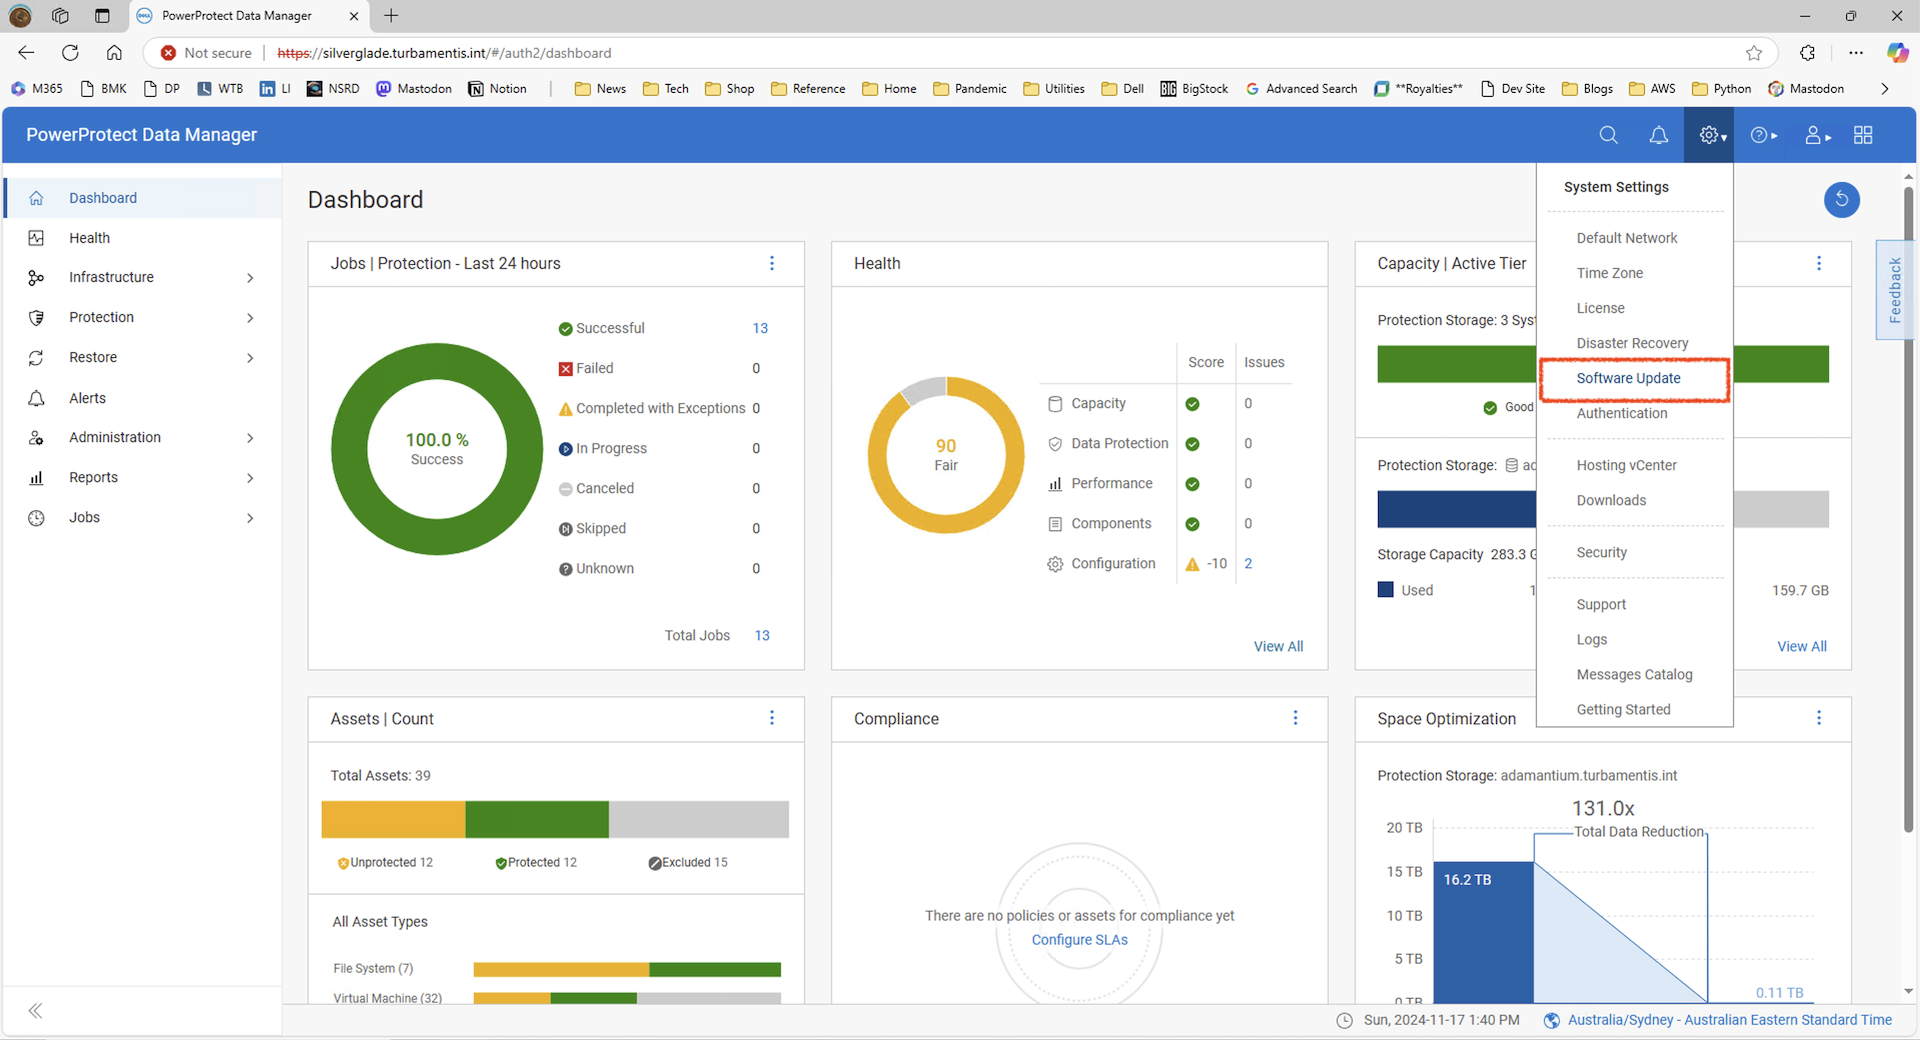
This will launch the software update dialog:
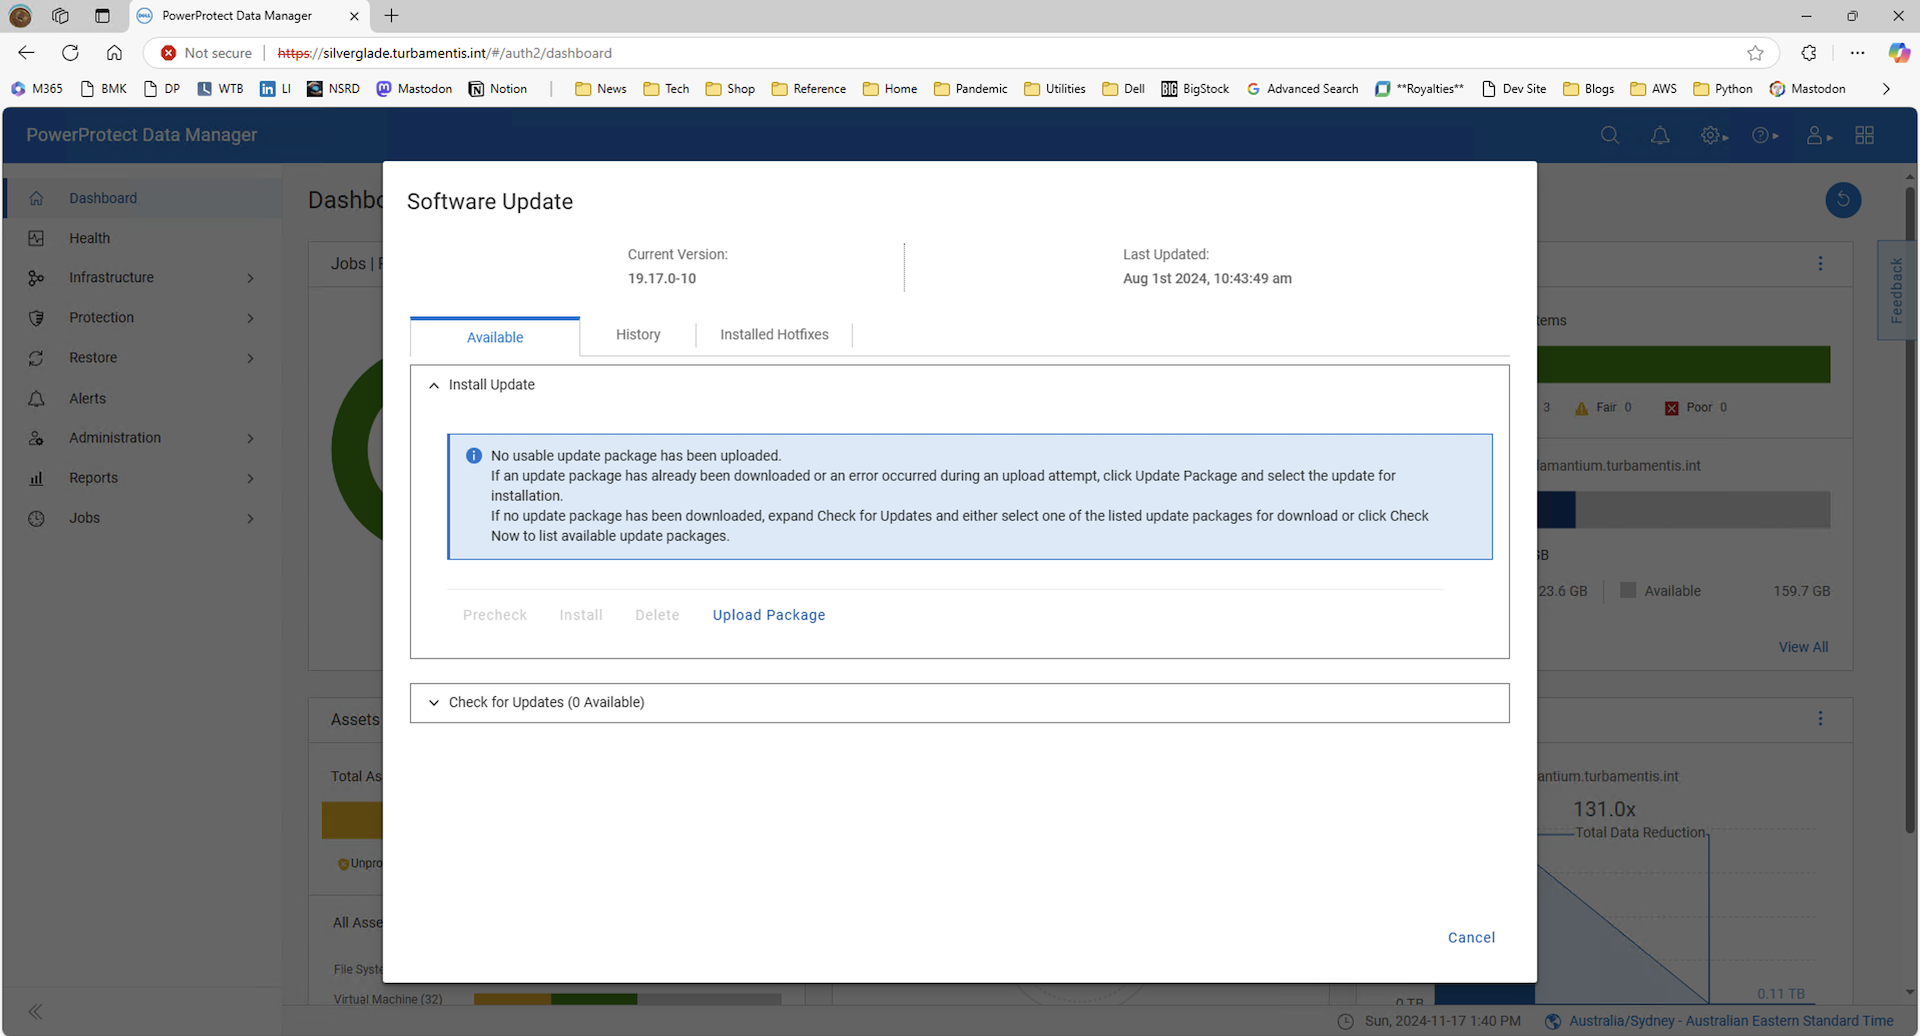
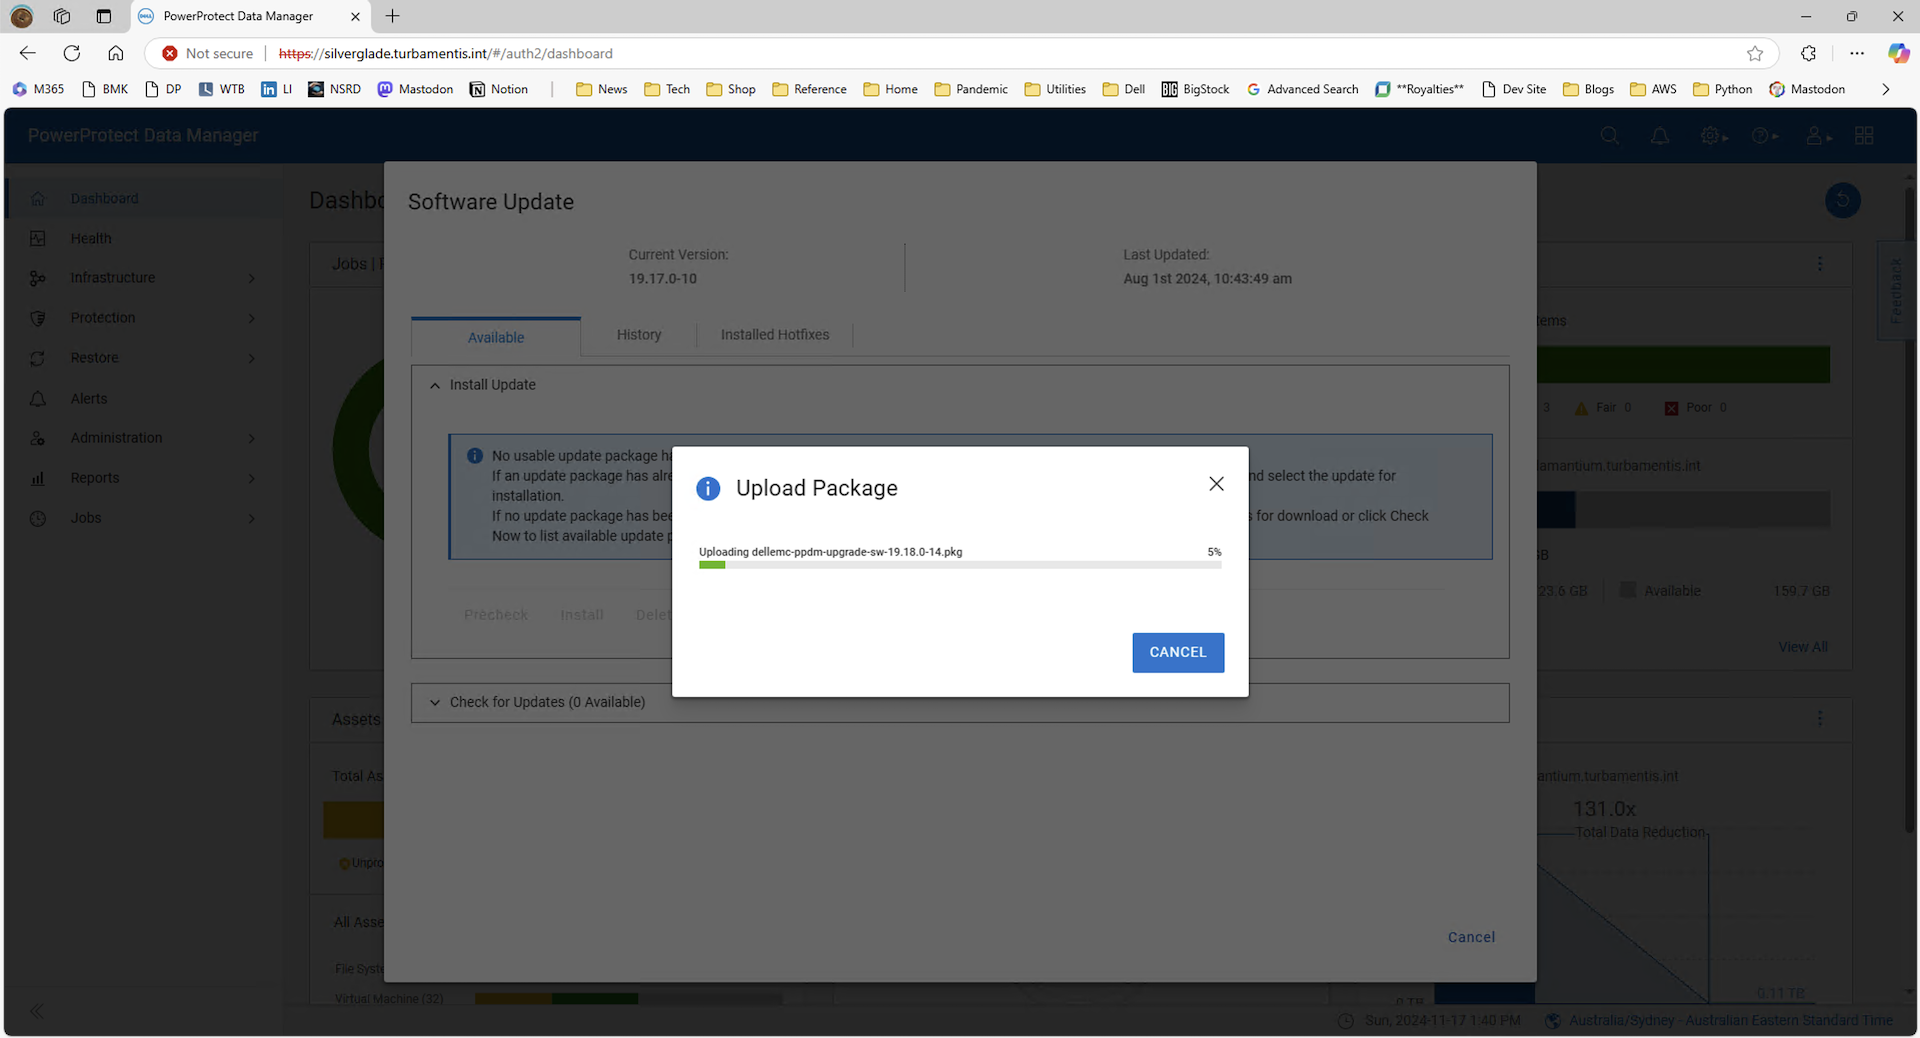
Because my system is just a lab server, it’s not connected to the SupportAssist back-end, so I had already downloaded the update package – meaning the next step was to click the Upload Package link and supply the updater:
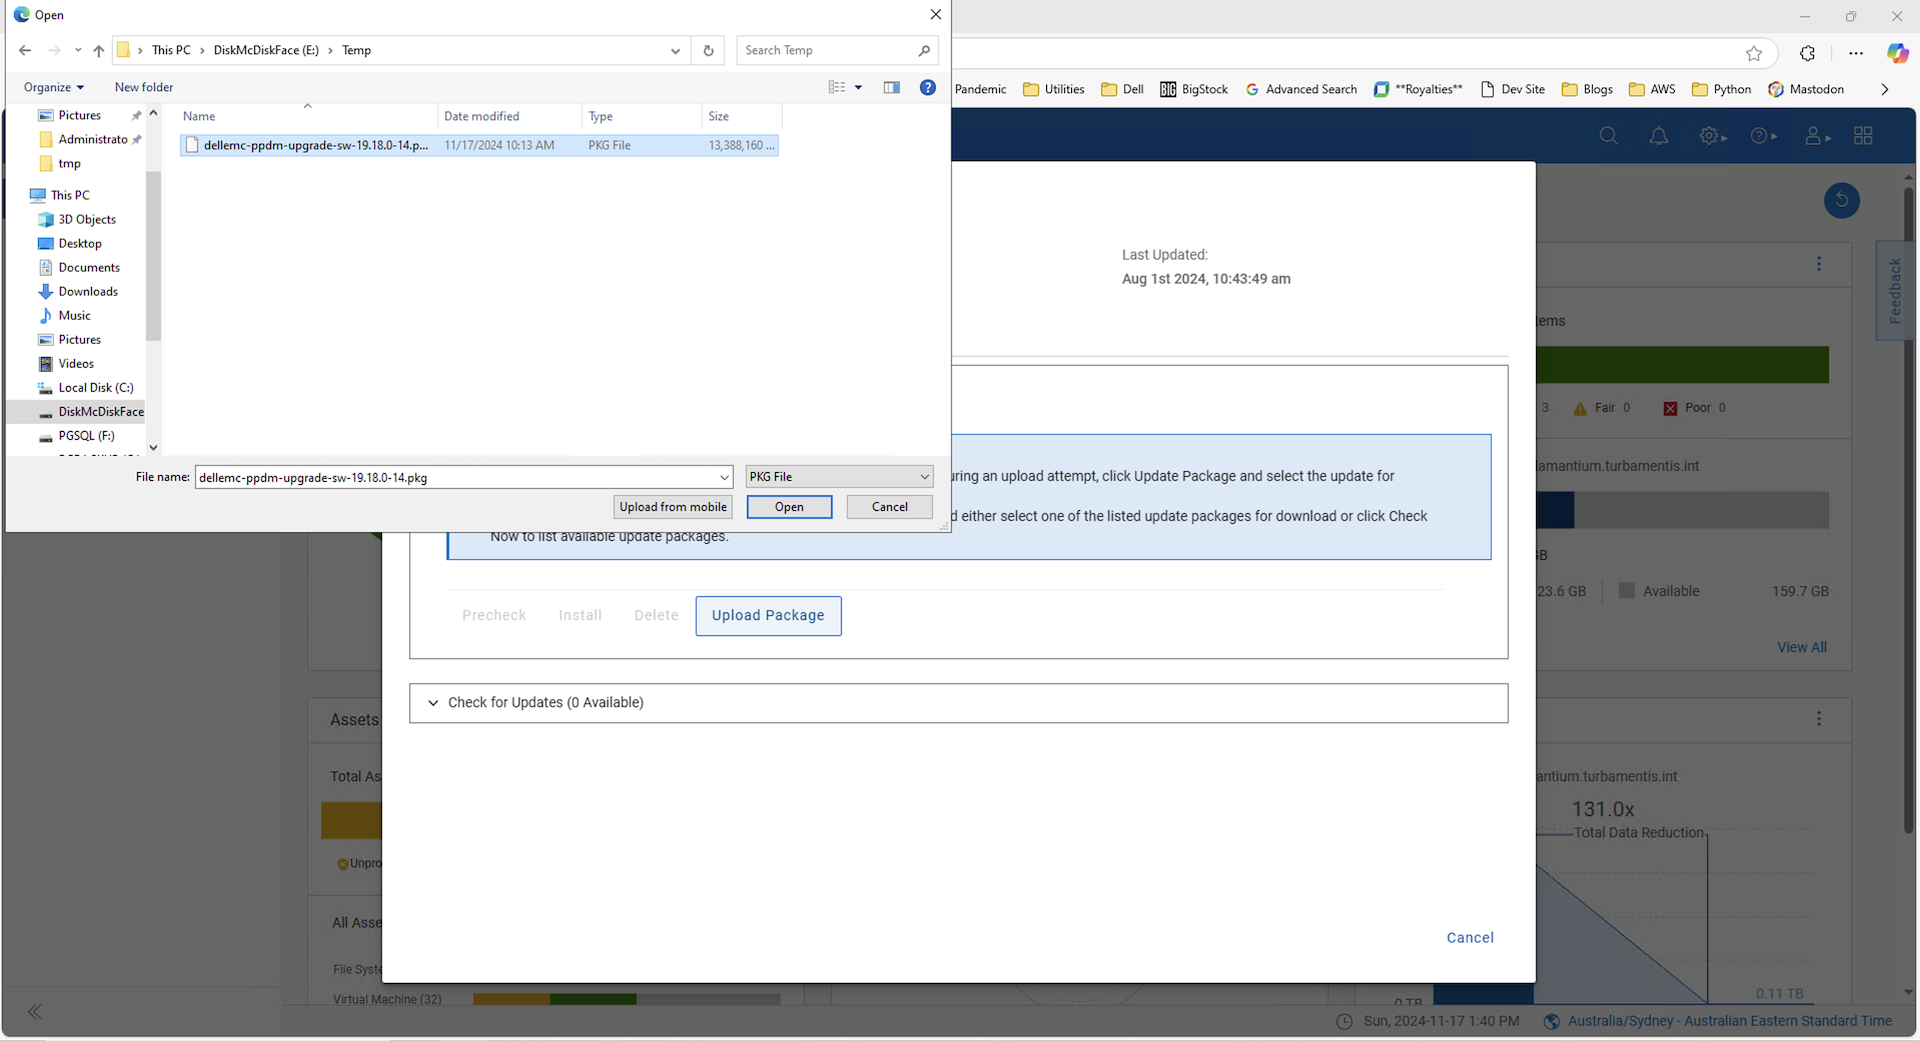
This will transfer the update package to the Data Manager appliance:
Once the package has transferred, Data Manager will verify and process the package, getting it ready for use:
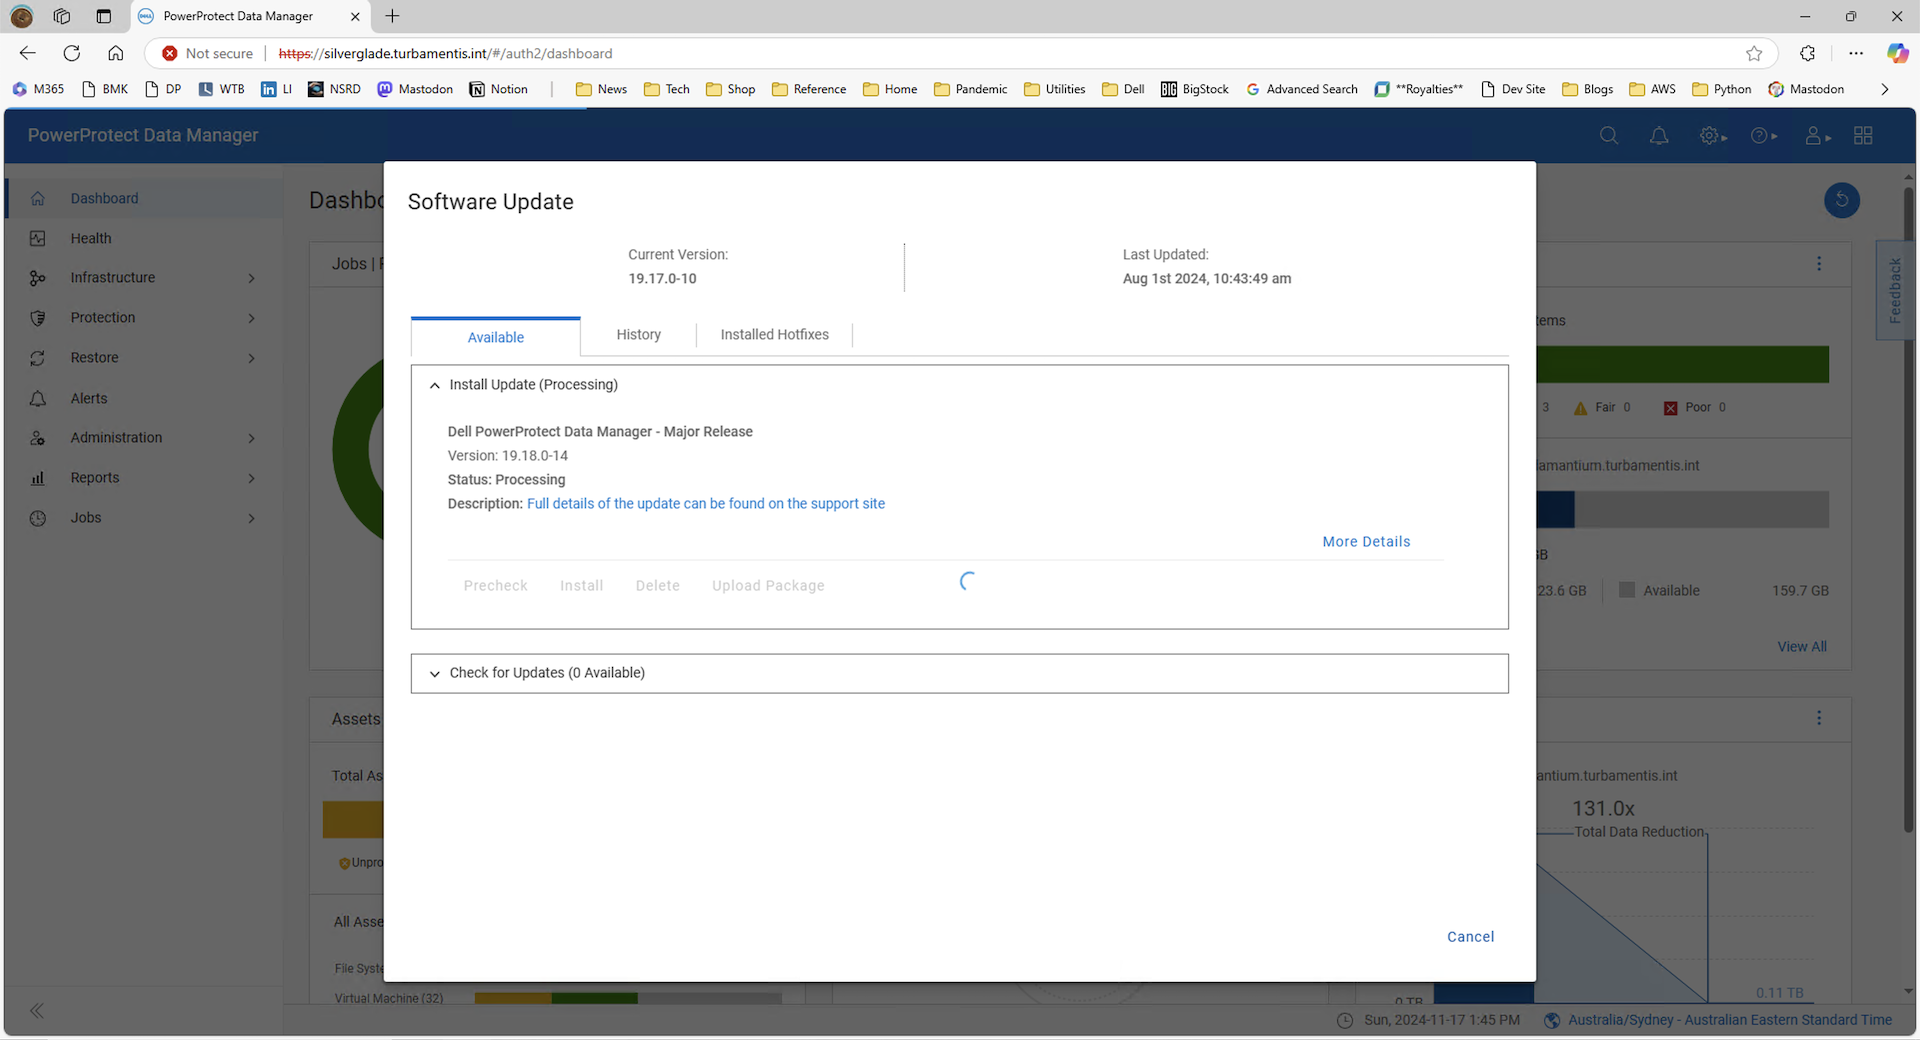
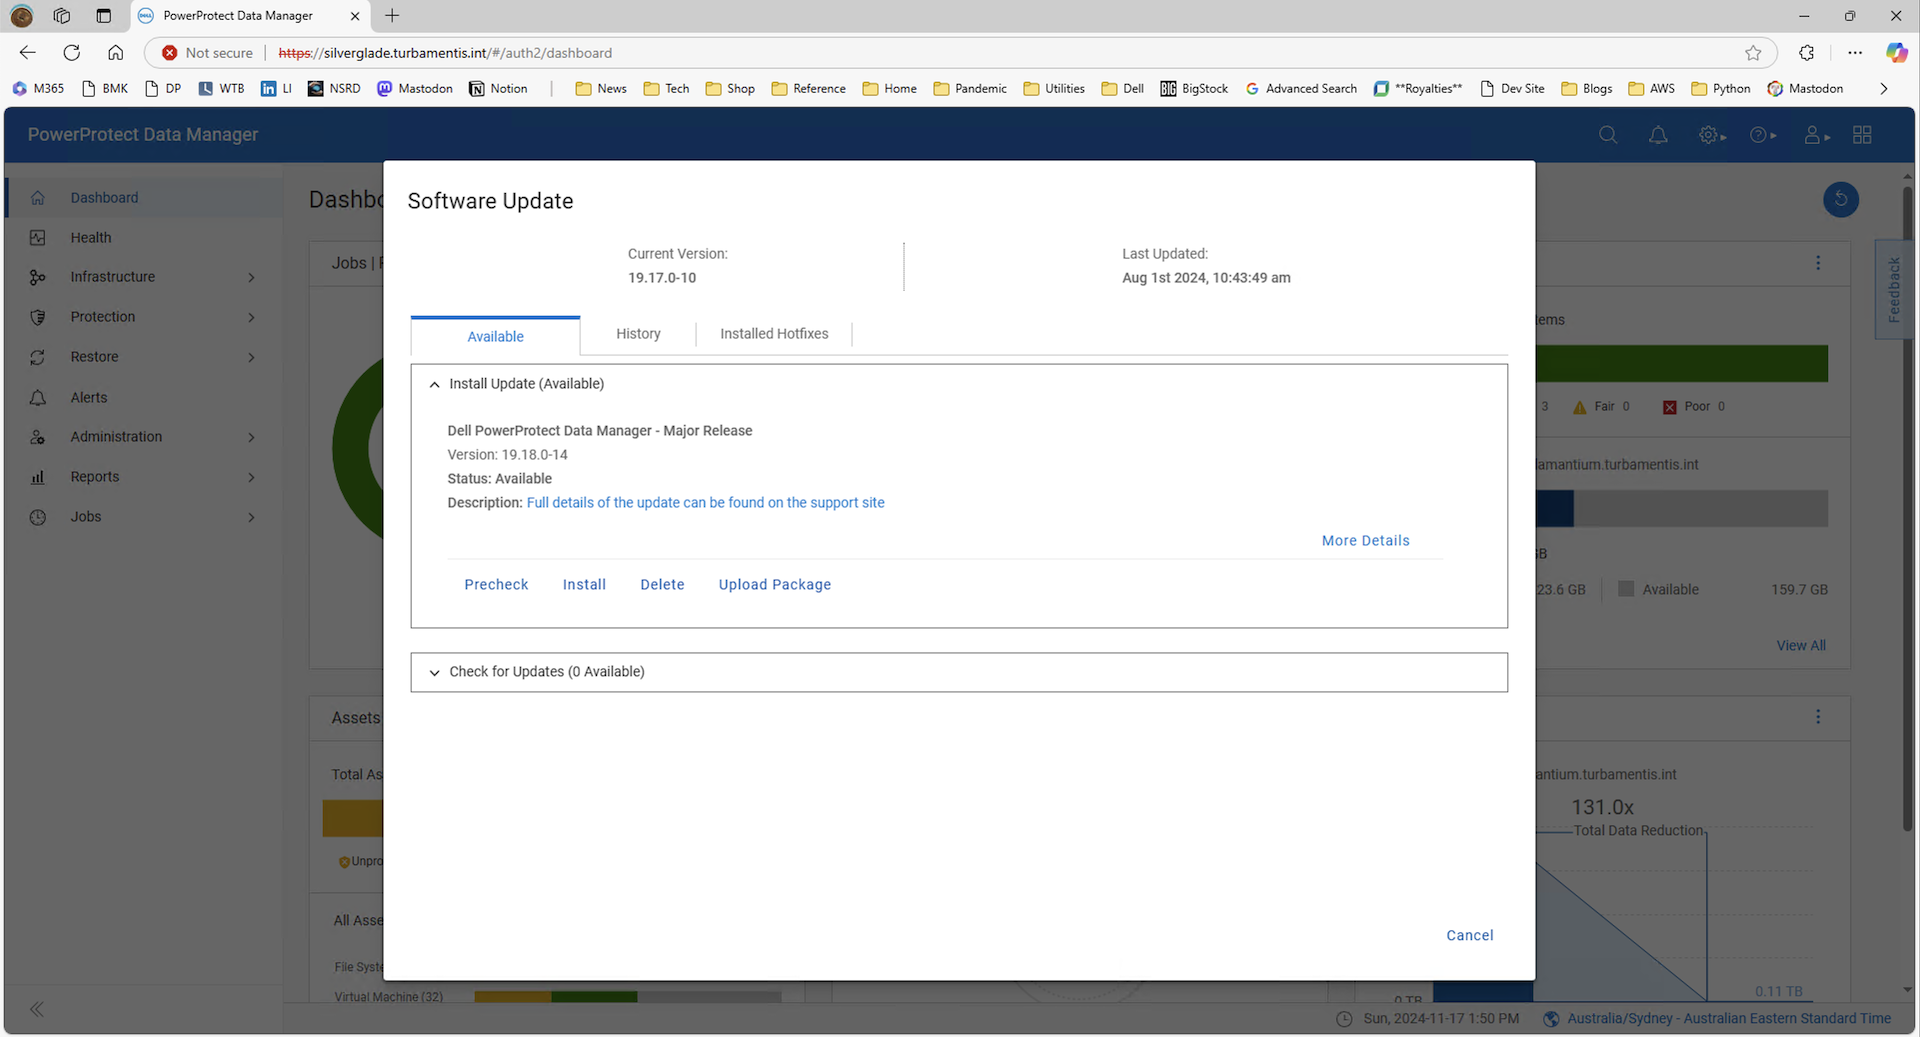
When the package has finished processing and is ready for use, you can click Precheck to run an independent Precheck, or Install to run a Precheck + Install operation. I started with just the precheck.
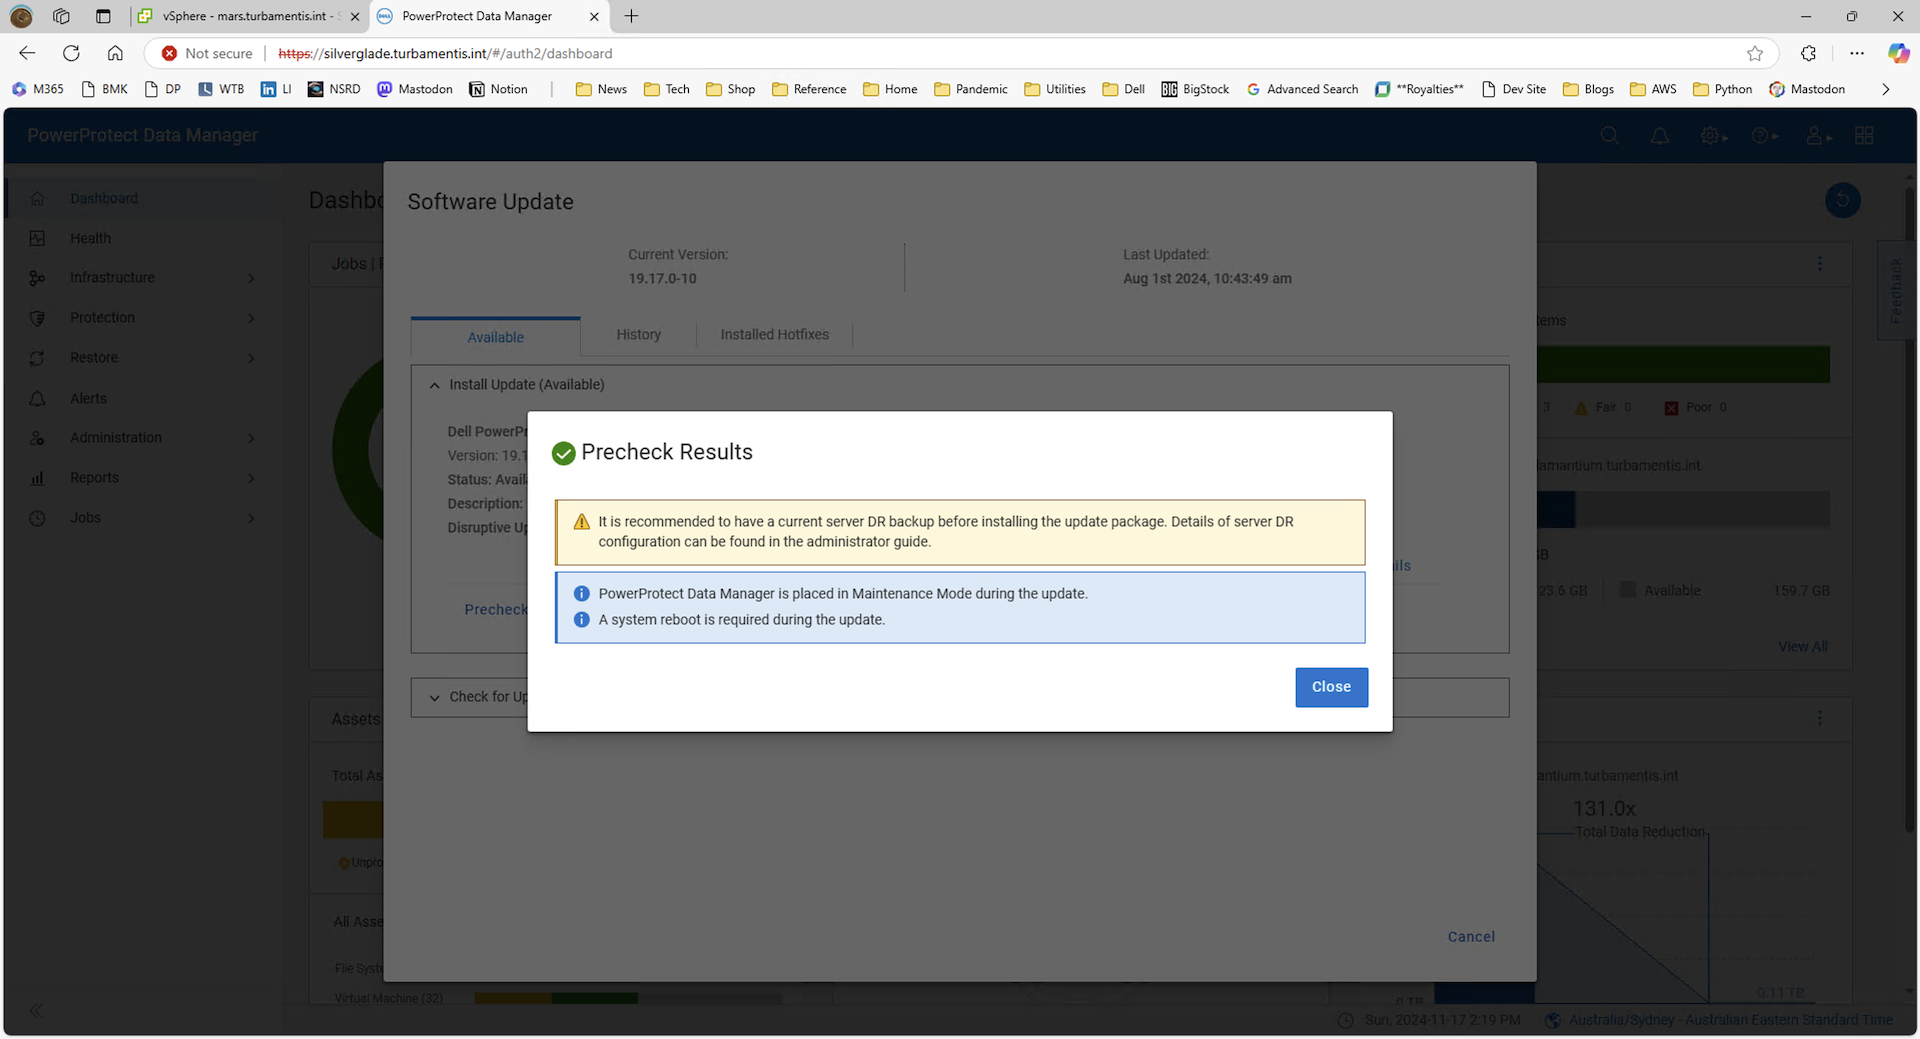
When the precheck completes, you should get a notification of any actions you need to take prior to updating/a status that it’s OK to continue:
Since the precheck was looking good for me, I proceeded with the Install option:
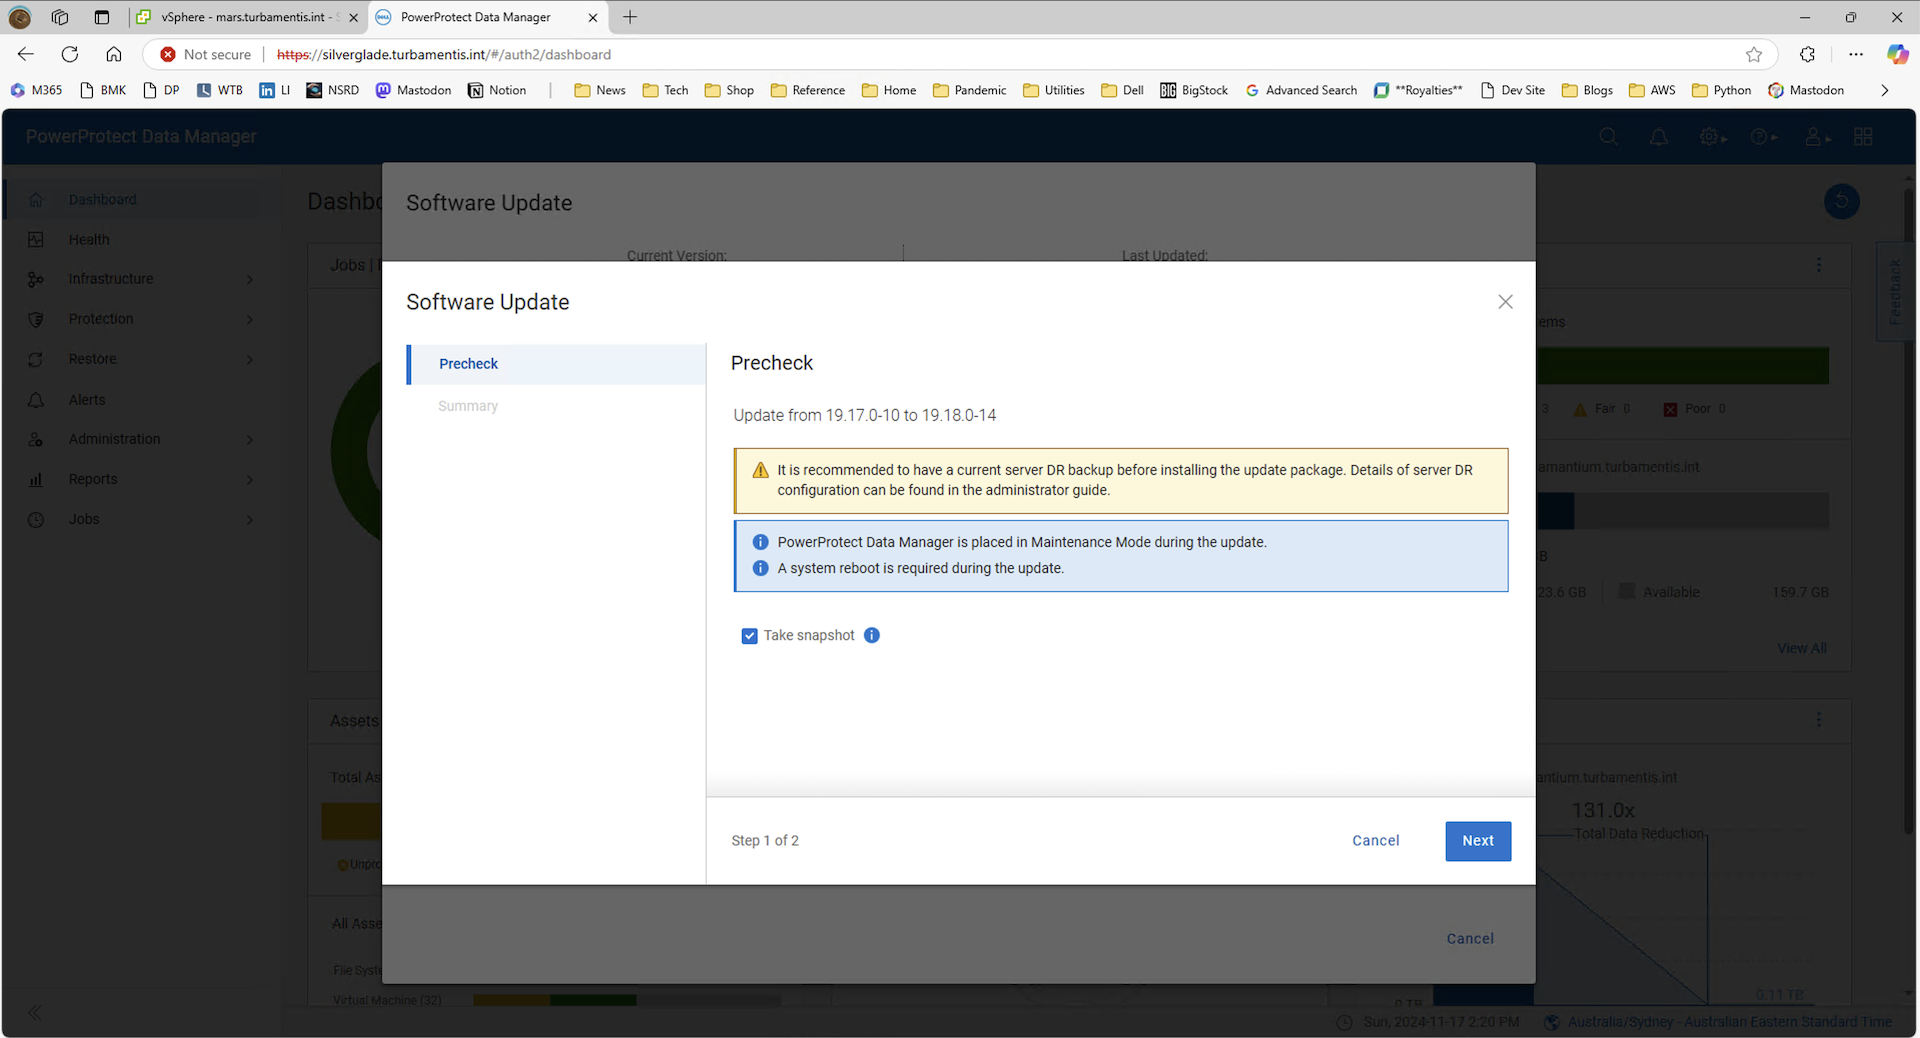
The snapshot option allows Data Manager to take a snapshot of itself prior to the update using VMware tools, making roll-back a synch – definitely leave that enabled. Click next to continue:
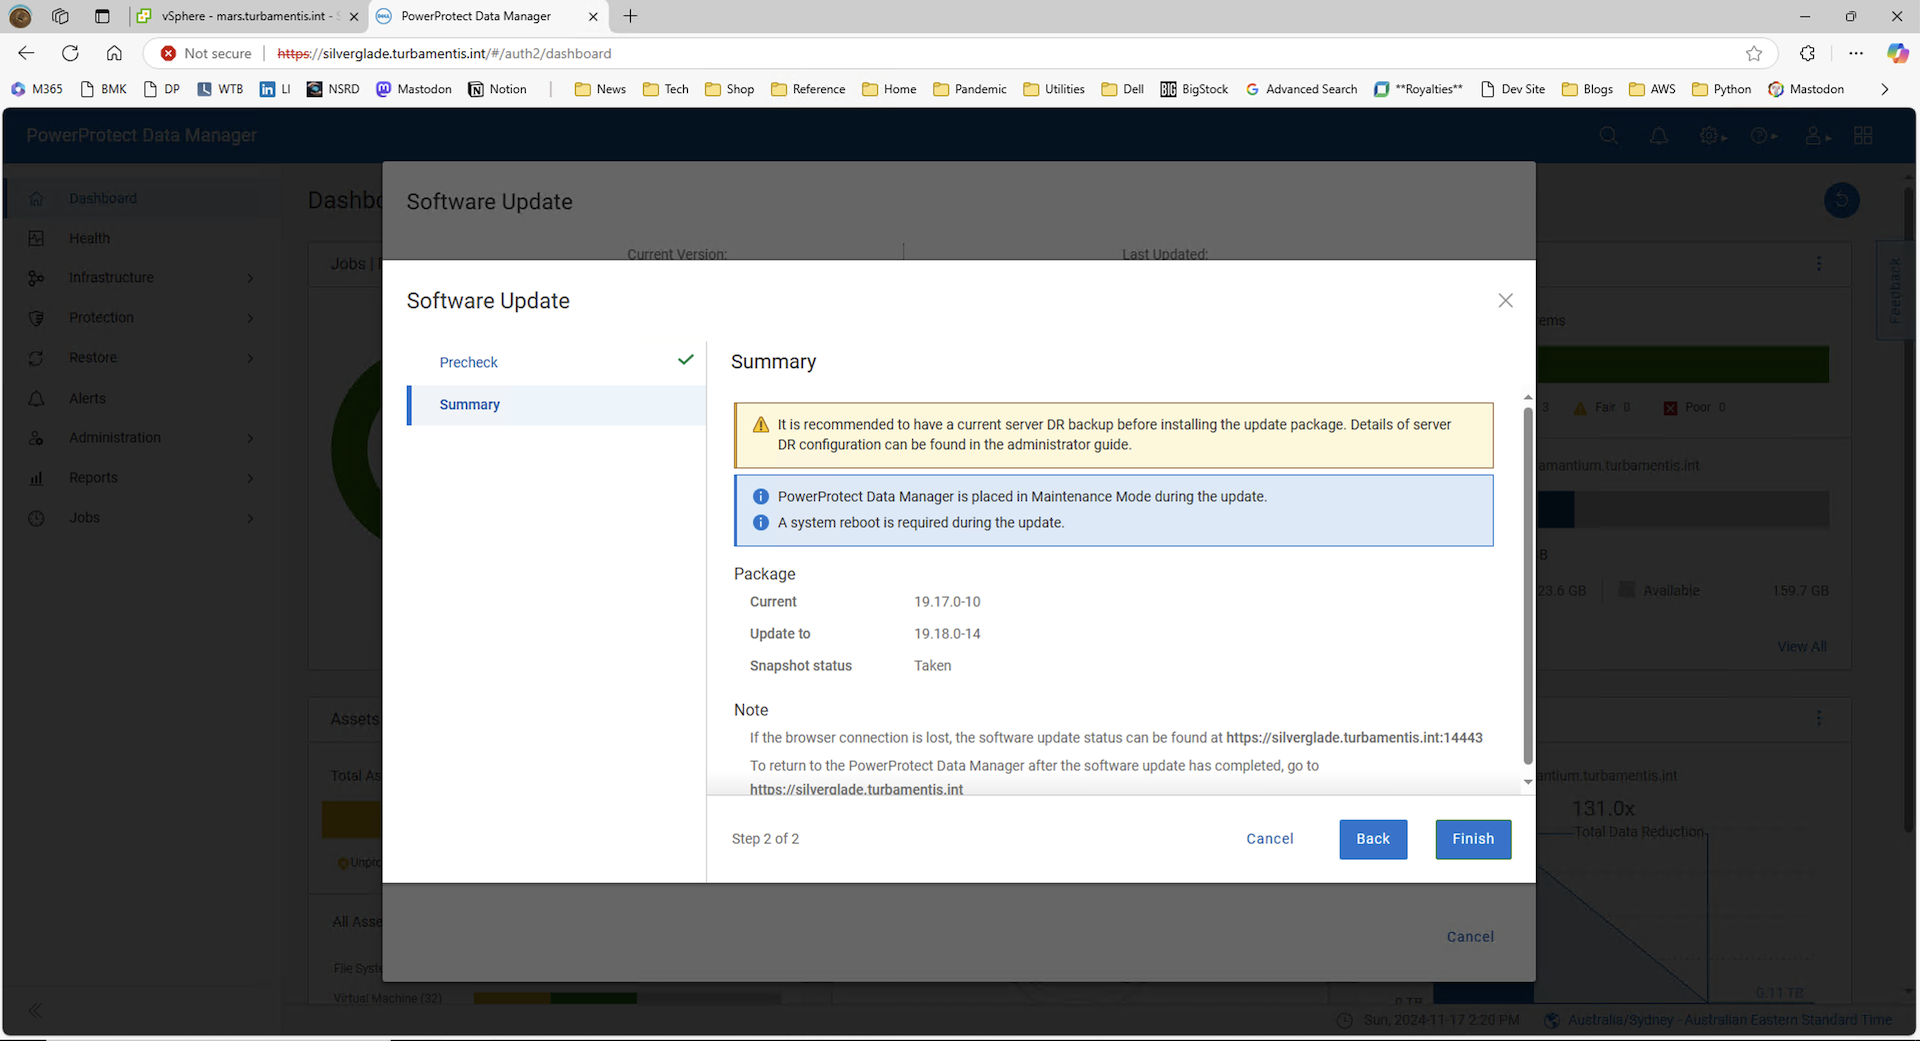
When ready to start the update, click Finish to conclude the Wizard and launch into the update:
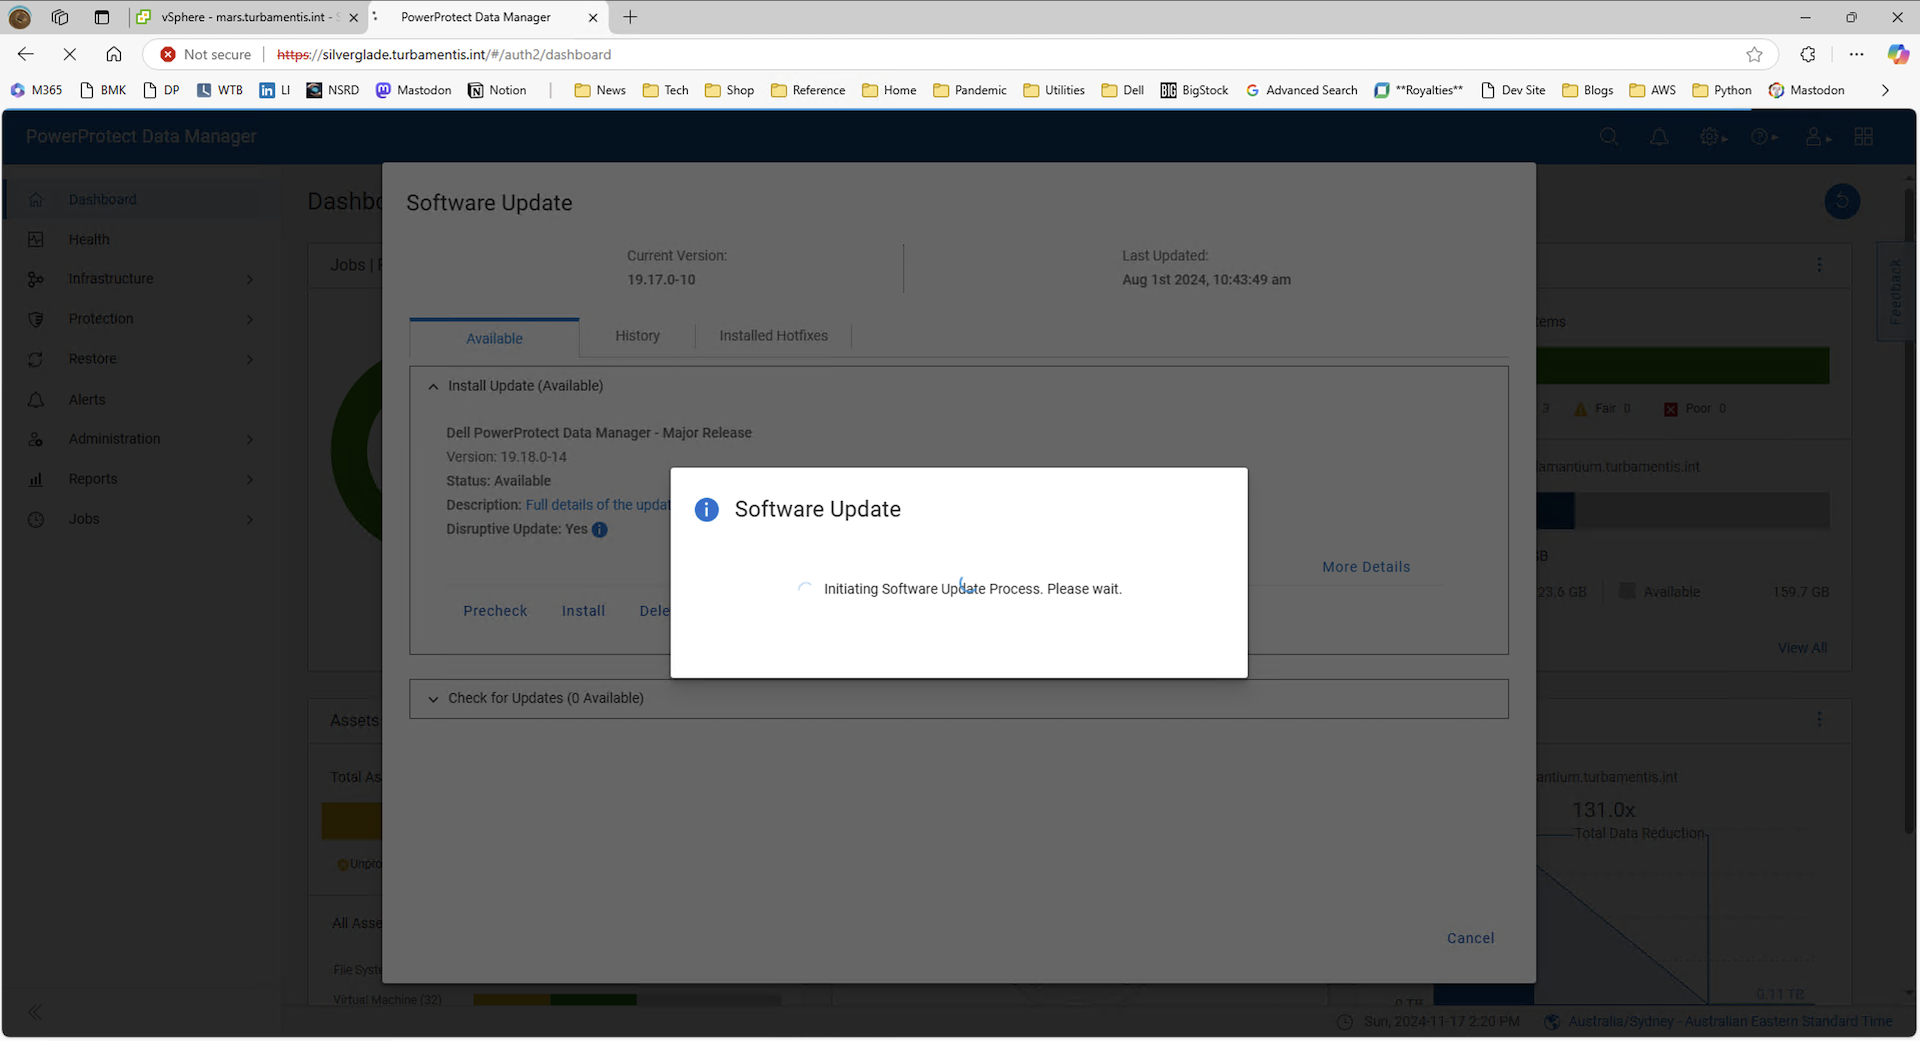
Once the update has initiated, you’ll transfer to the update monitoring screen to monitor progress:
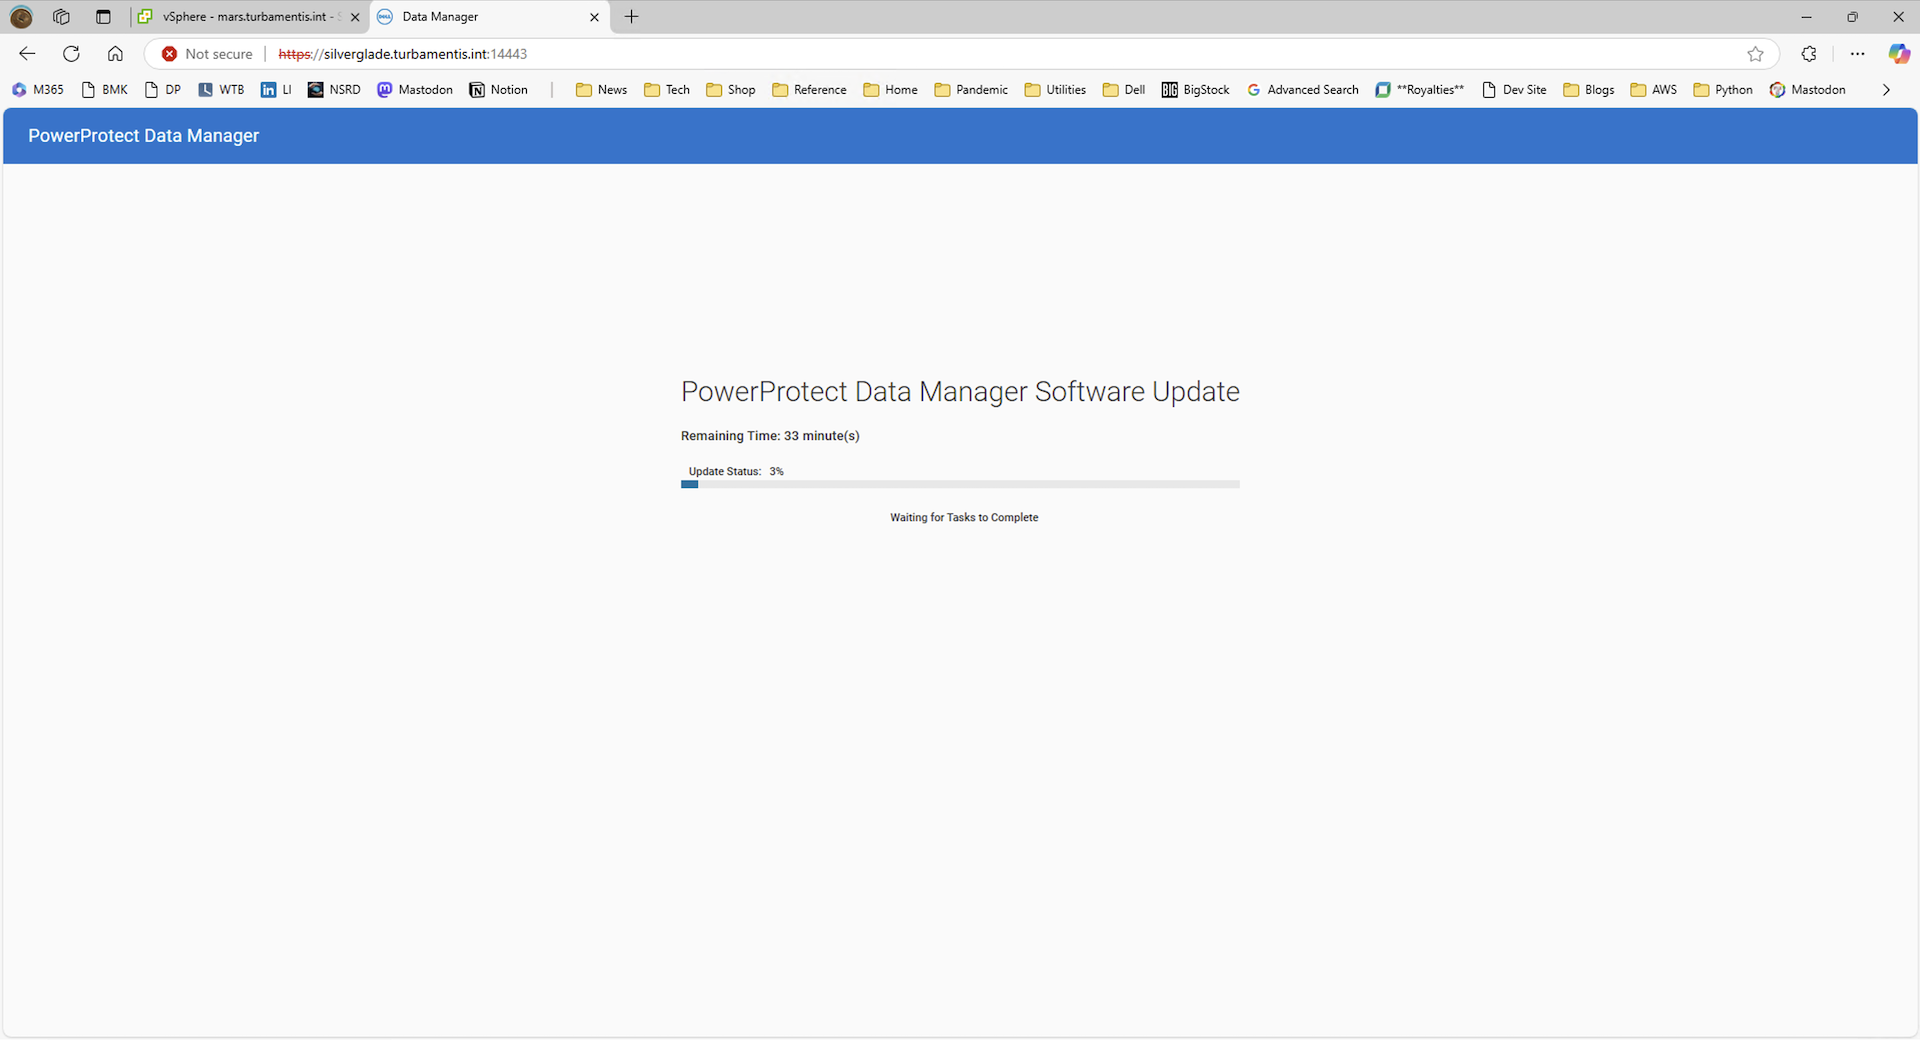
One of the first tasks that’ll get completed here is the Data Manager virtual machine snapshot to allow easy roll-back:
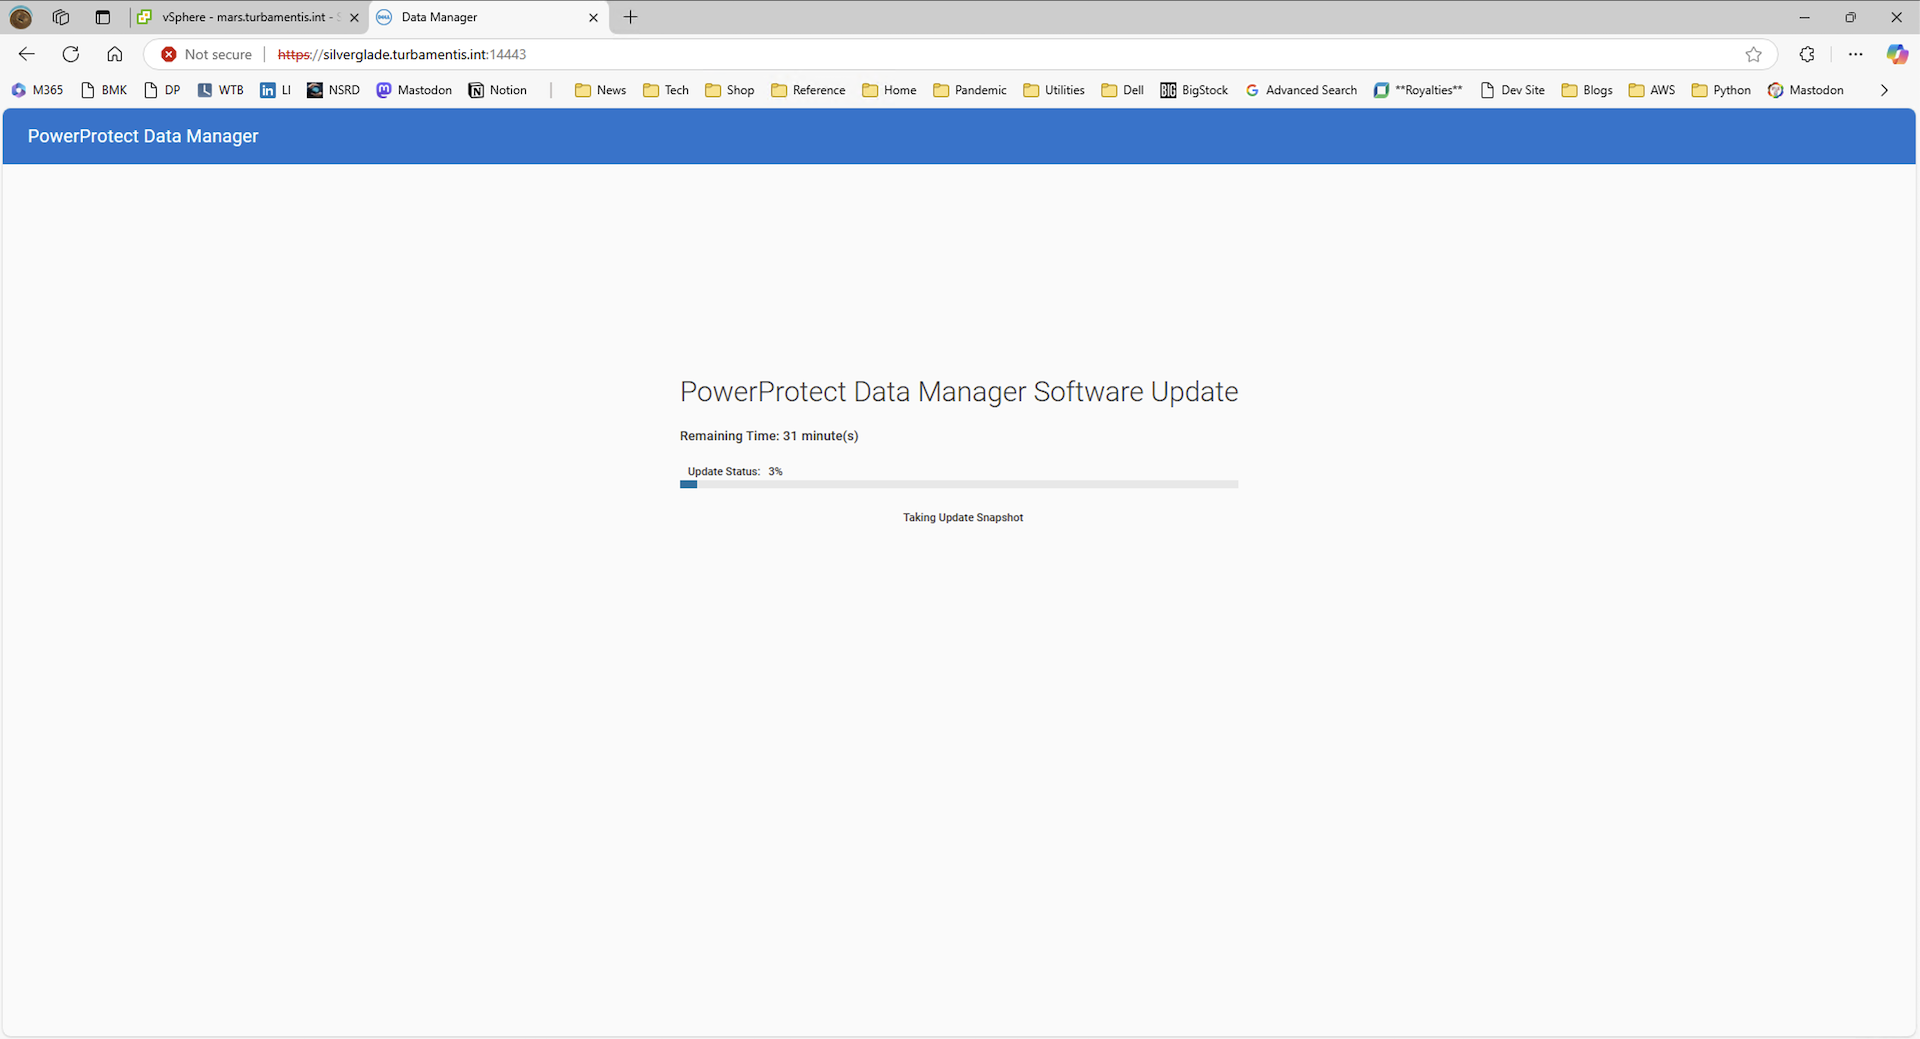
Once the snapshot is complete, the update will go to work and you’ll be informed of major activities as it progresses:
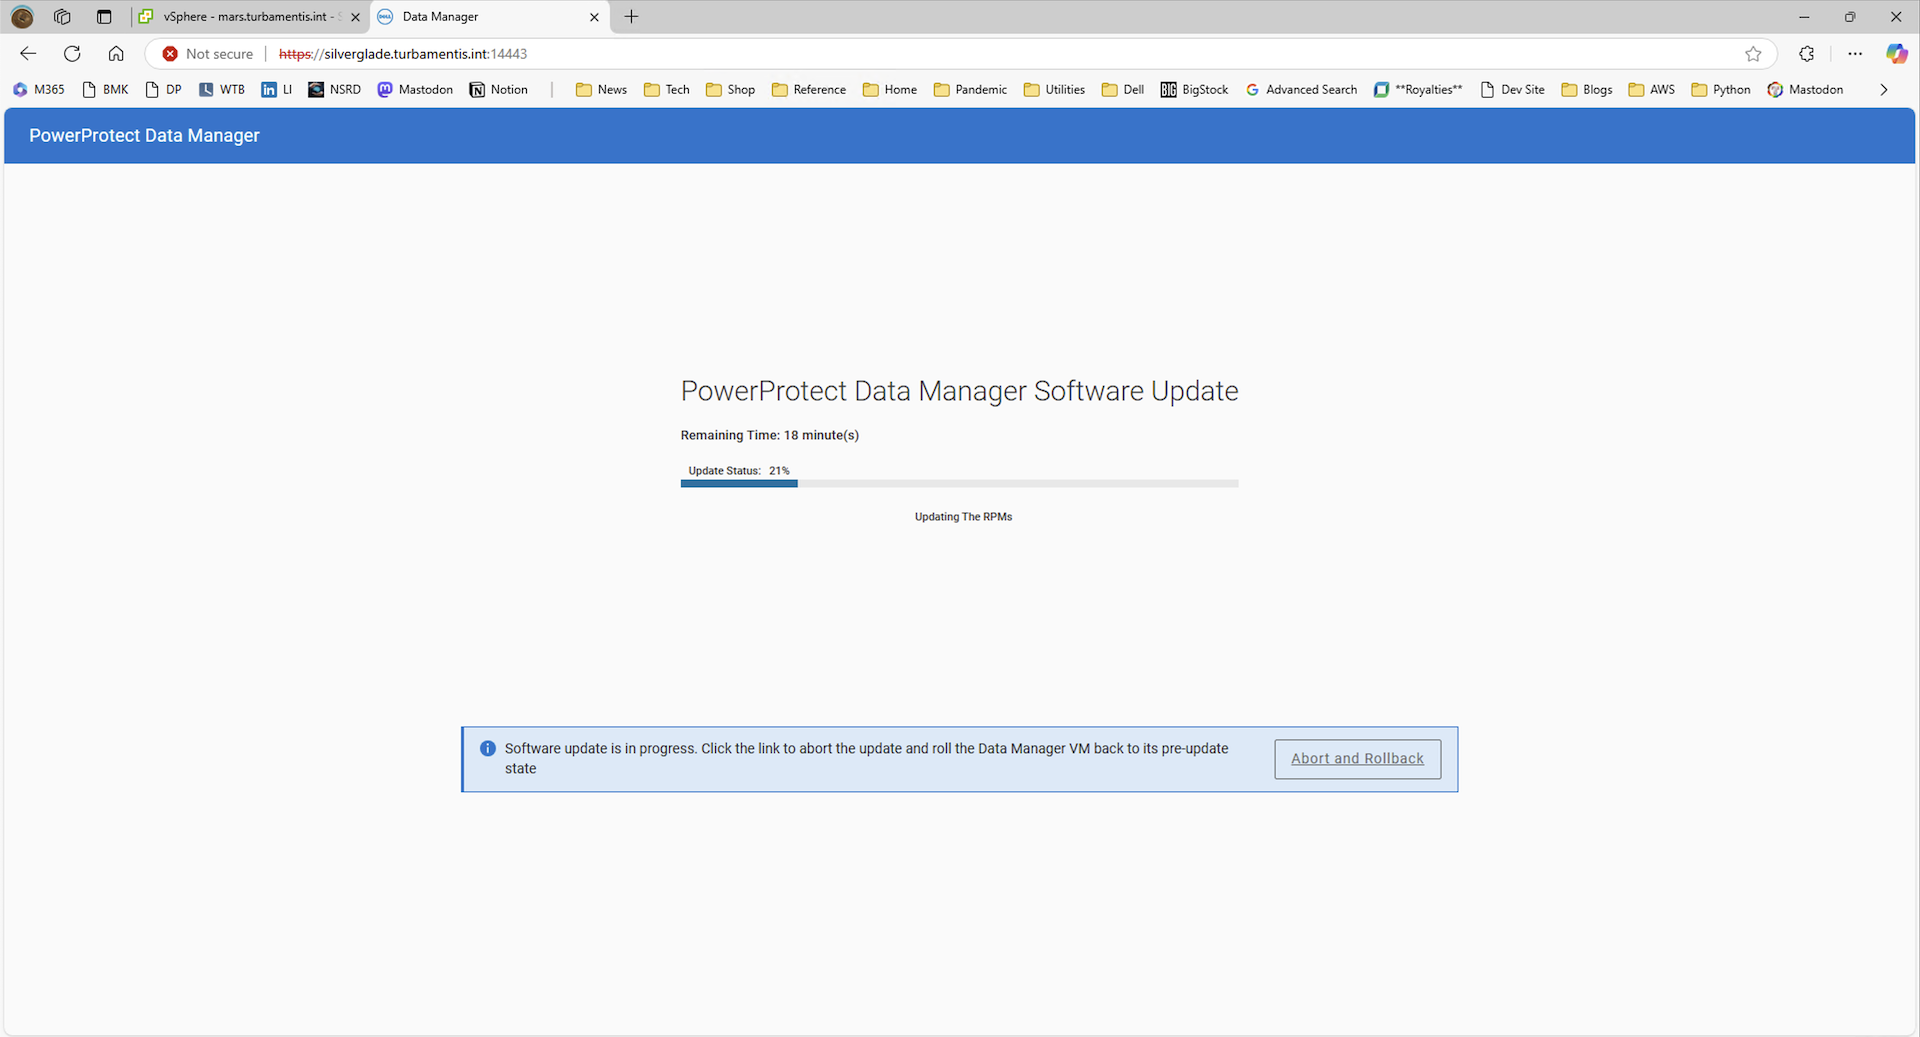
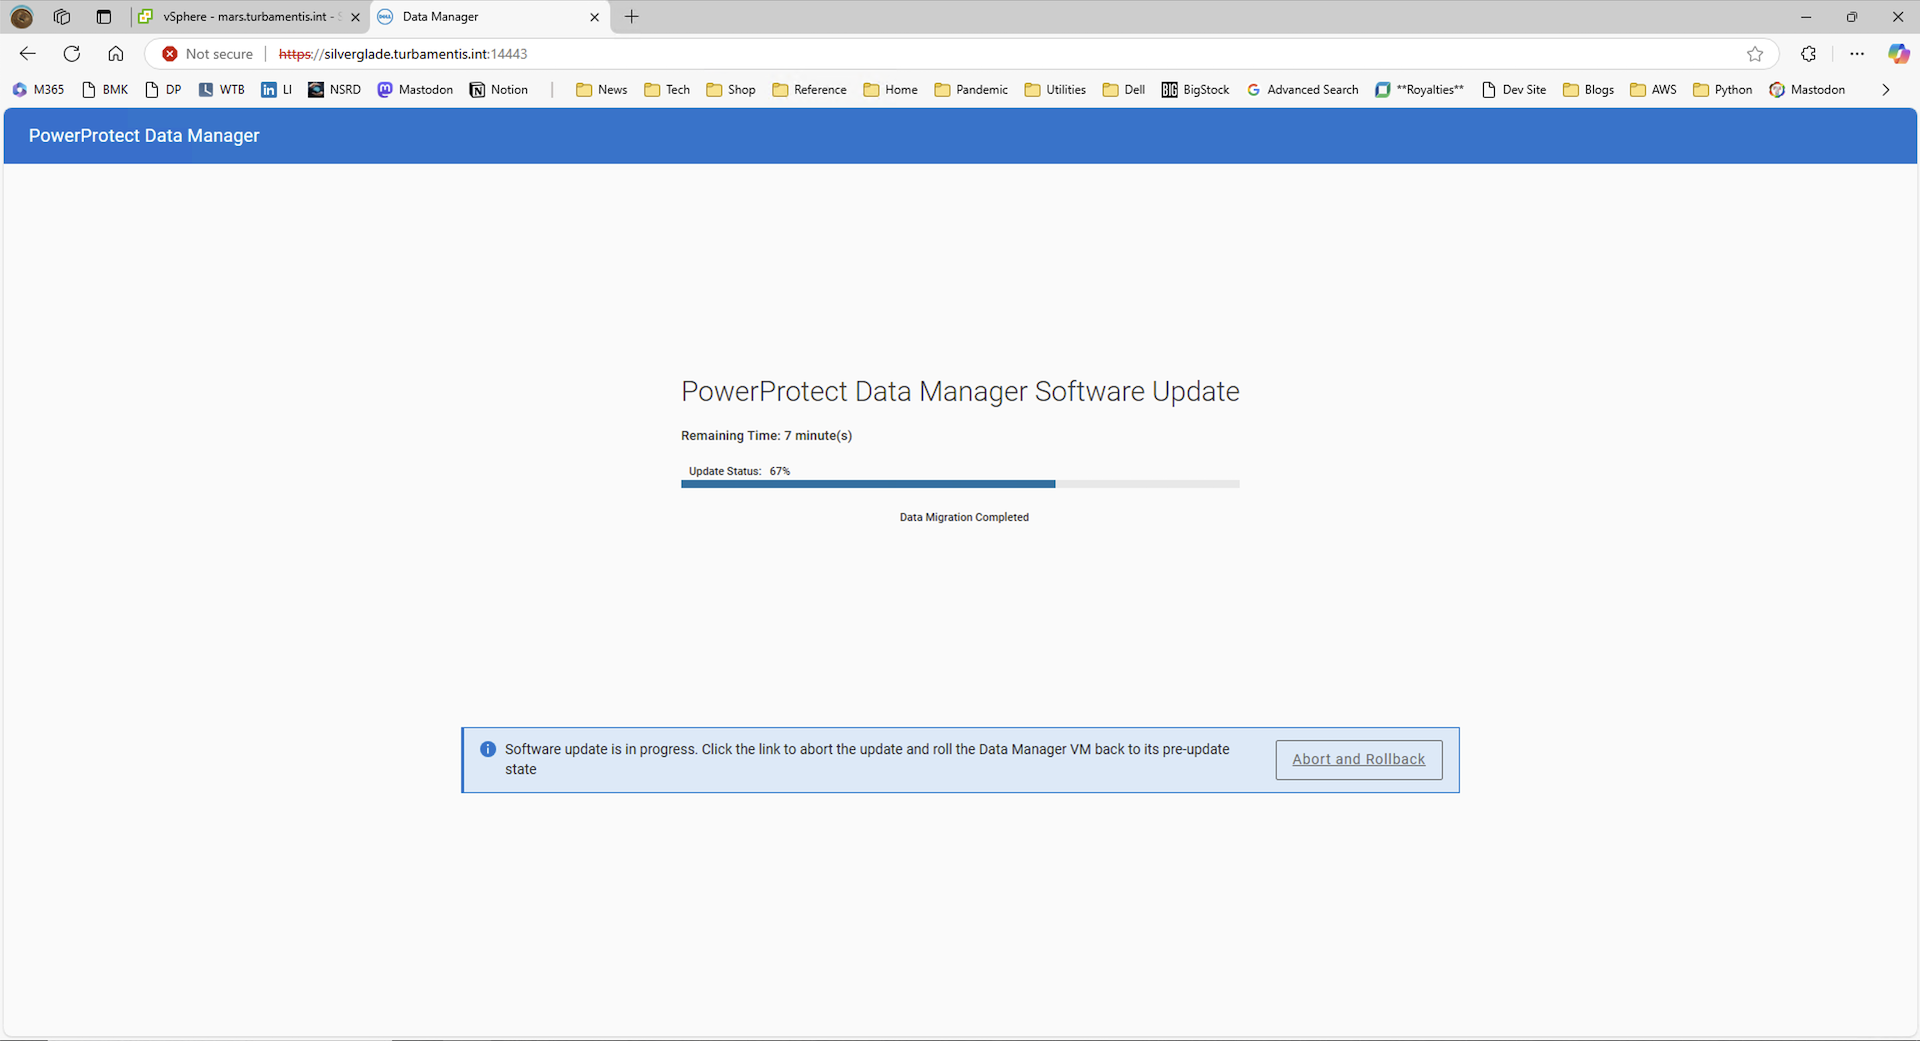
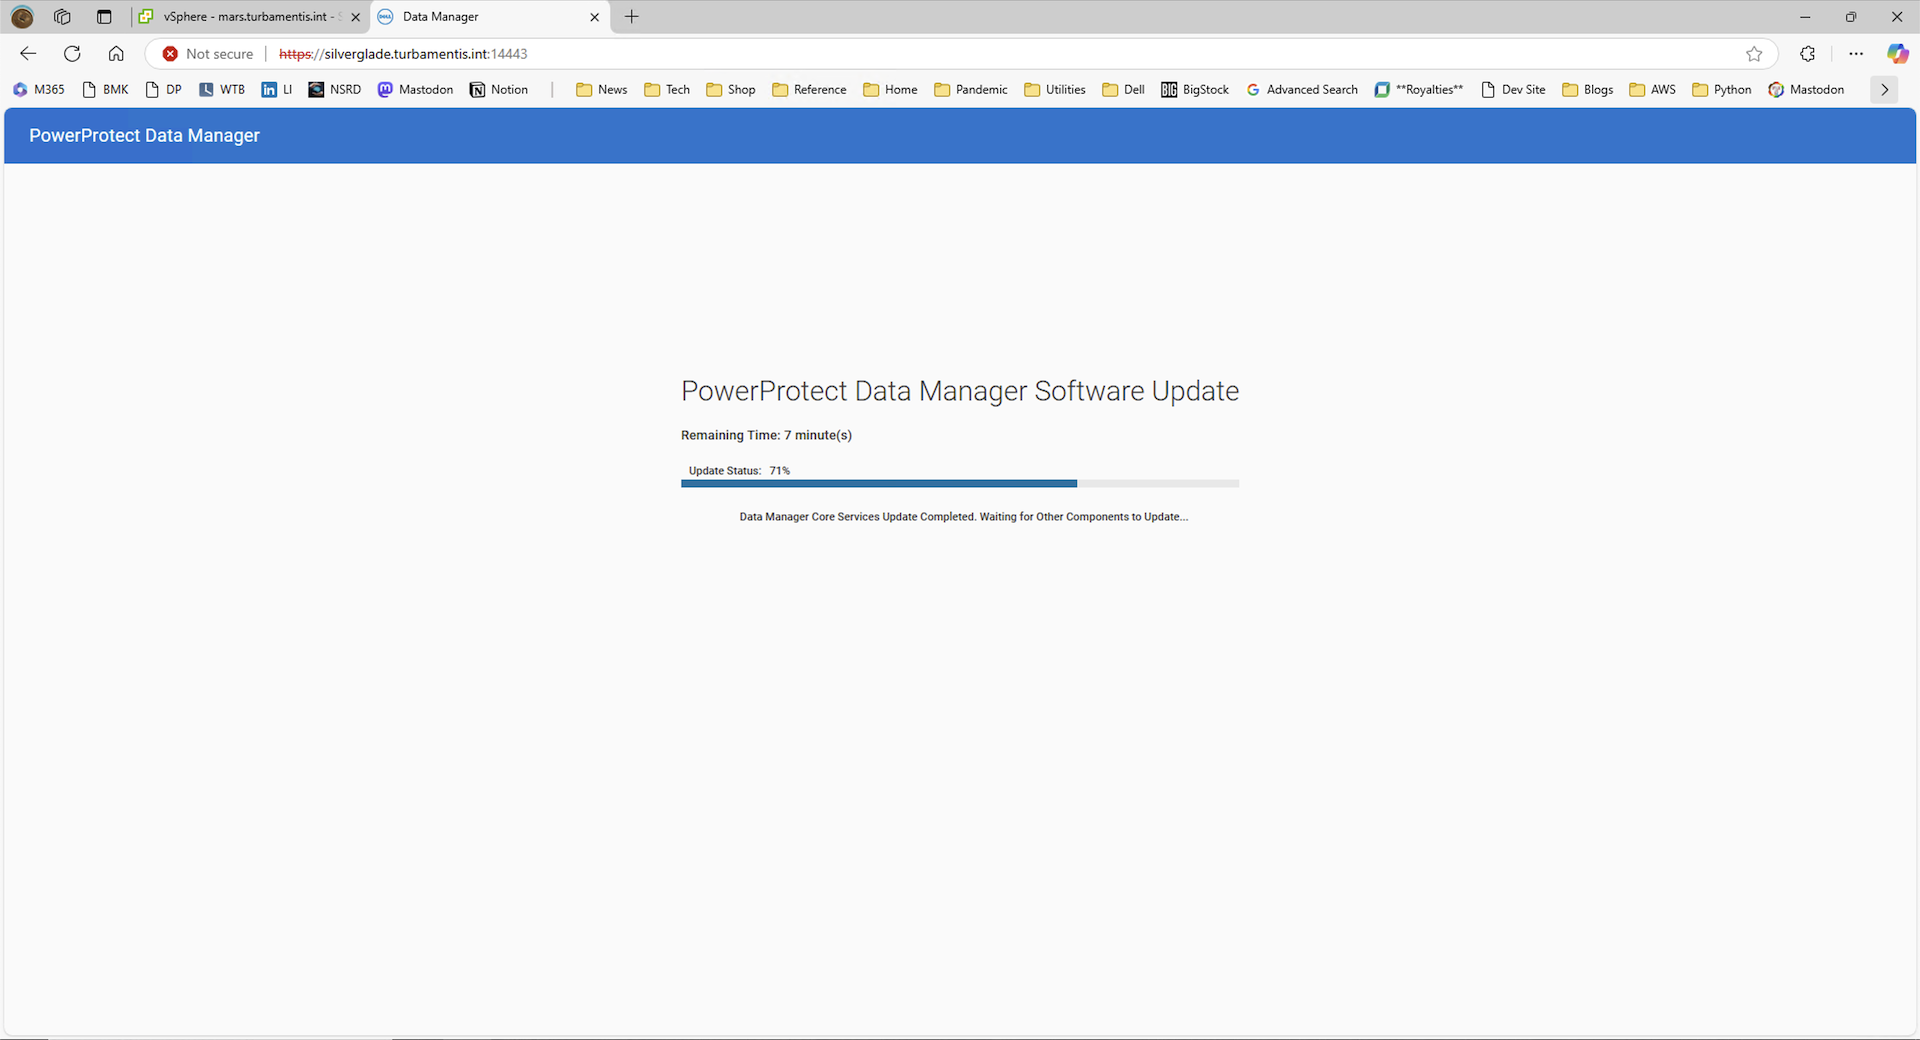
Once Data Manager’s core services have been updated, it’ll move on to update the external services like reporting and search:
Finally, once the update completes, you’ll be directed to the login screen. Once you log in, you’ll get the What’s New Dialog:

From there, it’s back to business as usual:
And there you have it – the end to end update of PowerProtect Data Manager 19.17 to 19.18.
For full documentation and the update/appliance binaries, you can head across to the PowerProtect Data Manager official support page, here.