Someone recently asked me about using NetWorker to backup to a NAS, and how easy it would be to then enable the NAS for client direct access. I kind of umm’d and ahh’d about it at the time because I recalled some very early attempts to configure that when Client Direct just came out and I didn’t do such a successful job at configuring it.
The universe likes to teach me lessons though, so due to some hardware changes in my lab I decided to completely rebuild my NetWorker server. It was also an opportunity for me to reconsider how I was presenting storage to the backup server. Now while I’d obviously like something along the lines of a DD3300 or DD6900 as my home lab backup storage, that’s not something I can arrange. So instead I use a few half-TB DDVEs for deduplication related tests, and NAS storage for the day to day bigger tests.
So since I was going to rebuild the backup server, and in light of the recent question, I thought it was a perfect time to revisit NAS AFTD Client Direct. And I’m glad I did.
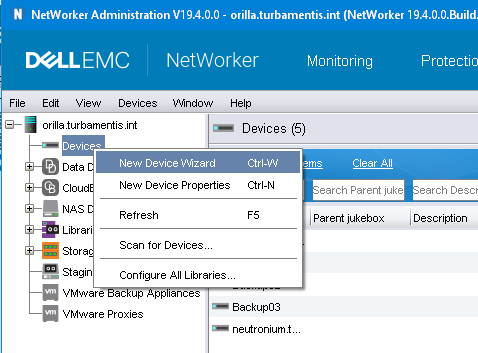
You start, as always, by using the New Device Wizard.
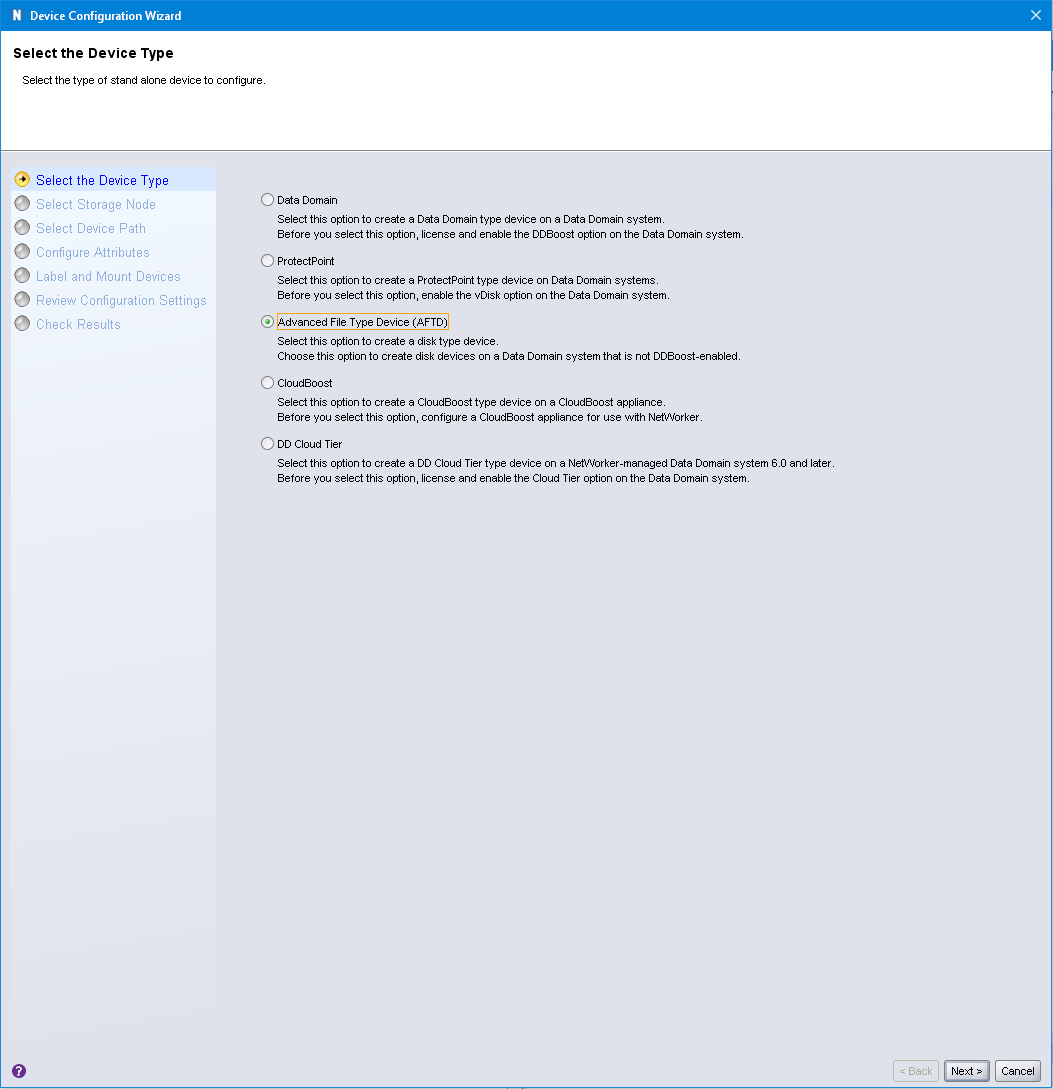
Once the wizard starts, you choose an Advanced File Type Device (AFTD) and click Next to continue.
Here’s where it gets fun! In the past when I’ve used NAS as a target for AFTDs, I’ve gone through the process of configuring my /etc/fstab on the Linux server to automatically mount the NAS share(s), then I’d create the AFTD as a local device, pointing to the assigned OS mount-point.
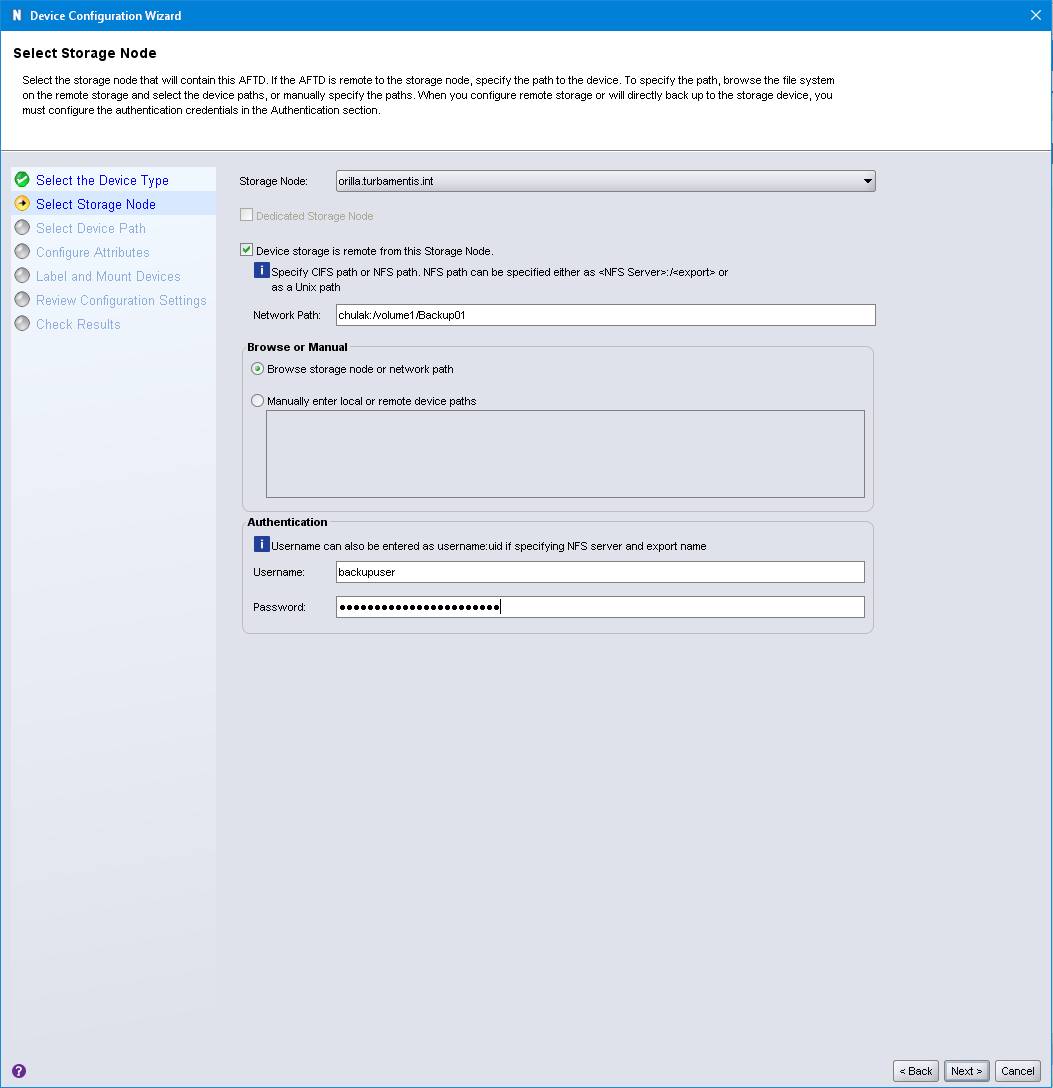
In this case, I used the NAS functionality to create the device, clicking the checkbox “[X] Device storage is remote from this Storage Node”. This prompts the NMC wizard to instead get you to enter the network path for the share in the form of NAS_Server:/path/to/access, which for me was the NAS server chulak with an access path of /volume1/Backup01.
Since you’re talking to a NAS server, you’ll likely need to provide authenticated access to it, which I did via the Username/Password field.
After that, it’s your standard disk-based device setup routine: you’ll be prompted to create a folder and select it as the device root, then label a volume for the device into an appropriate pool. I won’t bore you with those details. But below is an example of the created device:
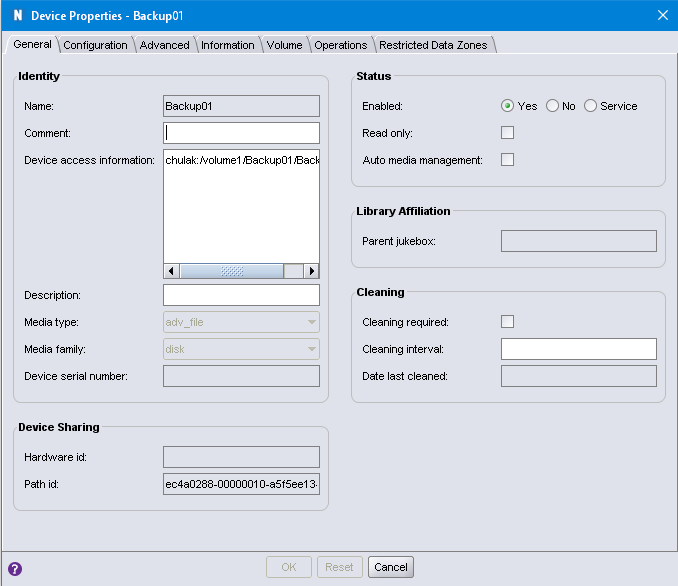
As you can see, the device access information points to the NAS share, and folder I’ve created under it.
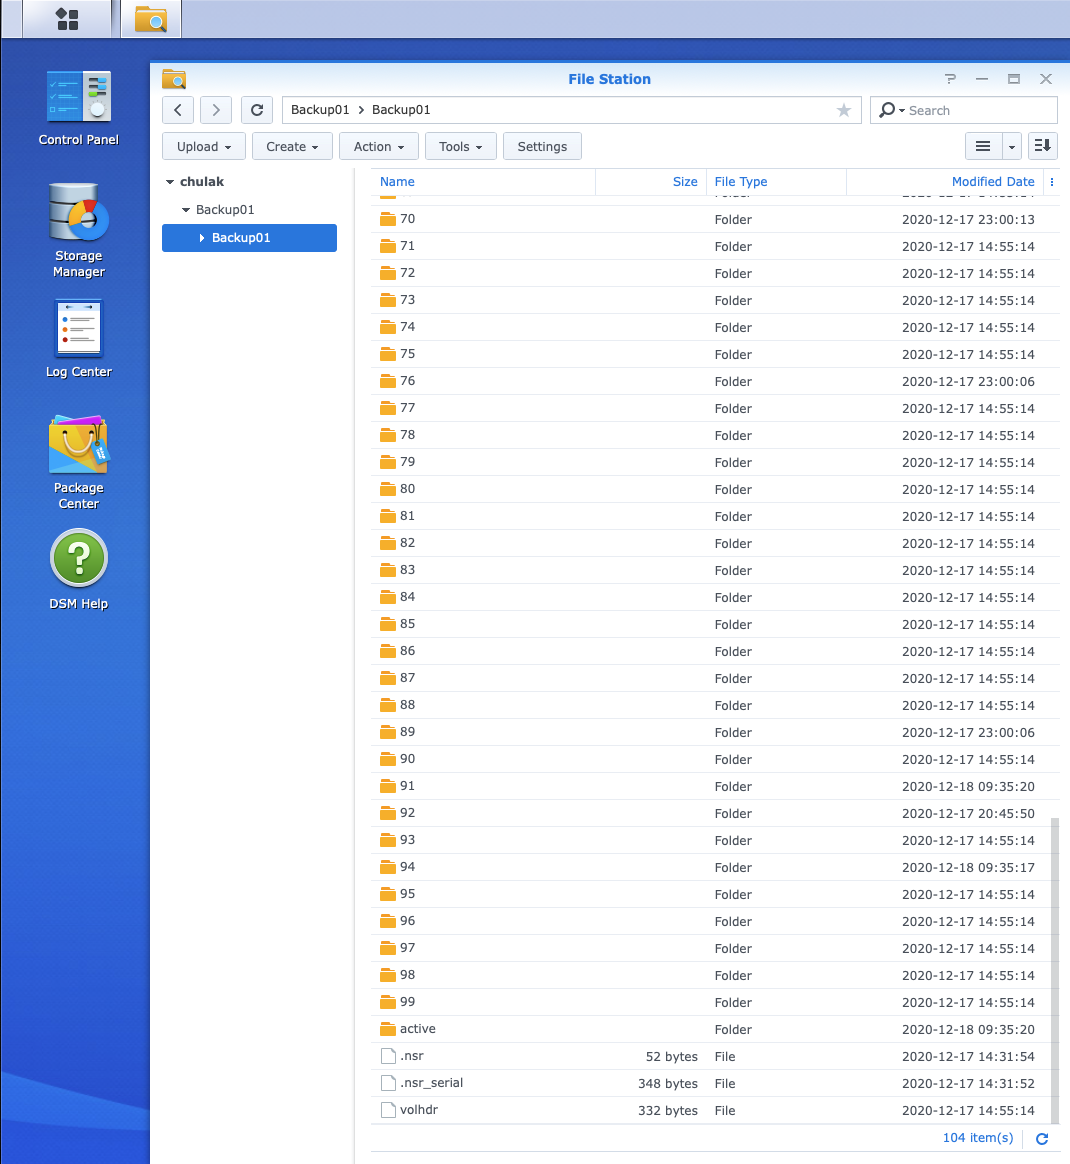
With this configuration in place, I don’t have the NAS target present as an OS-visible mount-point. Though having created and labelled the device, I can see the files if I browse on the NAS itself:
So, what’s the advantage of this? Well, other than keeping the backup storage away from operating system mount-points (always a good thing from a cyber resilience perspective!), it also makes client direct a doddle. In particular, it means that clients that can also access the NAS share using the same connection details as provided in the device wizard won’t send their data through a storage node.
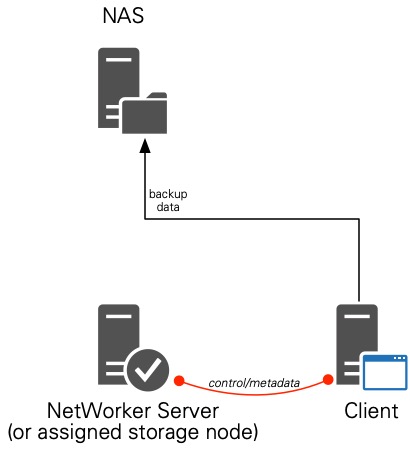
If I’d persisted in mounting the NAS storage locally to the backup server and making a locally configured AFTD, the data/communication paths would have looked like this:

It works, but as you can see, the backup server or storage node becomes a nexus point for the data transfers – you’re doing the infamous 2-step transfer, adding performance boundaries on the overall configuration.
In the new configuration I went with, I get all the benefits of Client Direct, which means a data path that looks like the following:
So, to answer the question someone asked me a couple of weeks ago, “How easy is it to configure Client Direct with NAS Devices?”, I’ll retract my “Umm, ahh” answer and replace it with “Very easy indeed!” And it’s a pertinent reminder to always be willing to review how you’ve got your environment configured in case there’s scope for optimisation.
I am trying to use a synology to accomplish the AFTD target. I keeps telling me it cannot mount the device to label. Any ideas?
From the Synology side, you’ll also have to:
You may want to test a manual NFS mount from the NetWorker server first (i.e., command line using the ‘mount’ command if you’re on Linux) to make sure that the permissions work sufficiently that you could mount the share to say /mnt, and then create/delete a file. If you can get it to that point, then (after you unmount that share for testing), NetWorker should be right to go.