
Data Manager 19.19 came out at the end of March, so I’m a little late writing about it: I’ve been on injury-induced hiatus which has seen most of my free time occupied with not doing too much with my arms and hands – making typing a wee bit of a challenge.
This week I updated my Data Manager lab server to version 19.19 and I wanted to spend some time talking about the latest features – plus provide a walk-through of the update process.
Before I get started, remember that you can get all the documentation and the update (or install) binaries for Data Manager from the PowerProtect Data Manager support site, here.
What’s new
So let’s get started with what’s new. (And in 19.19, there’s some big new items for sure.)
Workloads – Hyper-V
With version 19.19, Data Manager introduces support for Hyper-V protection. You can add Hyper-V servers as asset-sources and protect your Hyper-V virtual machines in Hyper-V environments from Windows Server 2016 onwards.
Workloads – Virtual Machines
Additional virtual machine protection comes with options to:
- Protect VMware Virtual Machines in GCVE (VMware in the Google Cloud Platform) can now be protected via the Transparent Snapshot Data Mover (TSDM) – giving high-speed, stunless backup operations.
- Using APIs to adjust the behaviour when it comes to protecting virtual machines that have a Not Detected status.
Workloads – Application Agents
A number of enhancements to application agents in Data Manager 19.19, including:
- Application agents installed on operating systems using Portuguese (Brazil) as the language are now supported for protection with Data Manager.
- Data Manager support for application agent versions extends from 19.19 back to 19.15.
- Quick Recovery now supports PostreSQL backups via the generic application backup method.
Infrastructure – Protection Engines
A number of updates relating to protection engines used within Data Manager, including:
- Support for different sized VM Direct Engines – regardless of whether you’re using the engines to protect NAS, Kubernetes, Virtual Machines or PowerMax, you can choose the size of the protection engine to be deployed to more closely align to the size of workload being protected.
- What’s more, VM Direct Engines that are hosted outside the core Data Manager server can now optionally be excluded from the core Data Manager update process. Depending on how many protection engines you have deployed, that can reduce the amount of time it takes to complete the Data Manager update process, and you can schedule and control the update of these engines yourself later if you’d prefer.
Disaster Recovery
Data Manager 19.19 now supports deployment within a VMware vSphere High Availability environment, making it more convenient to move Data Manager between your physical datacentres in the event of a site issue.
Protecting Storage Platforms
Data Manager continues to provide exceptional options in protecting storage platforms within your environment. With 19.19, this expands to include:
- NAS: If you’re using PowerScale, Data Manager can now make use of change file tracking on the platform to result in a significant performance improvement for incremental PowerScale backups.
- PowerMax Orchestrator: If you’re protecting storage groups that have many volumes in them, you can divide the volumes that are to be protected into batches to streamline the protection process.
- PowerMax Restores:
- The restore to alternate function for PowerMax now supports restoring to a new storage group on your selected PowerMax array.
- There’s now a Block Volume Emergency Restore Tool (BVERT) available to you to coordinate the restore of a PowerMax volume even if the primary Data Manager system that ran the backup is unavailable. (BVERT is included directly with the block volume protection engine.)
- PowerMax and PowerStore workloads are now both supported with Quick Recovery, allowing for easy restores from another Data Manager server in a Quick Recovery arrangement if the primary Data Manager server is down.
Protection Storage
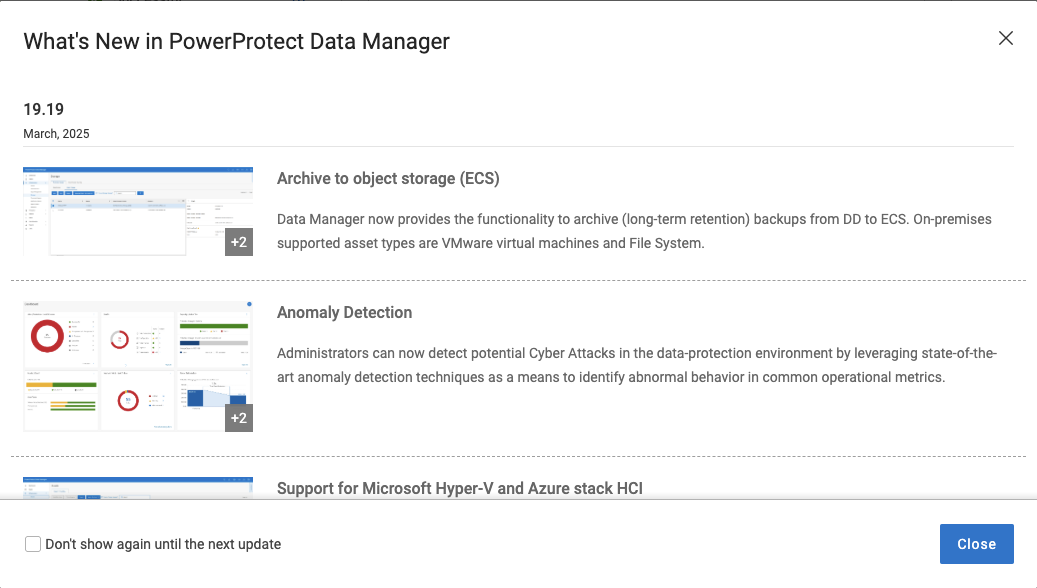
Data Manager 19.19 introduces support for Archive to Object using Dell’s Elastic Cloud Storage (ECS) object storage platform. This serves as an alternative to using Data Domain Cloud Tier – instead, Data Manager can be configured now to move those long-term copies completely off the PowerProtect DD active tier and into object storage instead. (Net meaning: these copies can be restored without PowerProtect DD in the equation.)
Archive to Object support starts with the support of File System and VMware virtual machine workload types.
Updating from Data Manager 19.18 to 19.19
Data Manager has two potential downloads you can use:
- The VMware OVA for a new installation, and
- The software update package, for updating an existing install.
For my lab environment, I wanted to keep my current setup in place so I used the update package – using the 19.19.0-20 version of the update.
Software updates in Data Manager are executed from the masthead application (gear icon) menu under Software Update. Under Software Update, I manually uploaded the update package then manually ran the pre-check operation first to see if there was anything that I needed to address before the update:
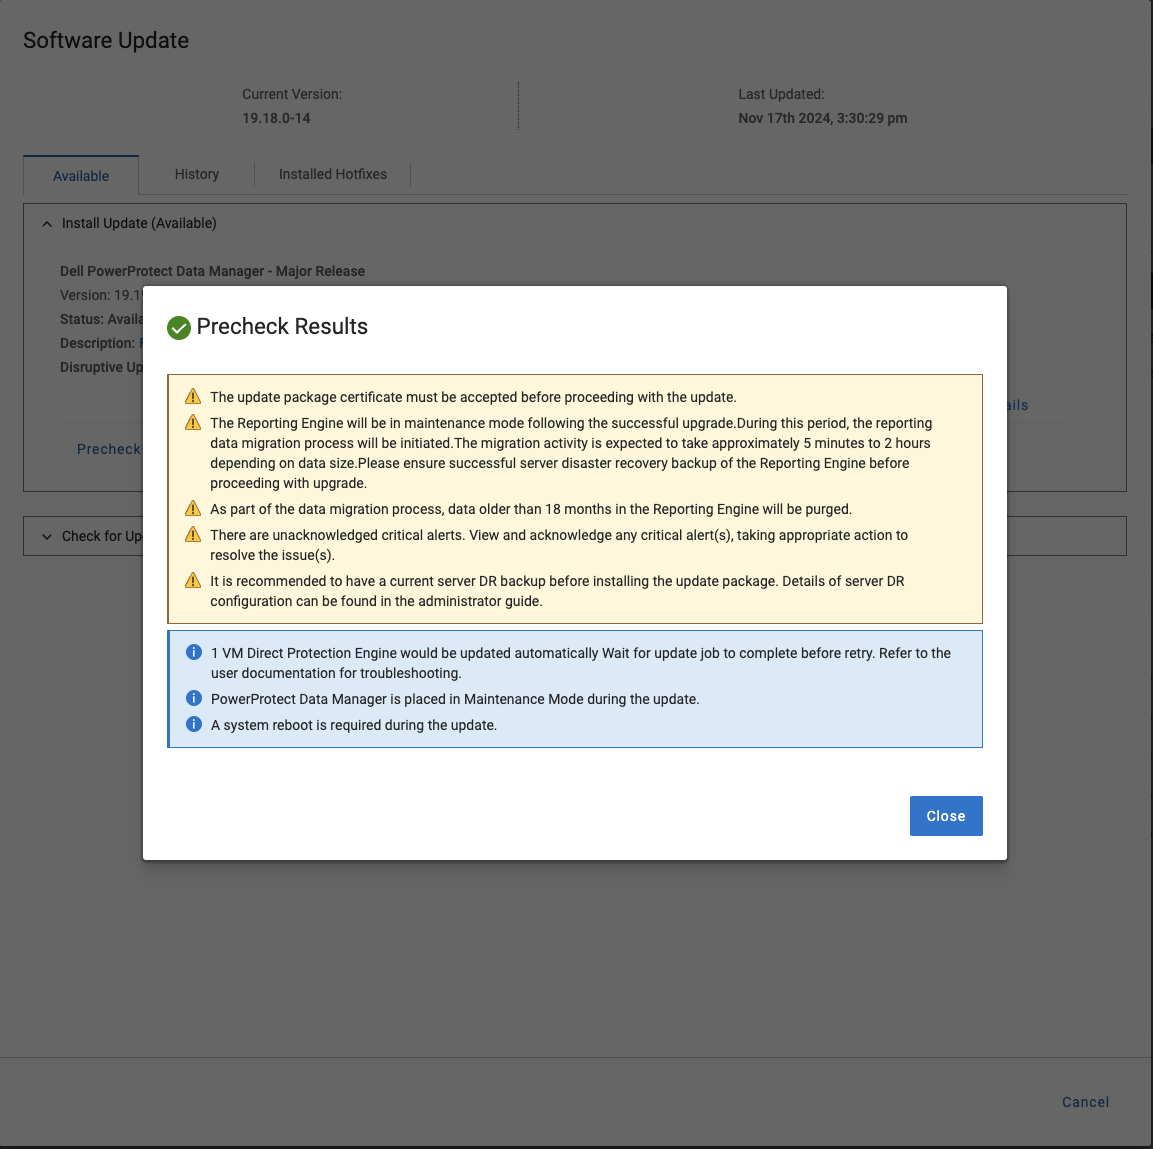
There was nothing in the pre-check that prevented me from updating, so I moved on to the actual update process. Since the manual pre-check is there for execution hours or perhaps even days before the actual update is run for initial checking, the first step was to run the pre-check and get me to confirm I was OK with the update:
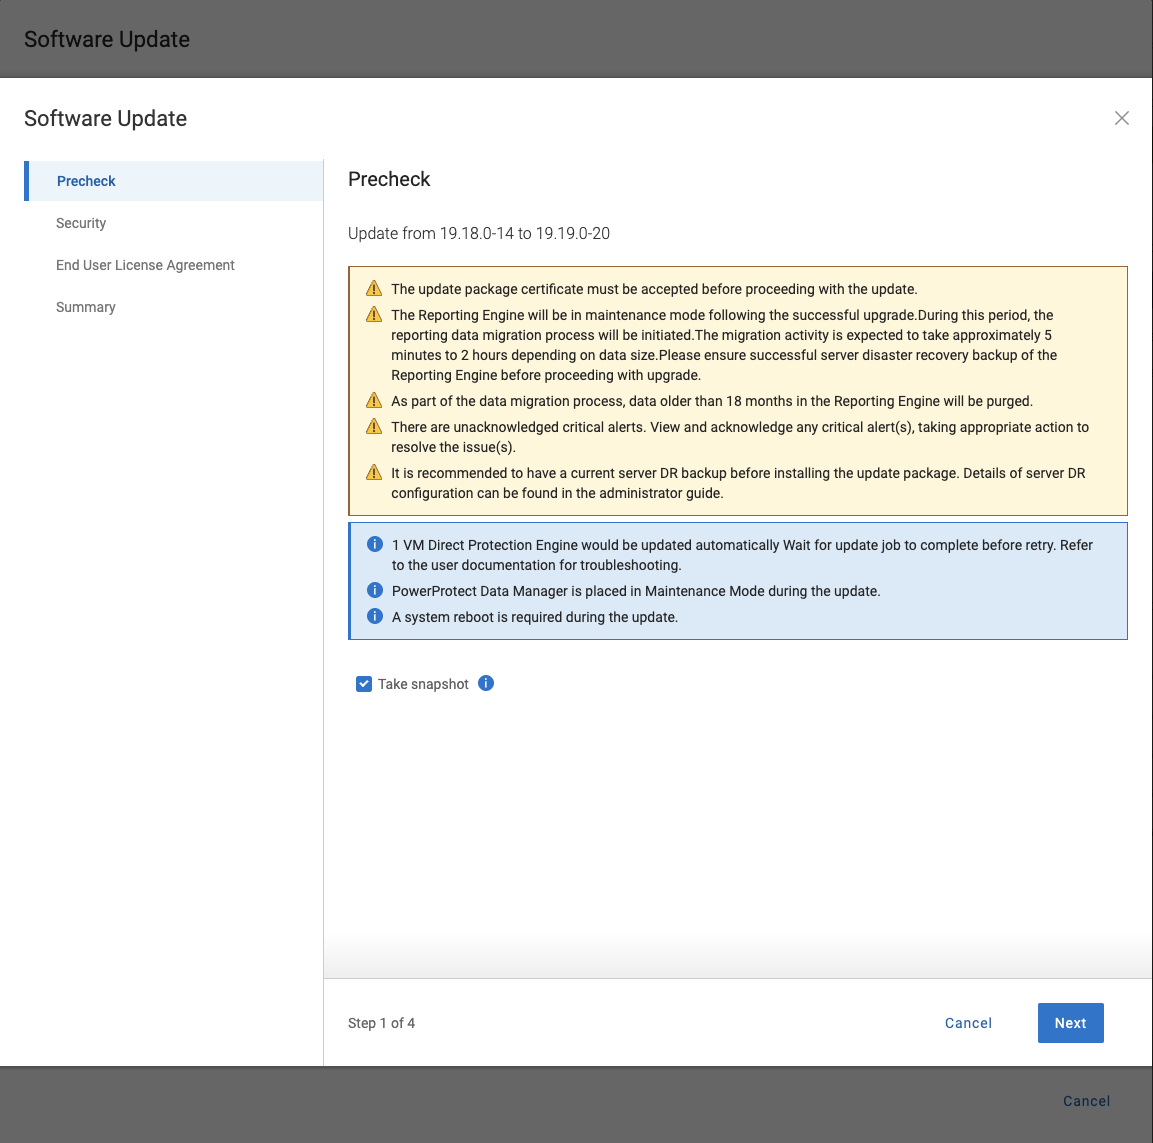
Happy with this, I clicked Next and was prompted to confirm the update certificate.

Clicking Next from the certificate brings me to the EULA to check:
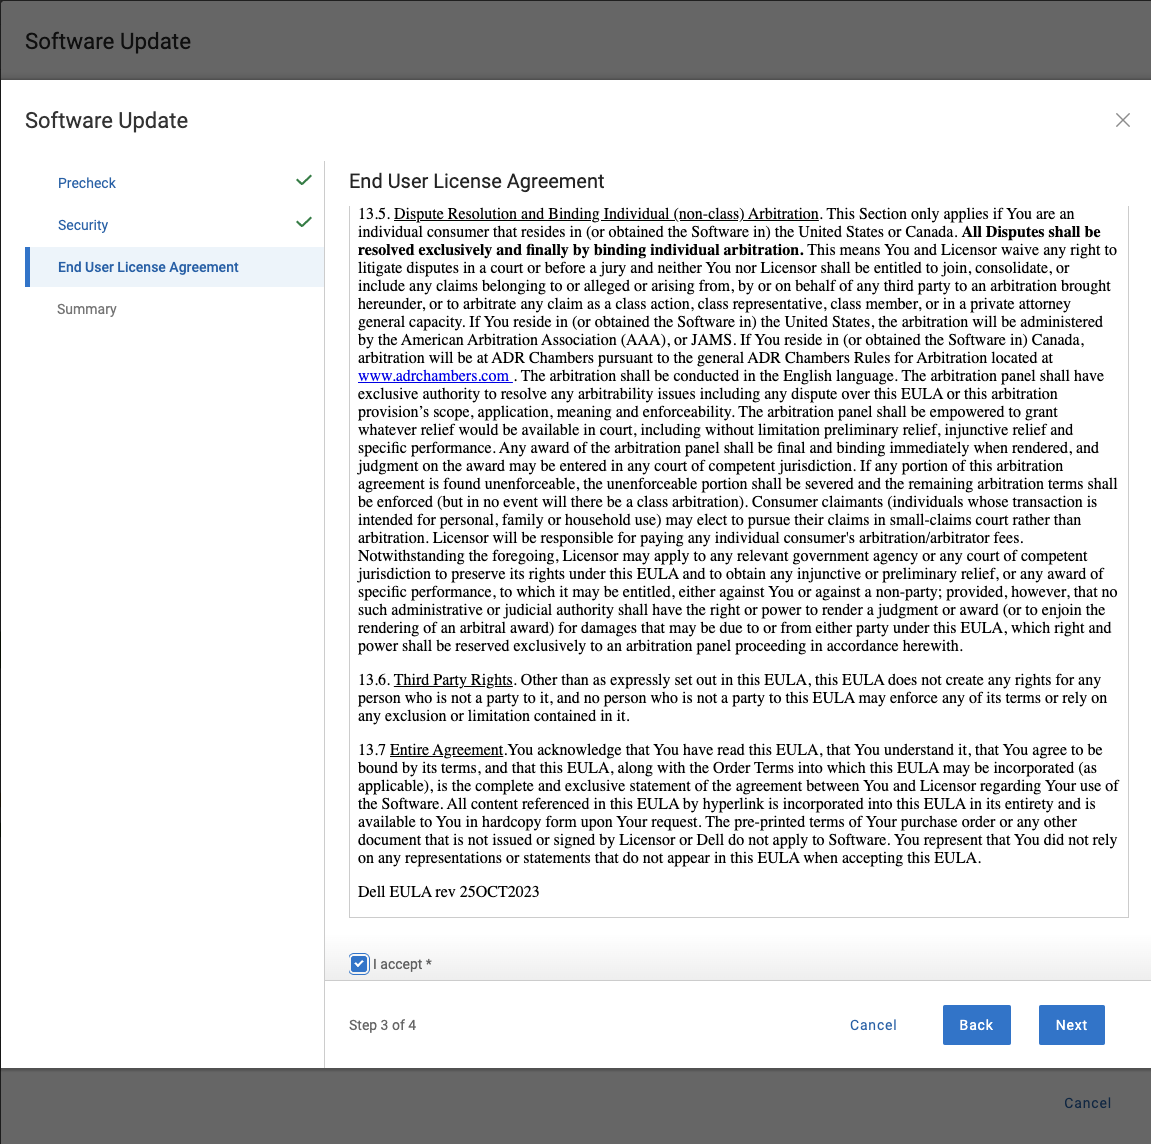
Having accepted the EULA and clicking Next, I was brought to the update summary page:
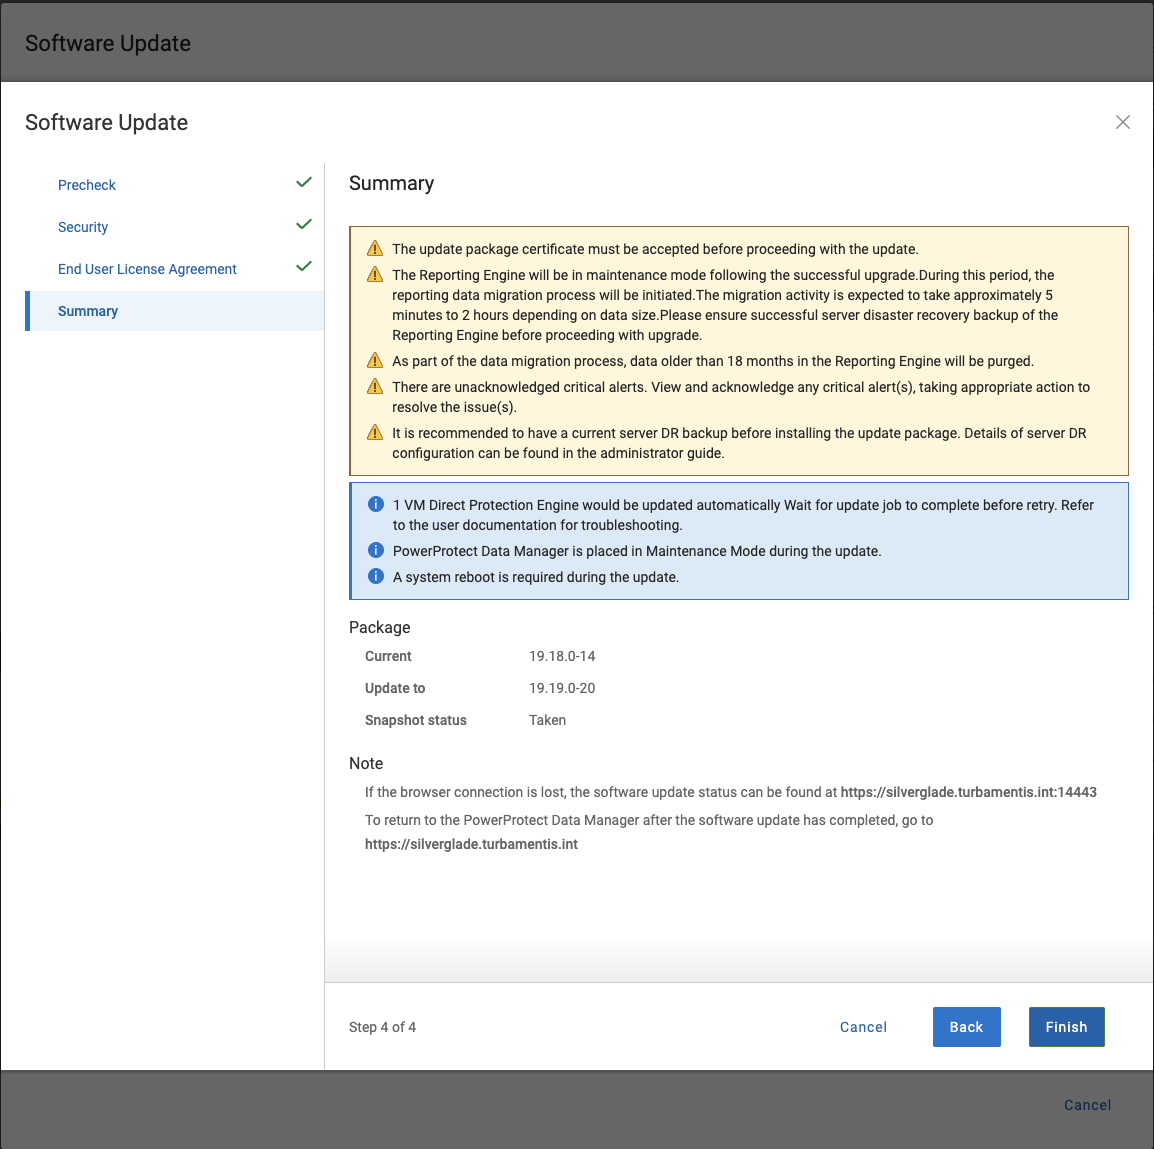
Ready to start the update, I clicked to Finish the wizard and launch the process:

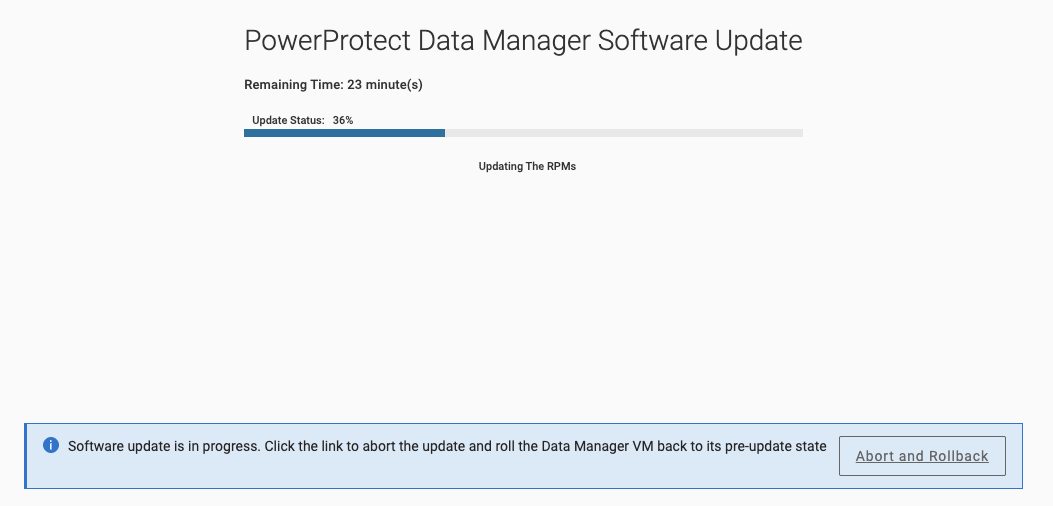
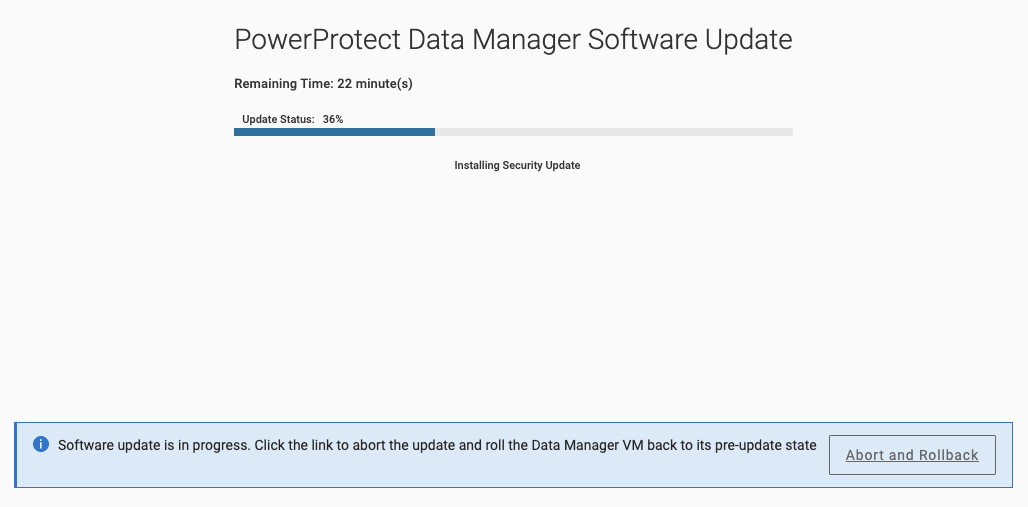
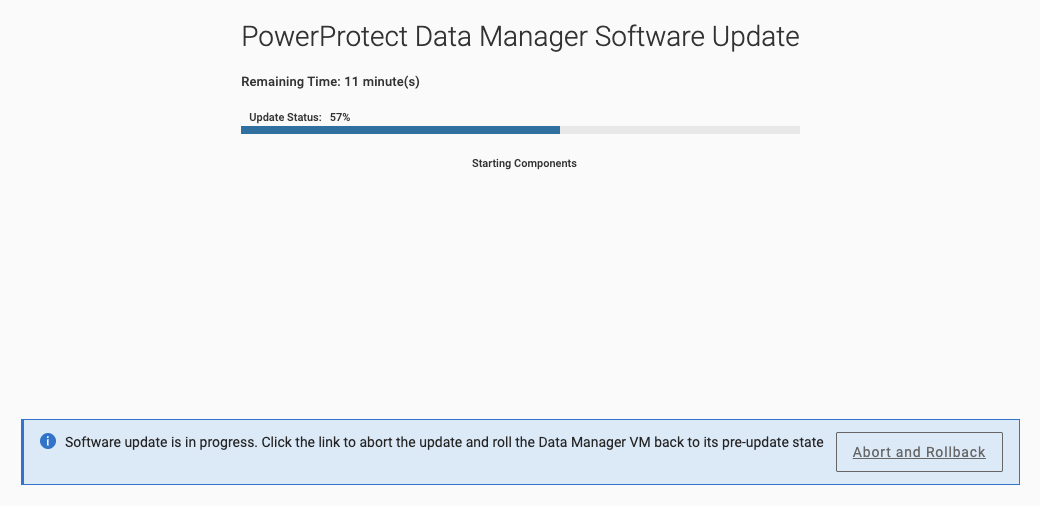
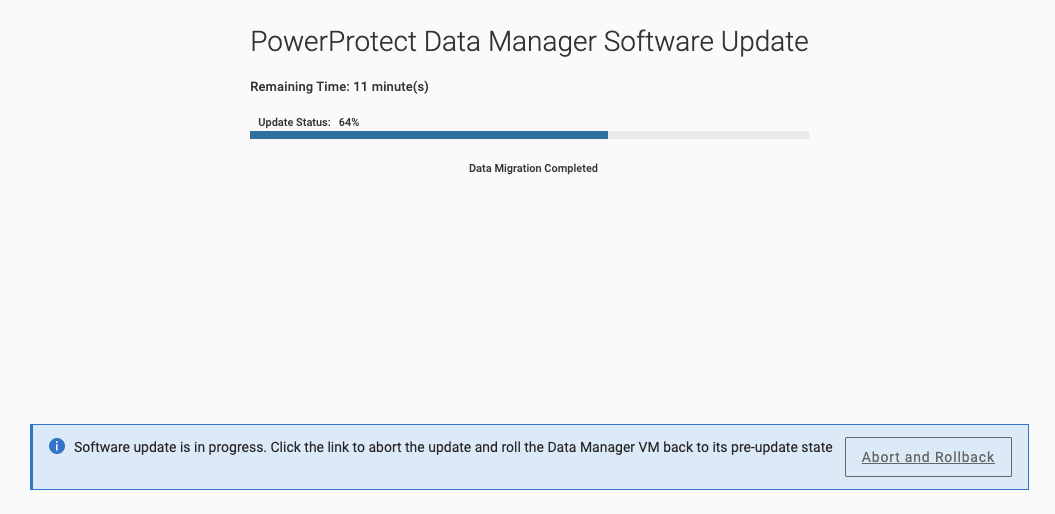
While the update runs, you’ll get ongoing details of progress – some of these are shown below:


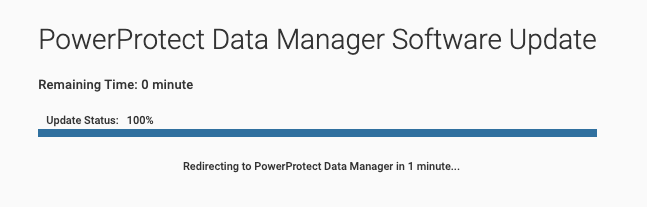
When the update completed, I was redirected back to the login screen and after logging in was greeted with the What’s New dialog:
And that’s the update process for you – which means I can now start checking out all those great new features.