
NAS is one of those platforms that presents operational challenges for backup and recovery, simply because the operating systems are effectively closed – it’s not just a case of installing an agent like you would on say, Windows or Linux.
Many NAS systems include snapshot and replication capabilities, but these will only get you so far: they’re on-platform for a start, meaning they have limited utility if an administrator goes rogue, an attacker gets into your network, or you have a catastrophic datacentre event. Also, who wants to store a decade’s worth of long term retention as snapshots? Talk about a recipe for platform lock-in!
When it comes to backup and recovery for NAS, there are two routes: NDMP, and proxied protection via a host that is running an agent. NetWorker and Avamar, being children of an earlier age, make use of NDMP. The challenge with NDMP is that the standard is now in life-support/maintenance mode.
So being a newer product, PowerProtect Data Manager has elected to go down the proxied protection route. Eschewing NDMP gives Data Manager the option of providing excellent innovation in NAS protection – which is why it’s referred to as Dynamic NAS protection. Data Manager intelligently slices the NAS shares it protects into multiple slices, built up on the fly based on the layout and size of the filesystem to enable rapid multi-streaming of even individual shares. There’s a great technical paper over at the Dell Infohub that describes that process which I’d thoroughly recommend for more details.
Another advantage of a proxied NAS protection is you are no longer reliant on the NAS vendor implementing NDMP in order to protect it. Data Manager can still integrate with NAS platforms for more advanced protection (e.g., with Dell storage arrays to coordinate snapshots to wrap around the backup), but no longer needing NDMP supported systems to protect NAS is a huge boon.
In today’s post, I’m going to do an end-to-end step through dynamic NAS protection of a NAS platform that definitely doesn’t support NDMP: my home lab’s Synology system.
Adding NAS as an Asset Source
The starting point is to (a) enable NAS as an asset source, and then (b) add the NAS shares you need to protect.
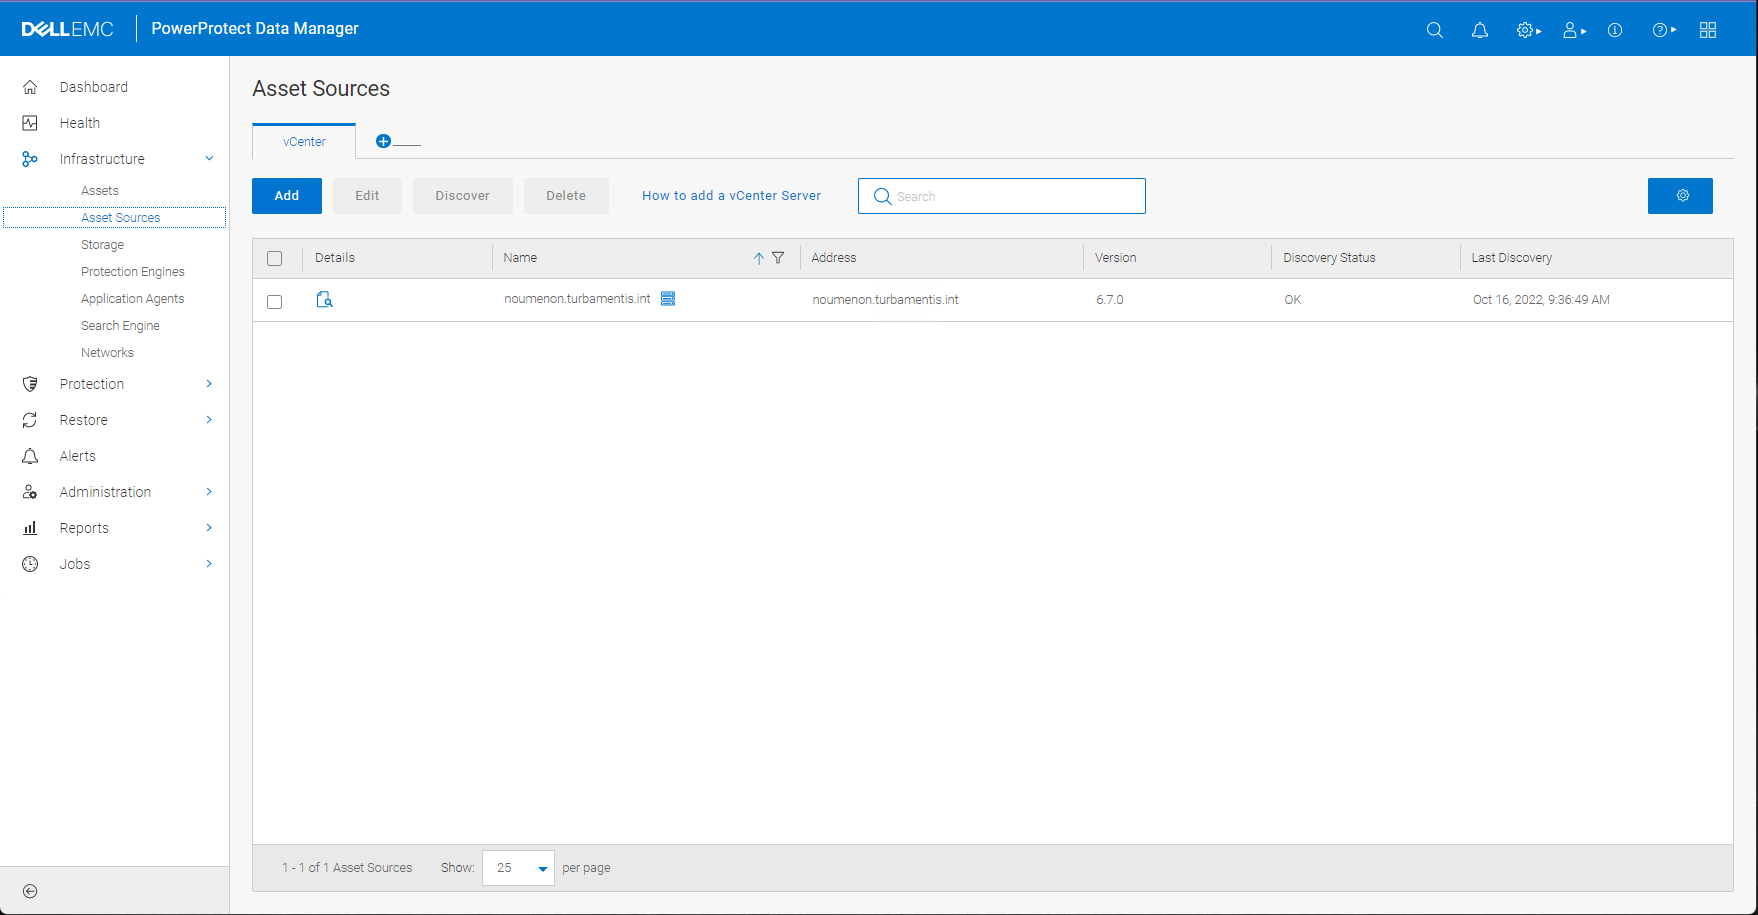
You start by going to Infrastructure > Asset Sources and enable NAS, if it isn’t already. In my example below, my server was only protecting VMware based systems:
Clicking the + button lets you select the asset sources you want to add to the system:

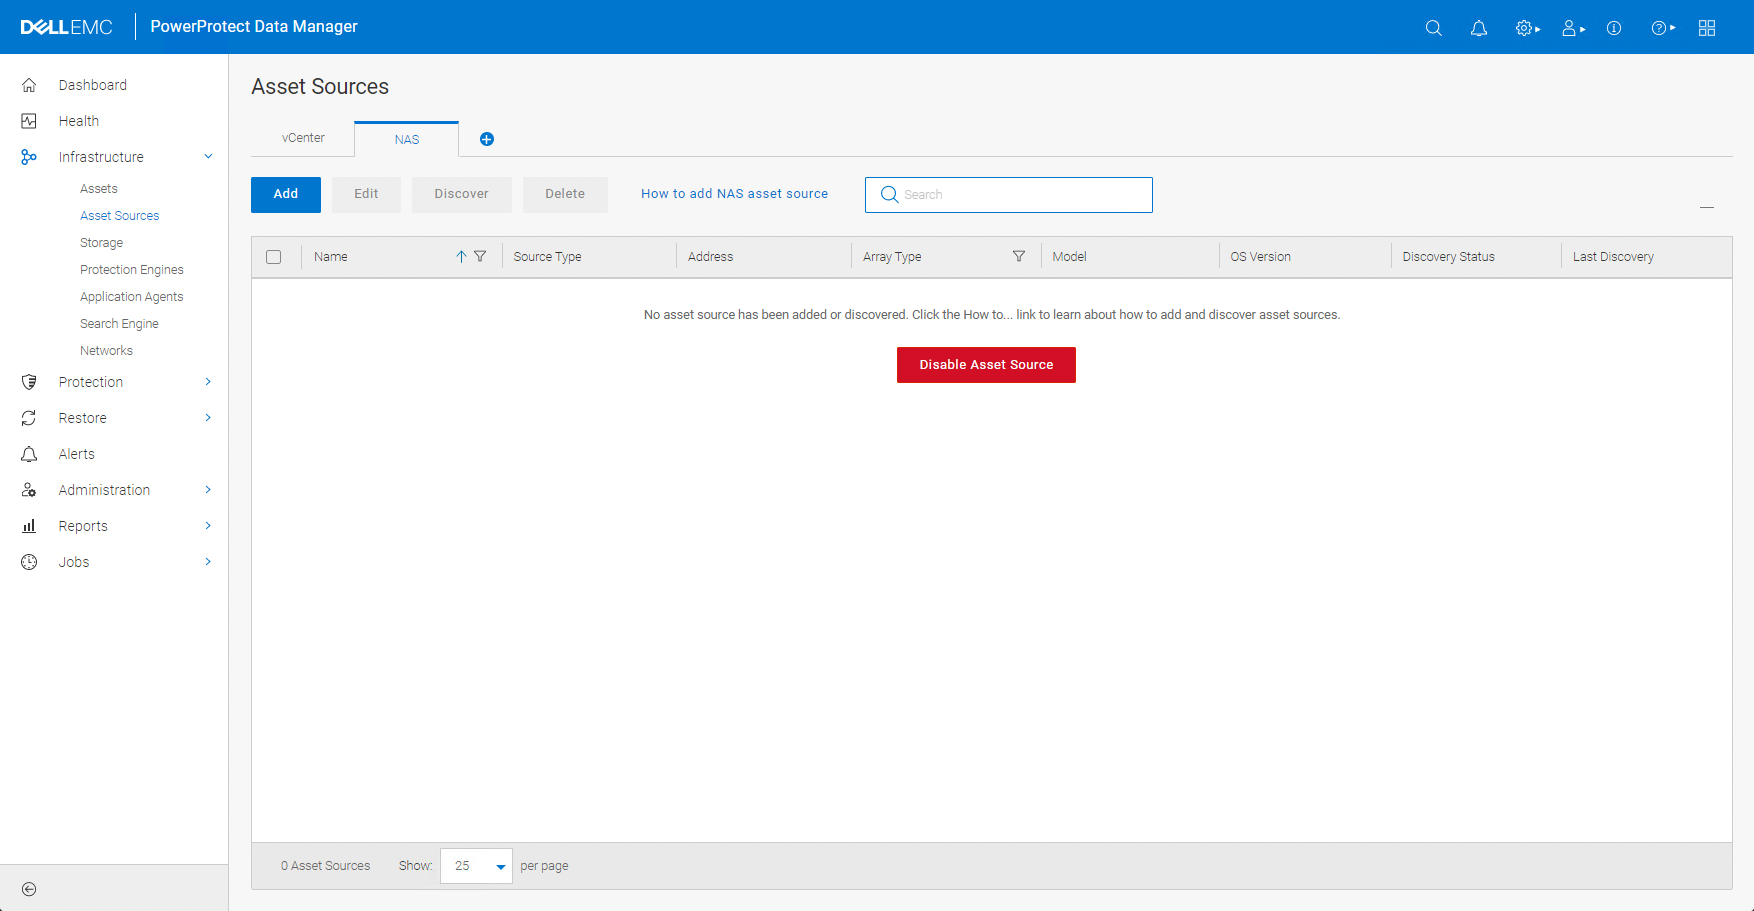
Clicking the “Enable Source” button enables configuration of NAS sources and assets for protection. This includes a popup giving general instructions for the process flow you’ll have to follow.
Back in the Infrastructure > Asset Sources view, you’ll now find a NAS tab, where you can add NAS systems for protection.
Clicking Add will bring up a dialog box where you can enter details of the system you want to protect:
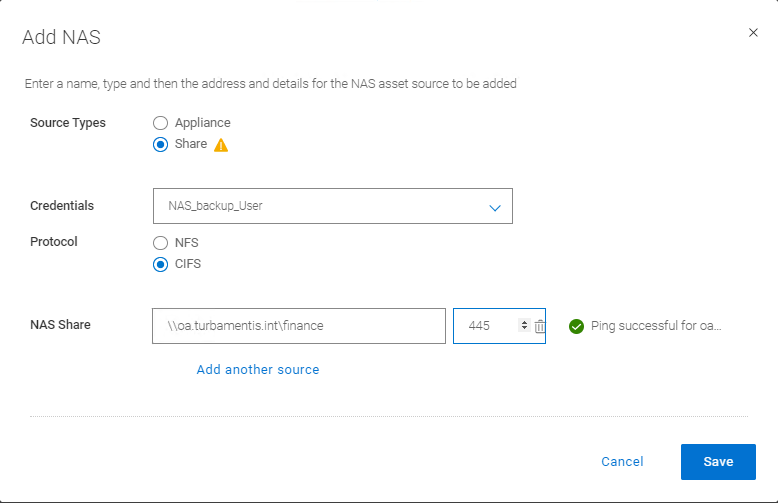
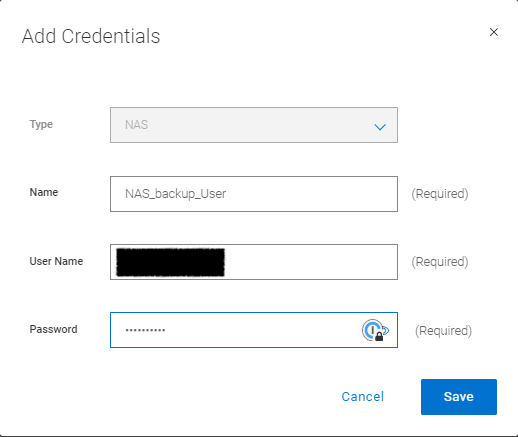
In this case, I elected to protect via CIFS. This included setting up credentials for accessing the NAS system as well, which I’ve shown above.
Deploying the Protection Engine
As I mentioned earlier, NAS protection is either via NDMP or a proxy. For Data Manager, it’s a proxy based backup, using a protection engine. You’ll need to deploy one, which requires an IP address/hostname. Data Manager will handle the actual deployment for you. To do this, go to Infrastructure > Protection Engines.
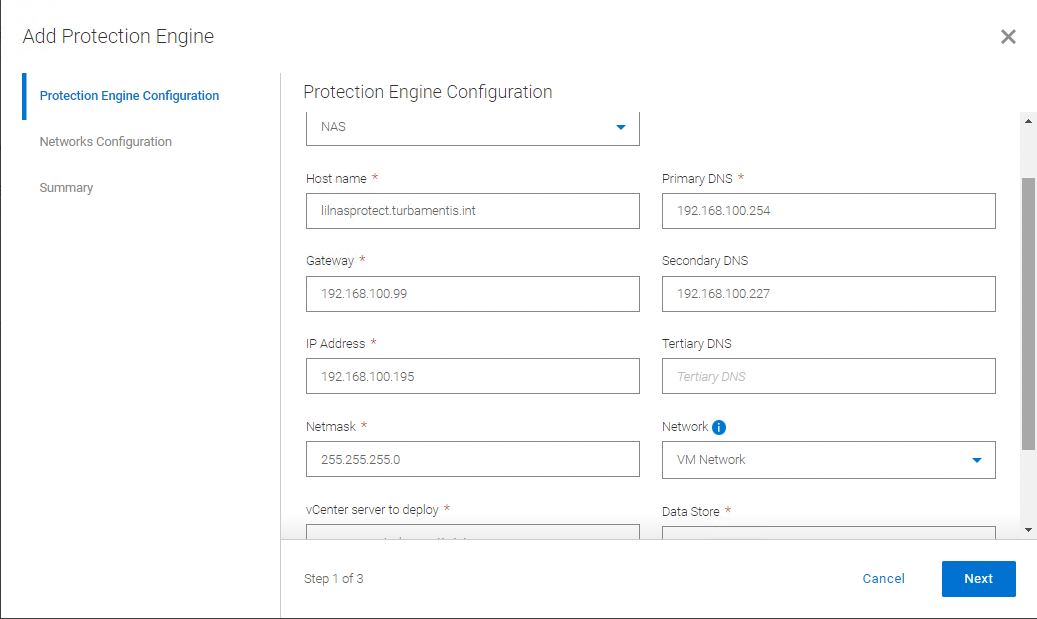
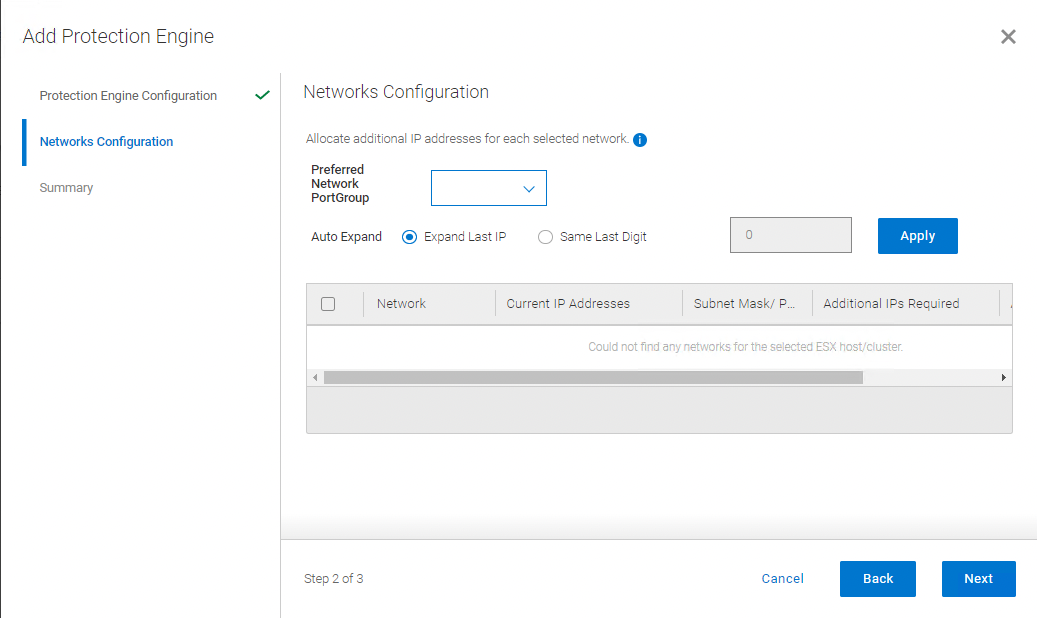
Clicking the Add button will bring up a wizard where you can choose to deploy a NAS protection engine and provide the requisite details. I’ll show the three screens of the wizard below:
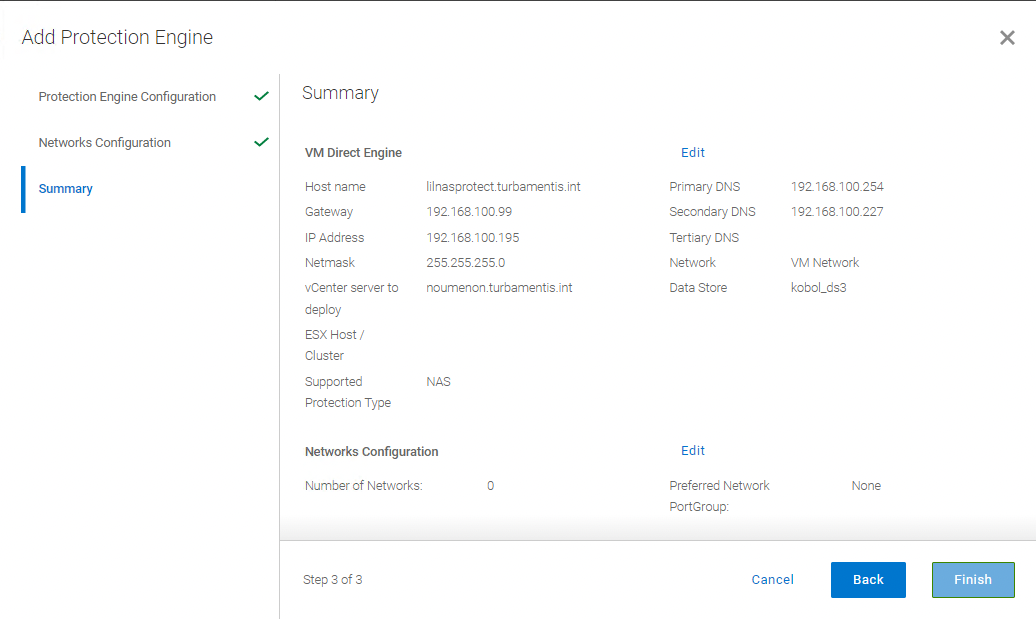
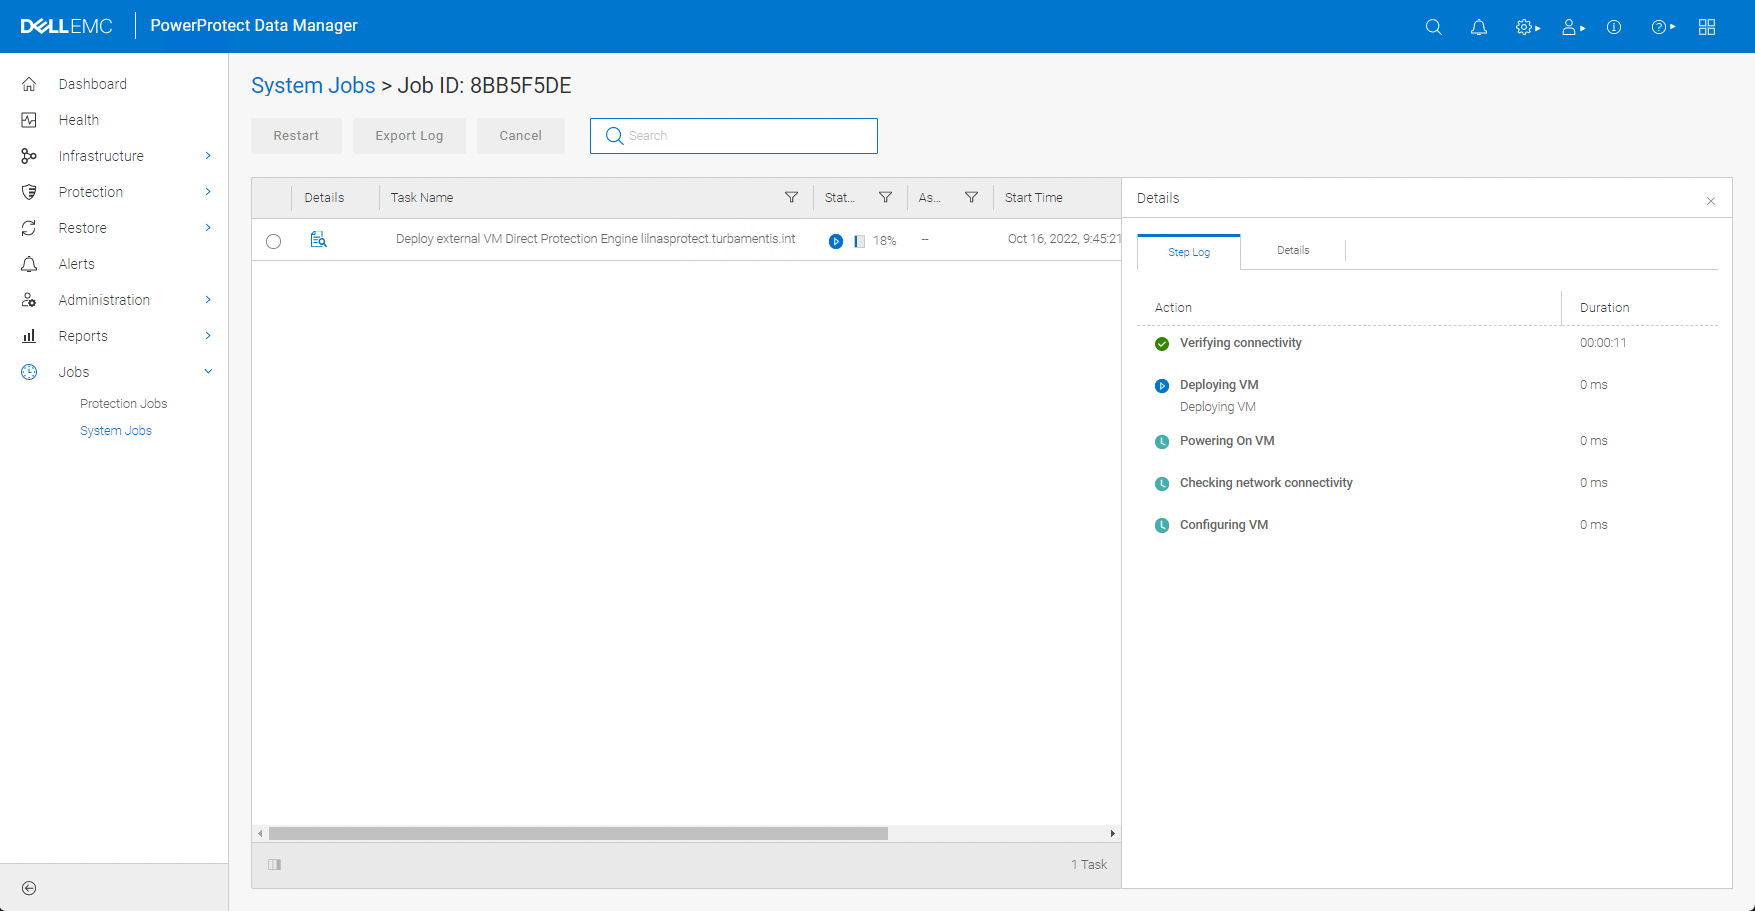
Once you’ve clicked the Finish button in the Wizard the deployment will start, and you can monitor it in the System Jobs area:
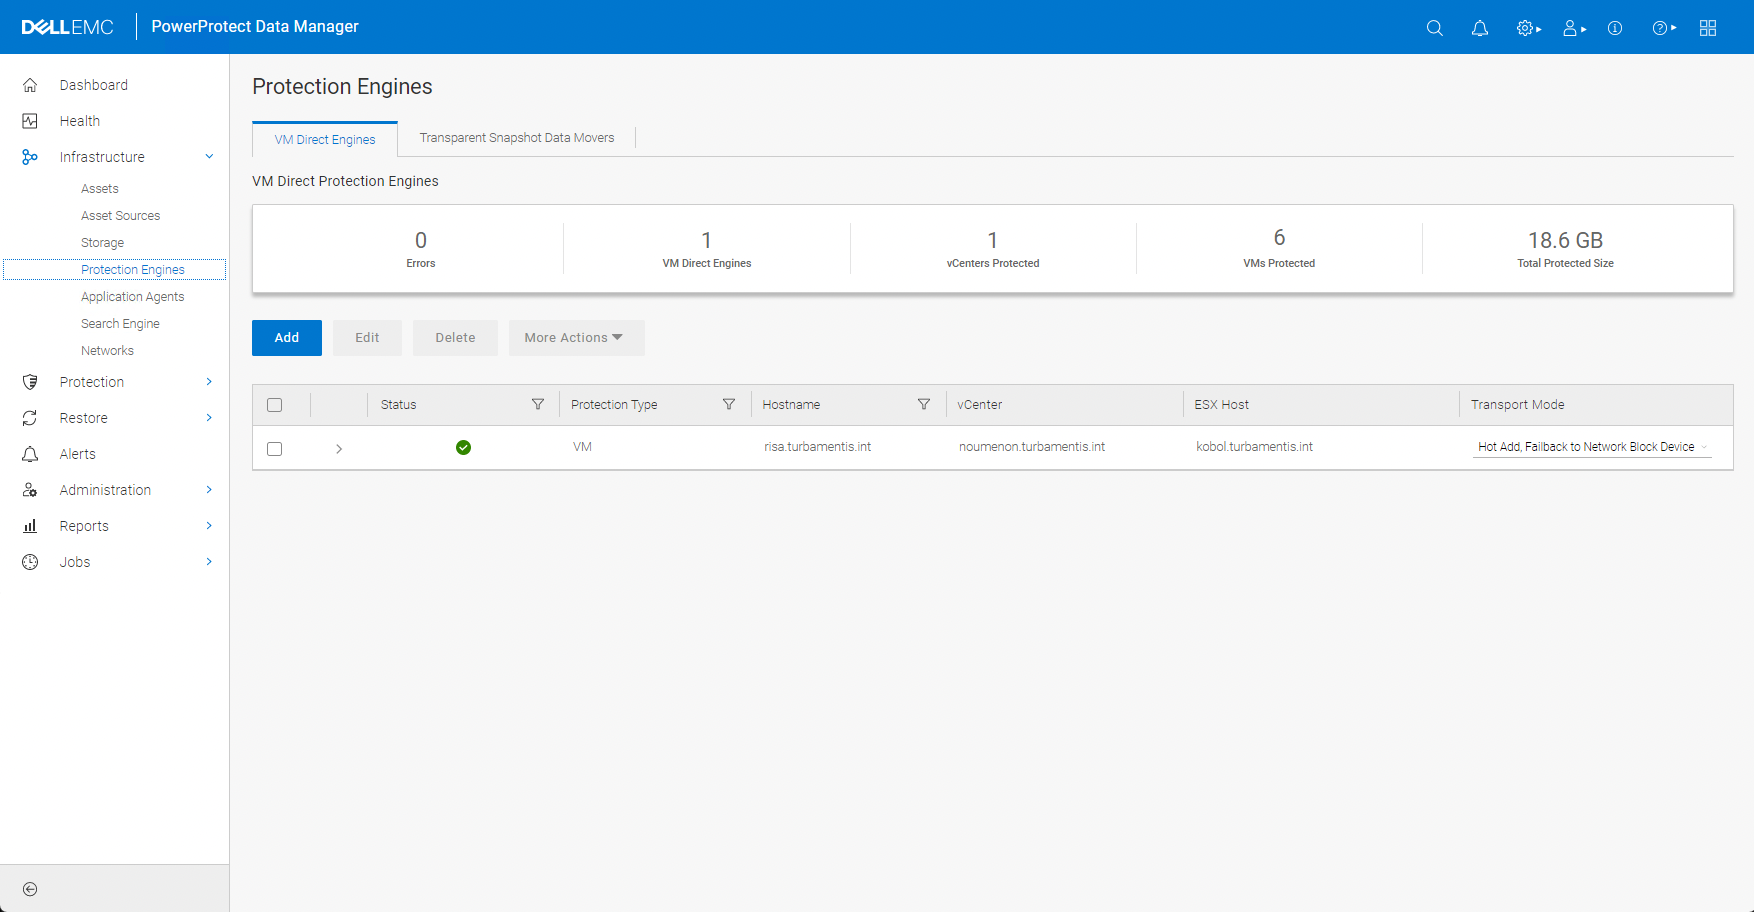
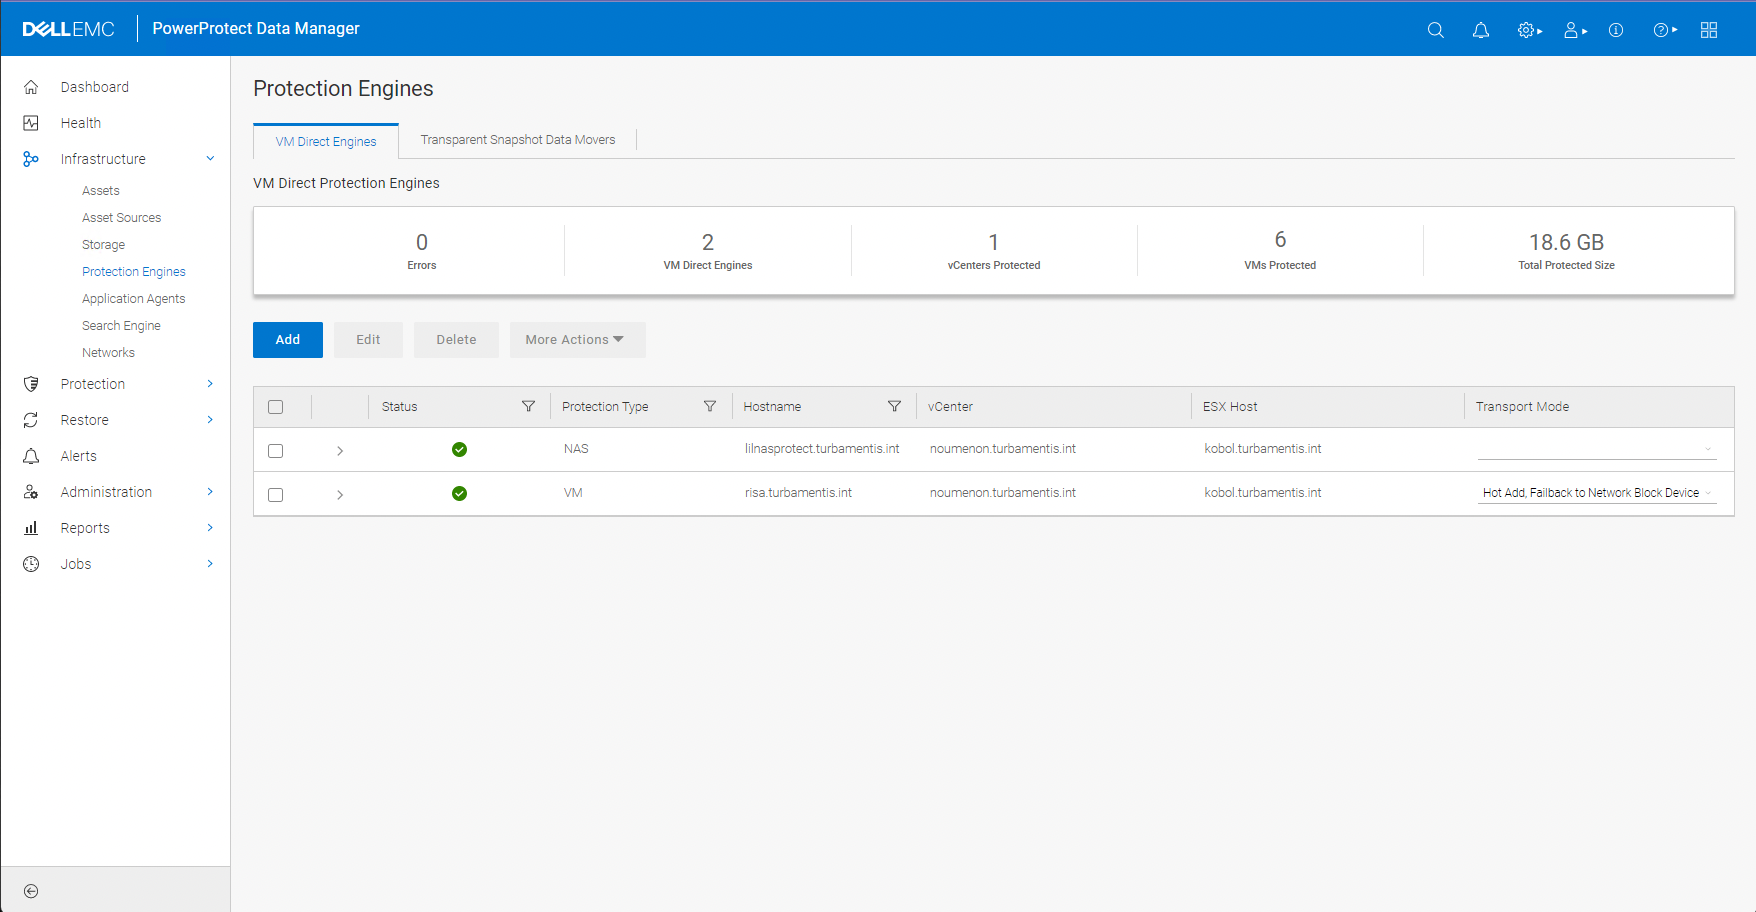
Finally, when deployment is done, you can see the status back in Infrastructure > Protection Engines.
Stream Counts
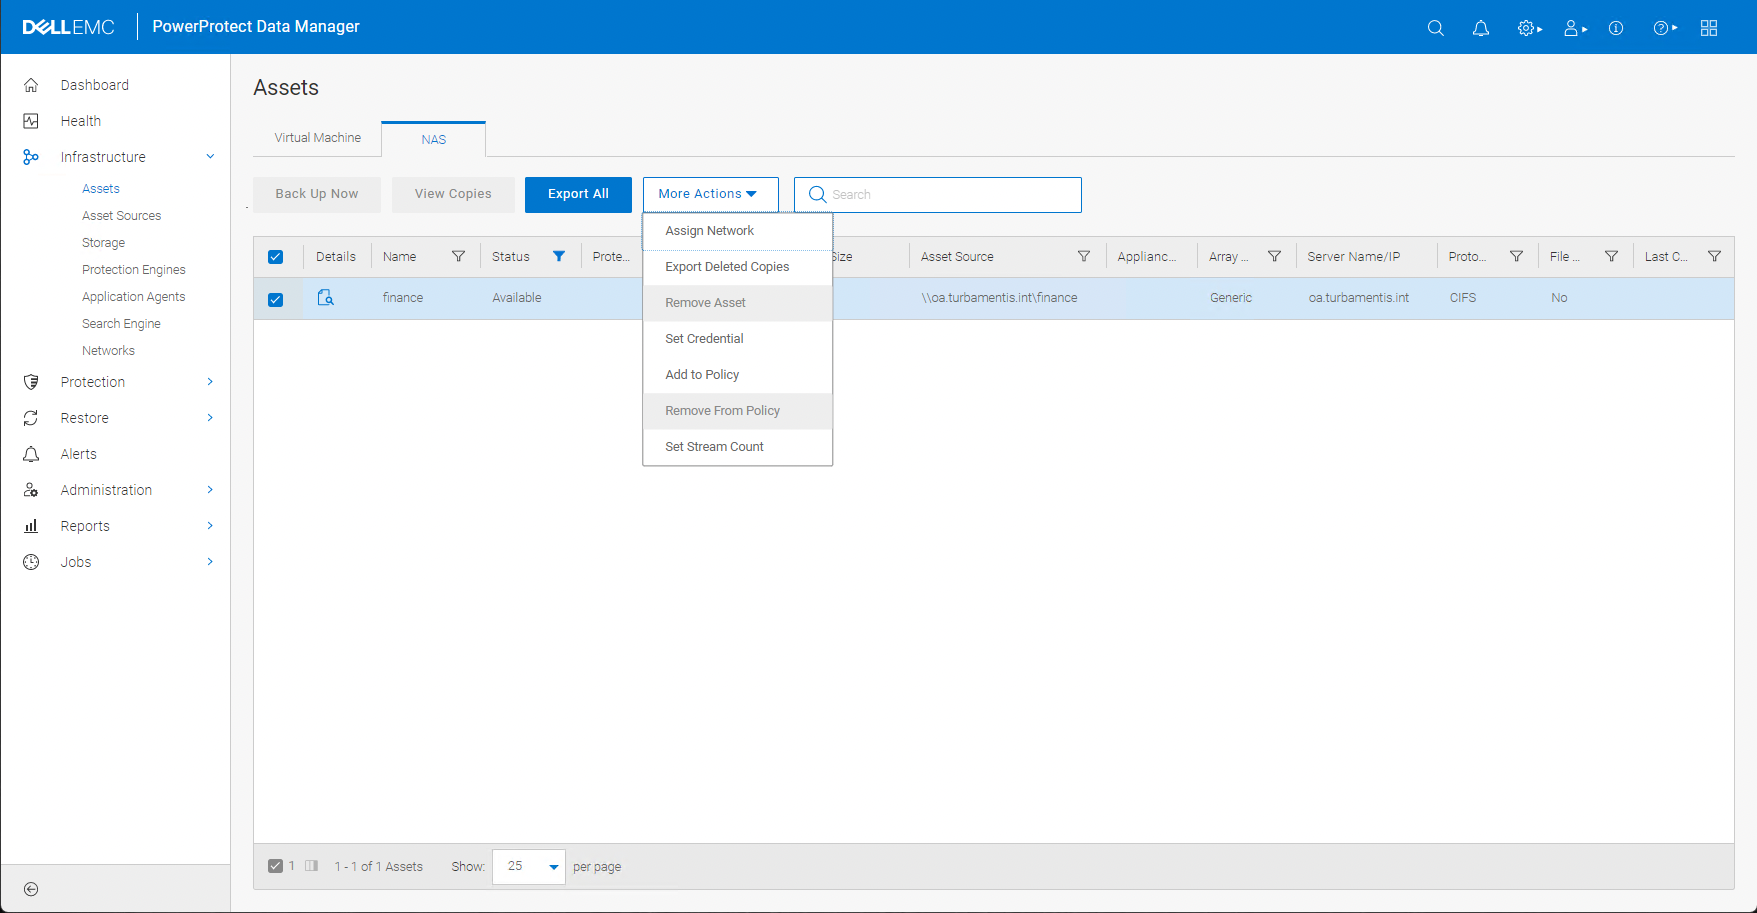
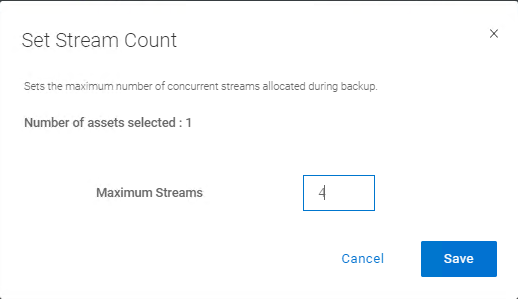
I’ve mentioned before that Data Manager does dynamic NAS protection, which means it automatically slices each NAS filesystem it’s reading into a number of streams – 8, by default. For this configuration I wanted to halve this, since it’s only a small NAS share I’m protecting. To do that, make your way across to Infrastructure > Assets, and under the NAS tab, select the share and click Set Stream Count from the More Actions menu:
Configuration a NAS Backup Policy
OK, so at this point I’ve got the NAS protection engine deployed, and my NAS share added. Next up is creating a policy for protection, which is relatively straight-forward.
To get started, head over to Protection > Protection Policies:
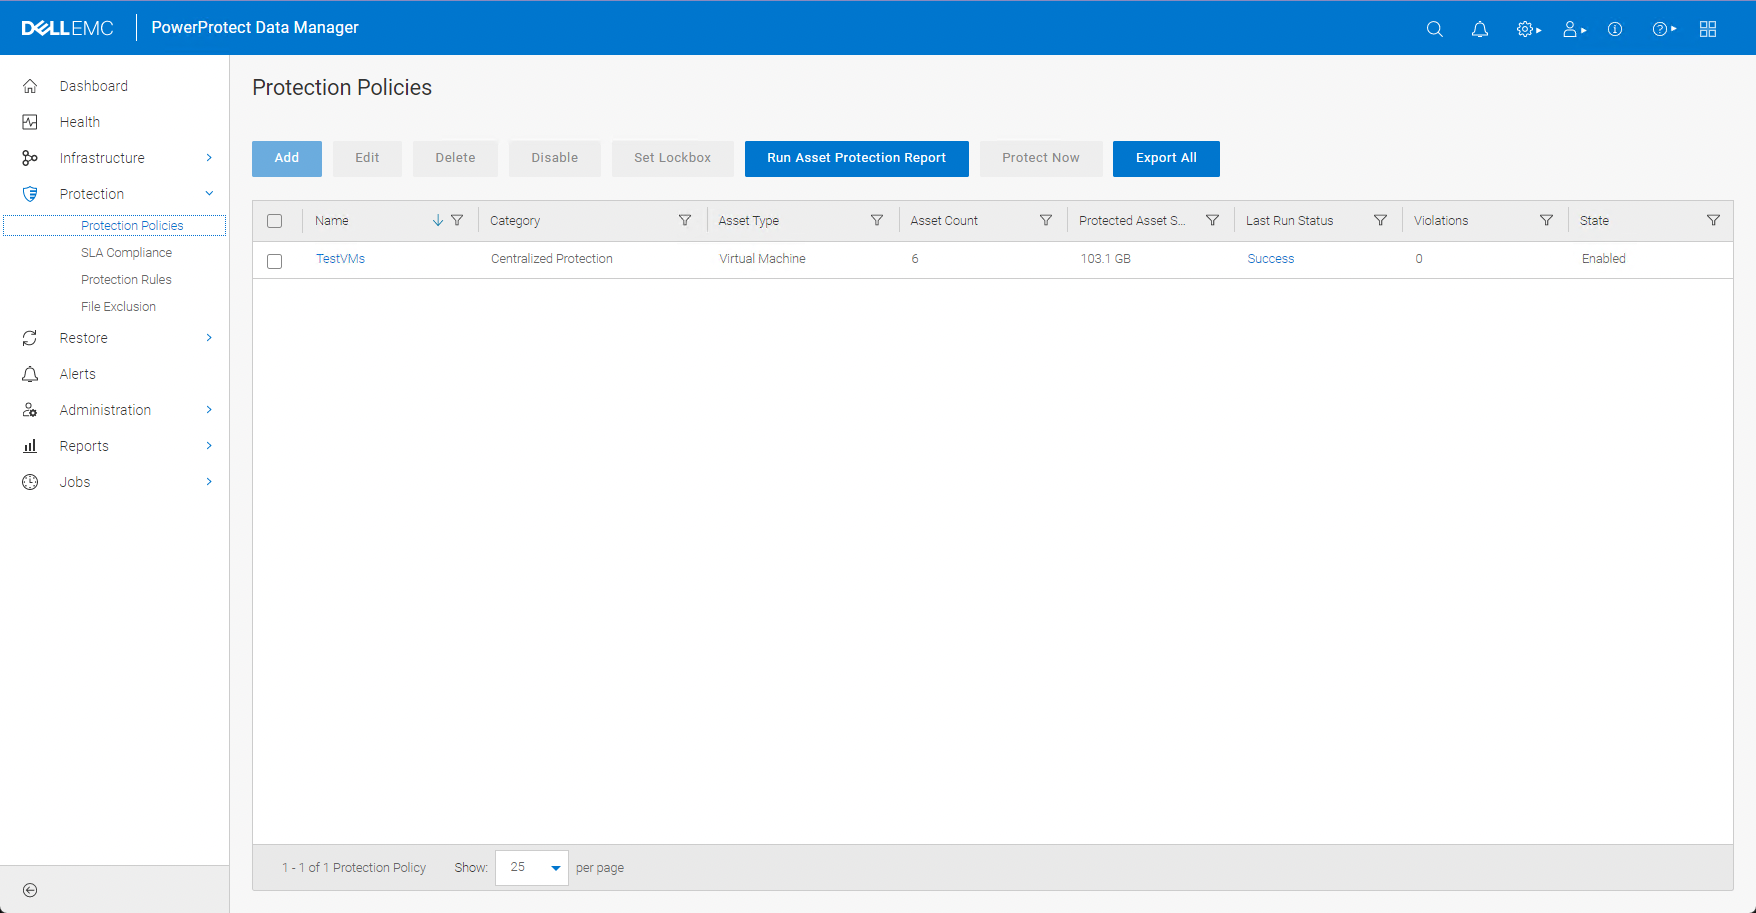
Click the Add button to start creating the new policy:
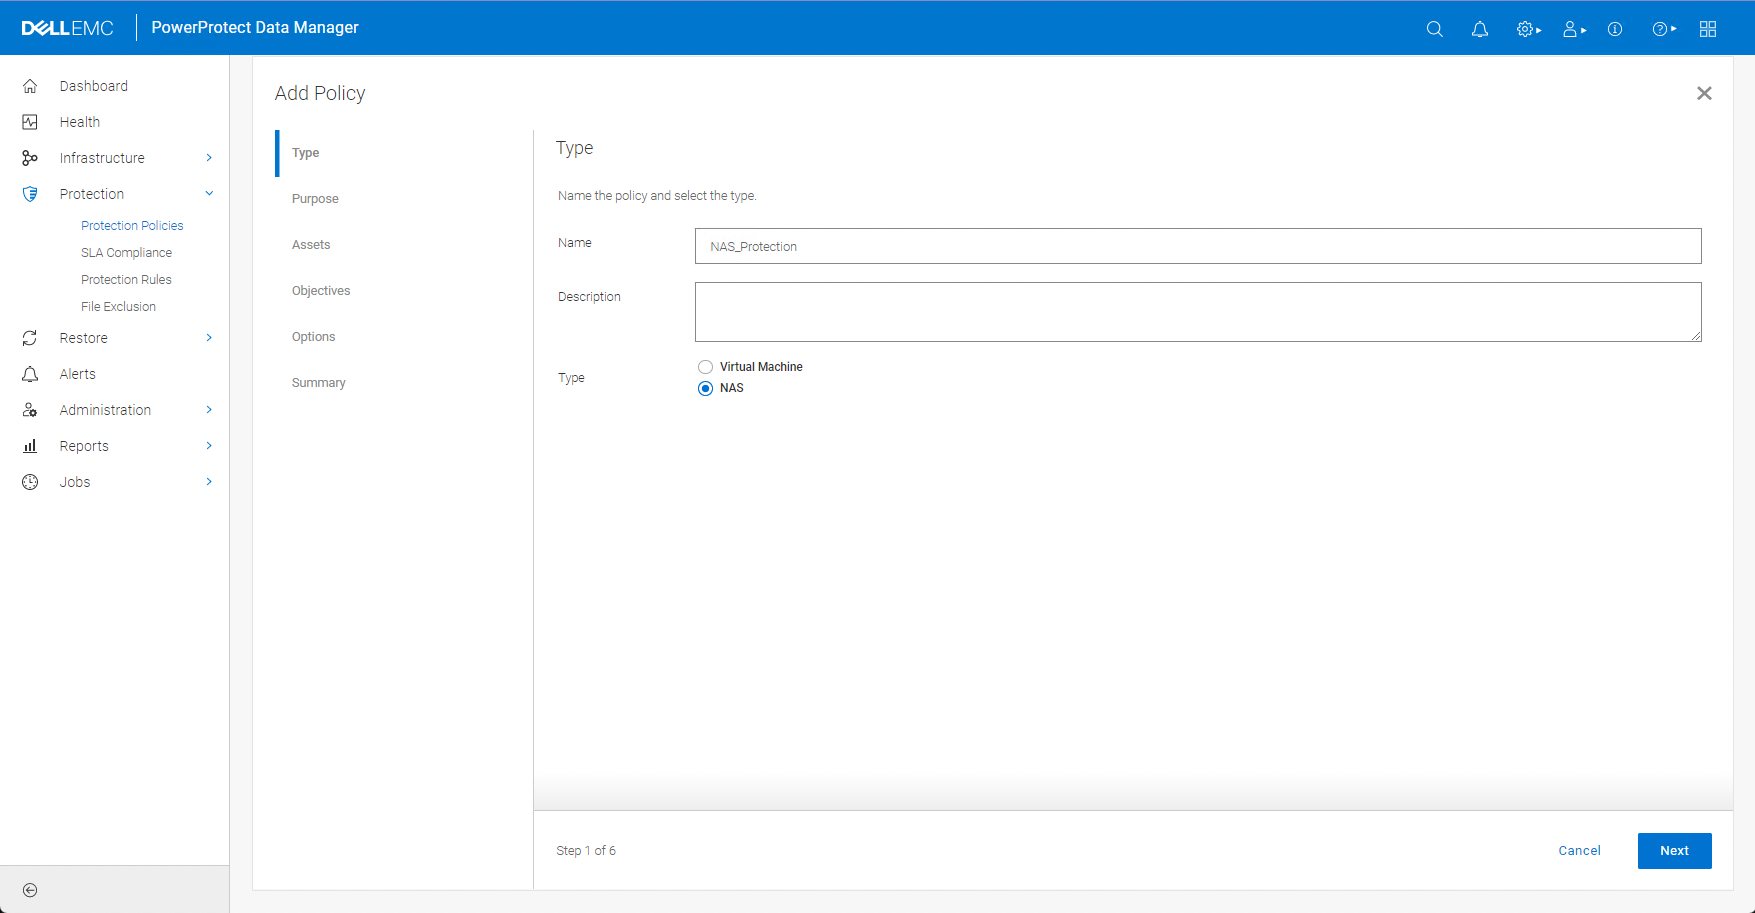
Give the policy an appropriate name (and perhaps one a little more imaginative than I used) and select NAS type before clicking Next:
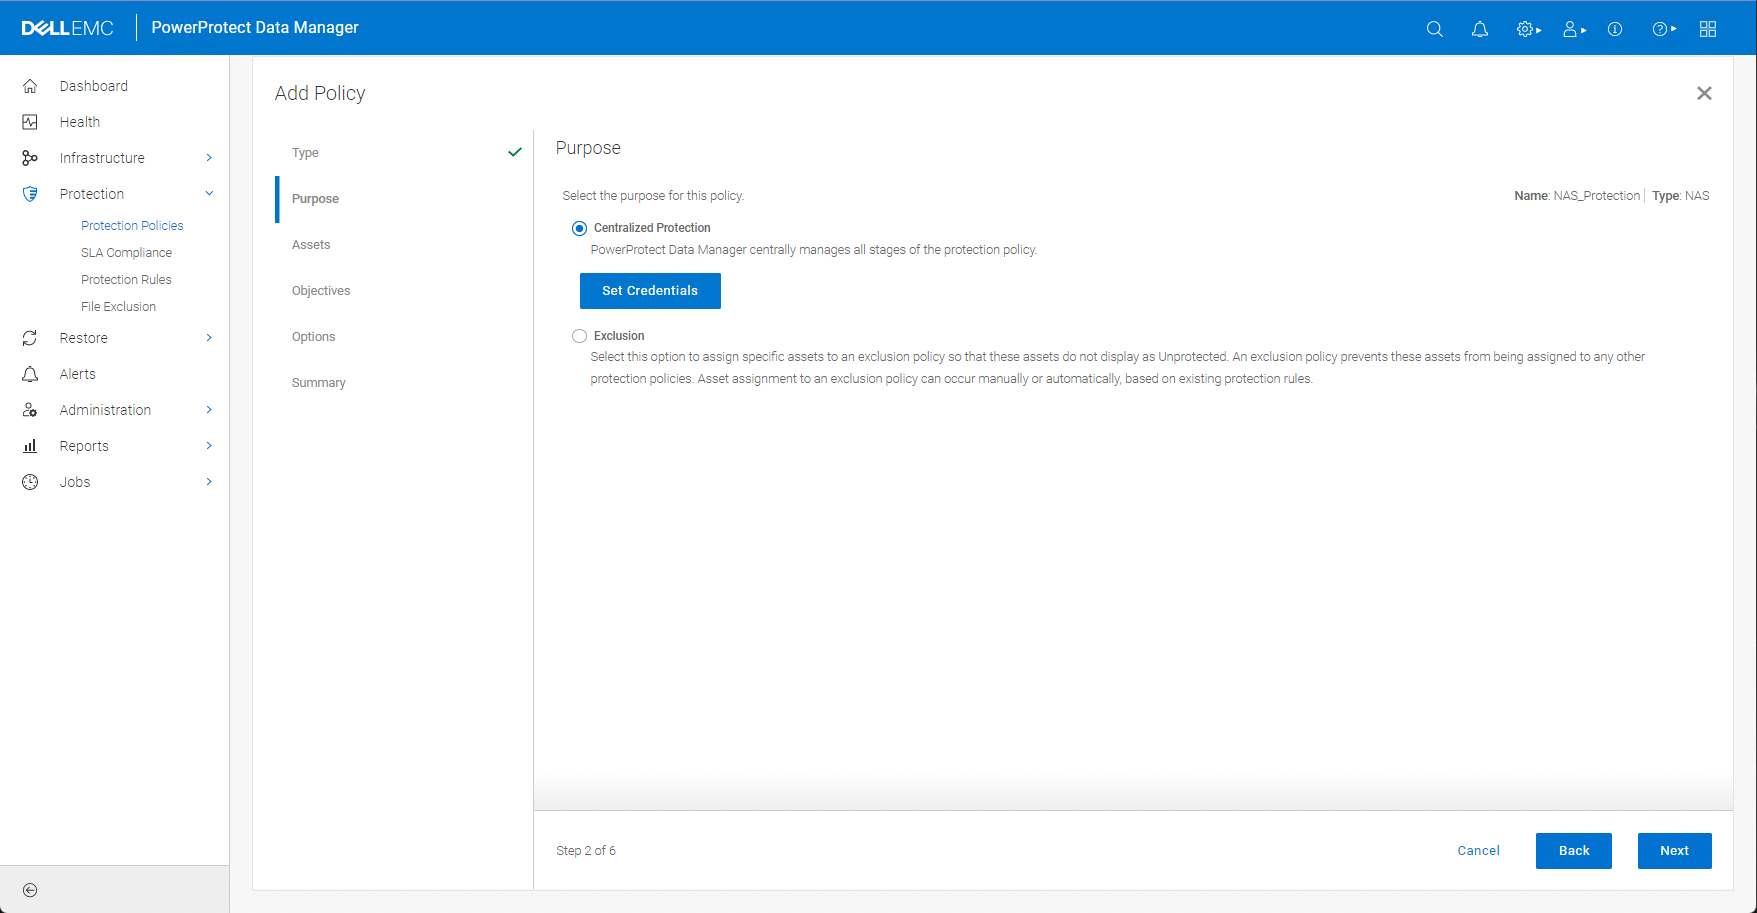
Choose Centralised Protection here and click Next to move on to asset selection:
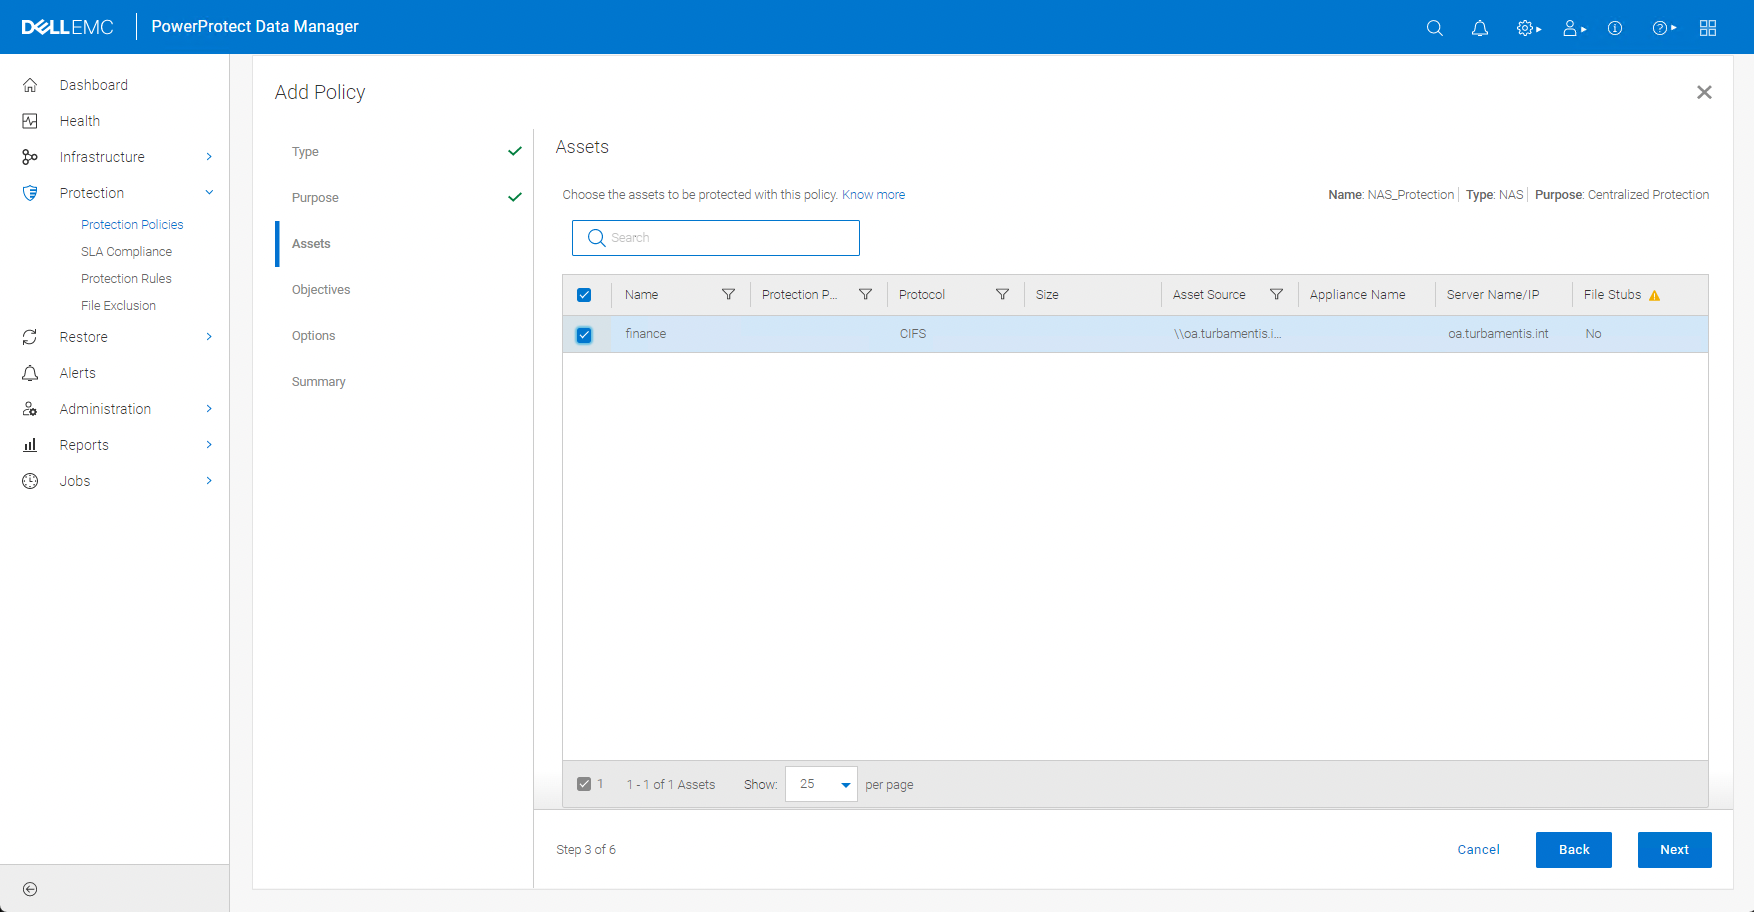
After selecting the NAS share(s) to add (I only had one), click Next to configure the policy objectives:
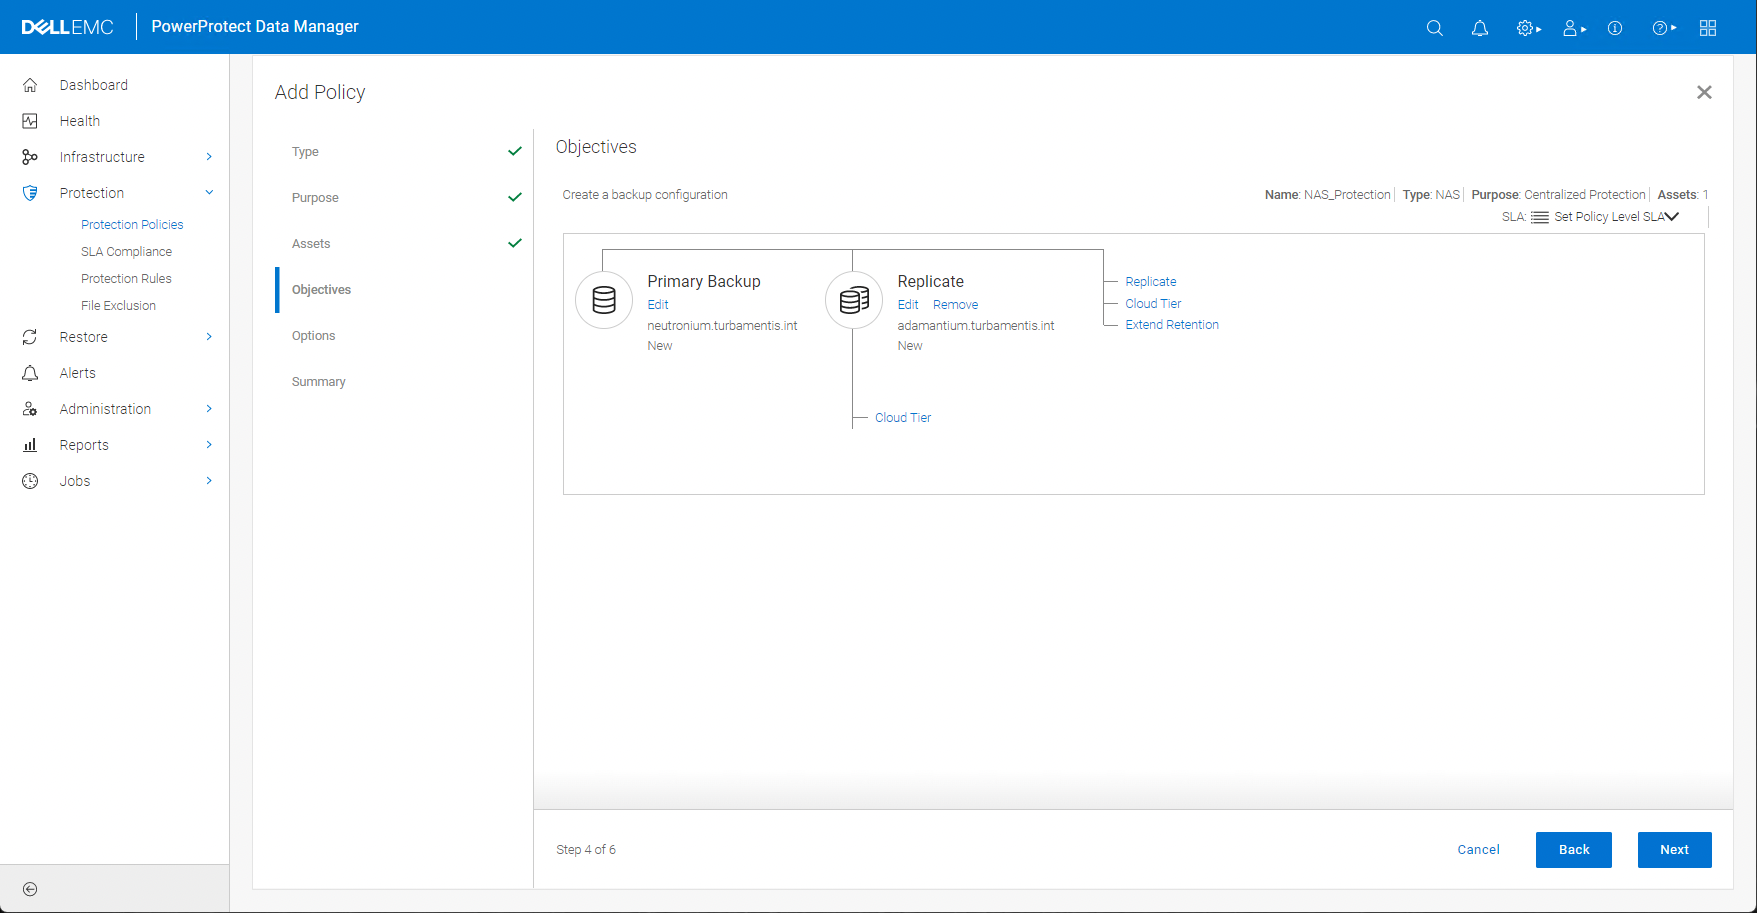
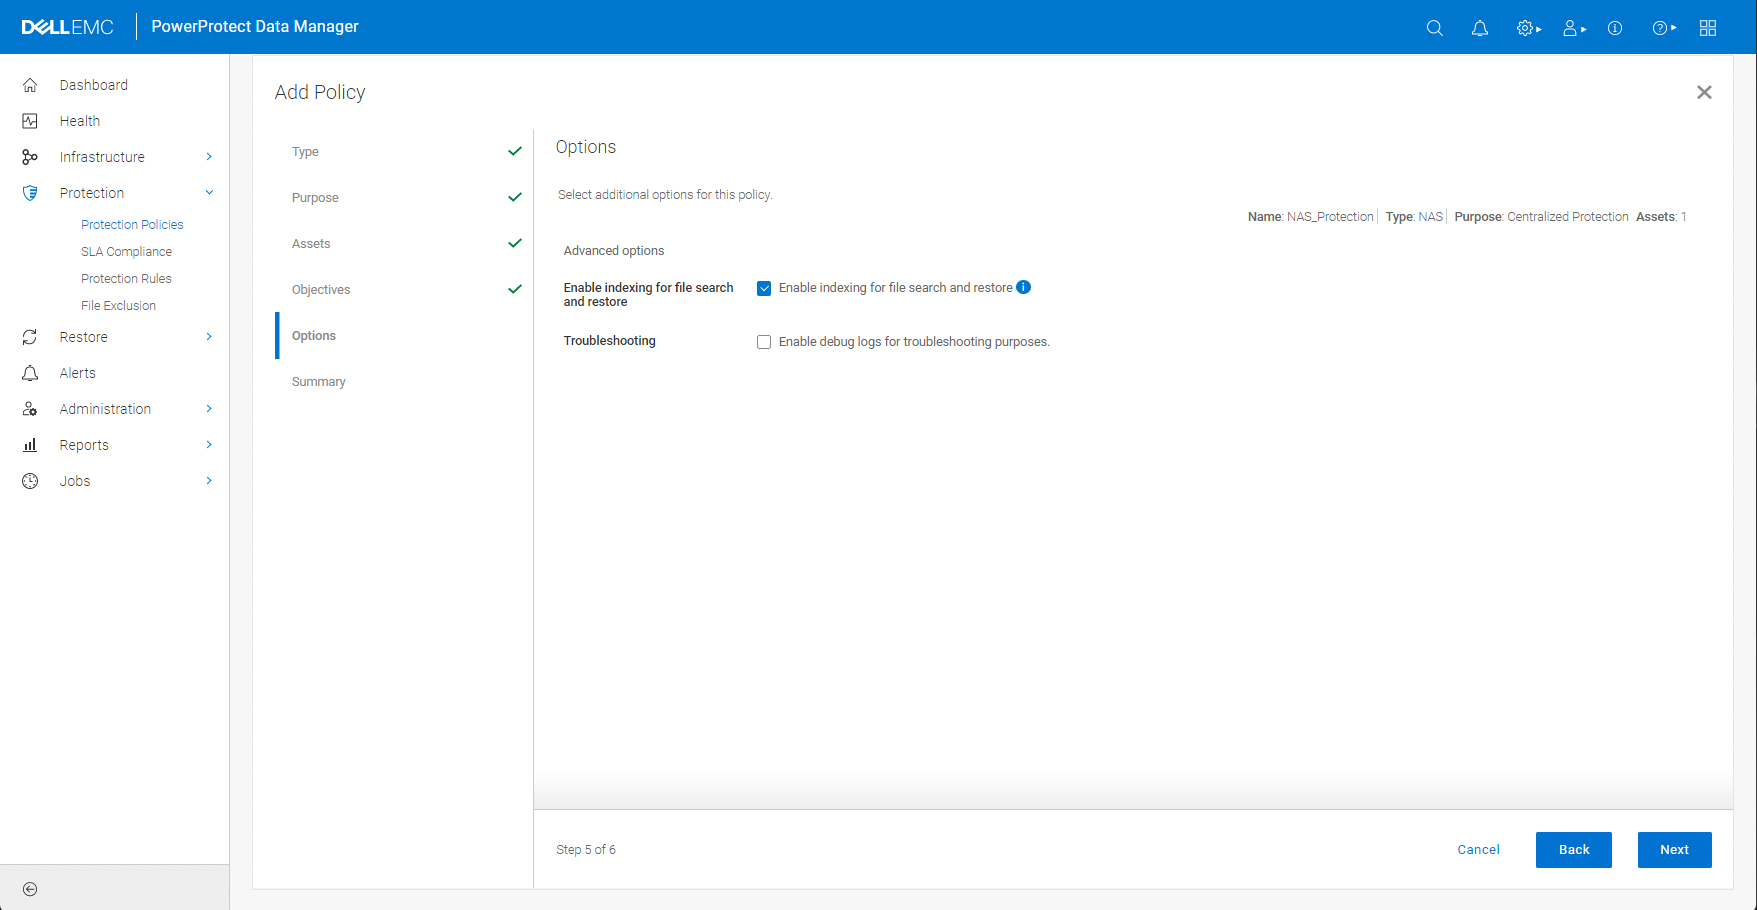
I configured the policy objectives as daily backups retained for 14 days, with immediate replication, then moved on to the backup options where I could enable indexing:
Clicking Next brought up the summary view for the new policy:
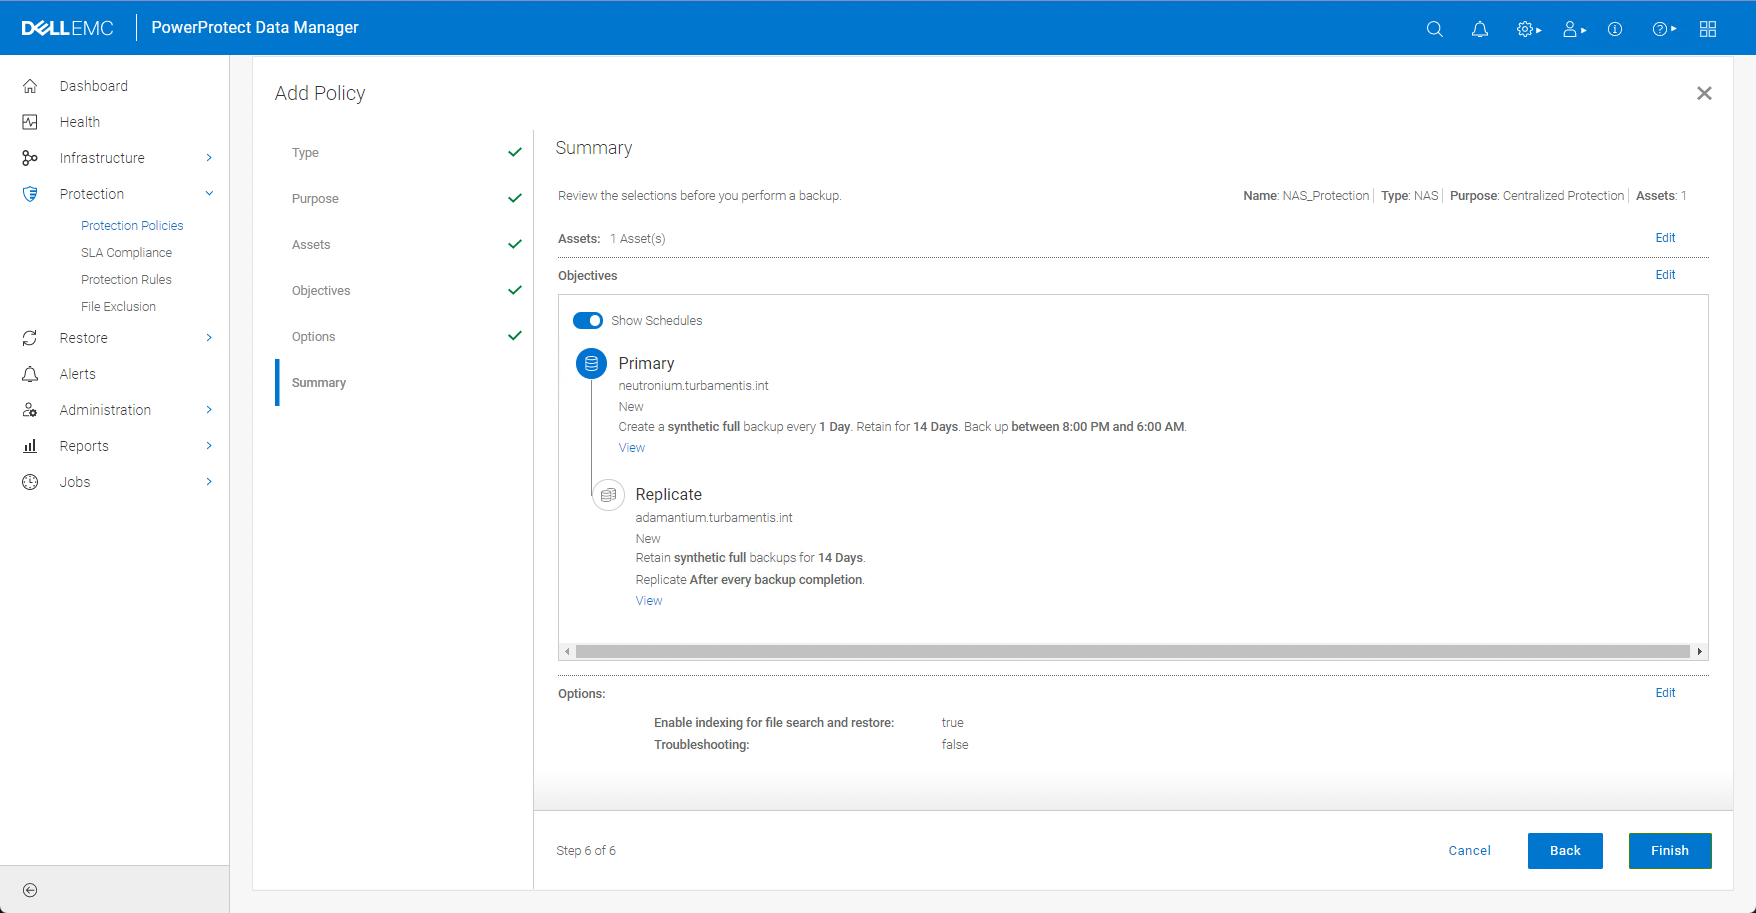
When I was happy with the policy configuration, I clicked Finish to have it created.
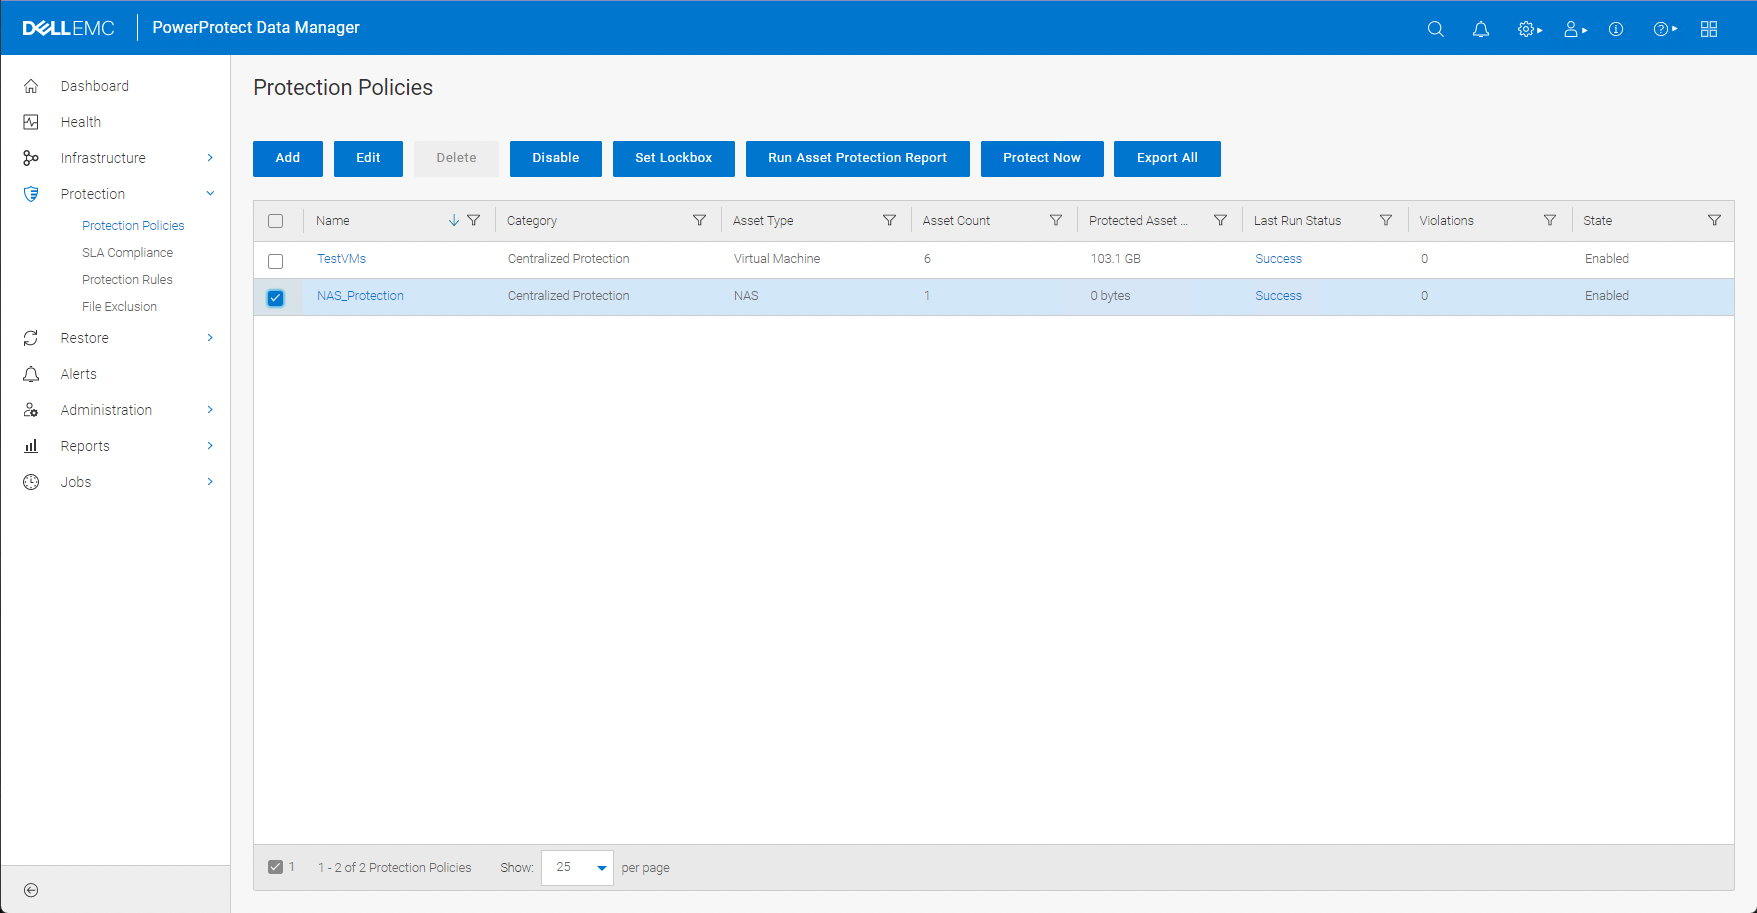
Running the Policy
The policy I created was configured to run overnight, so using the Protection Policies view, I selected the policy and clicked Protect Now button to step through the dialog for an ad-hoc run:
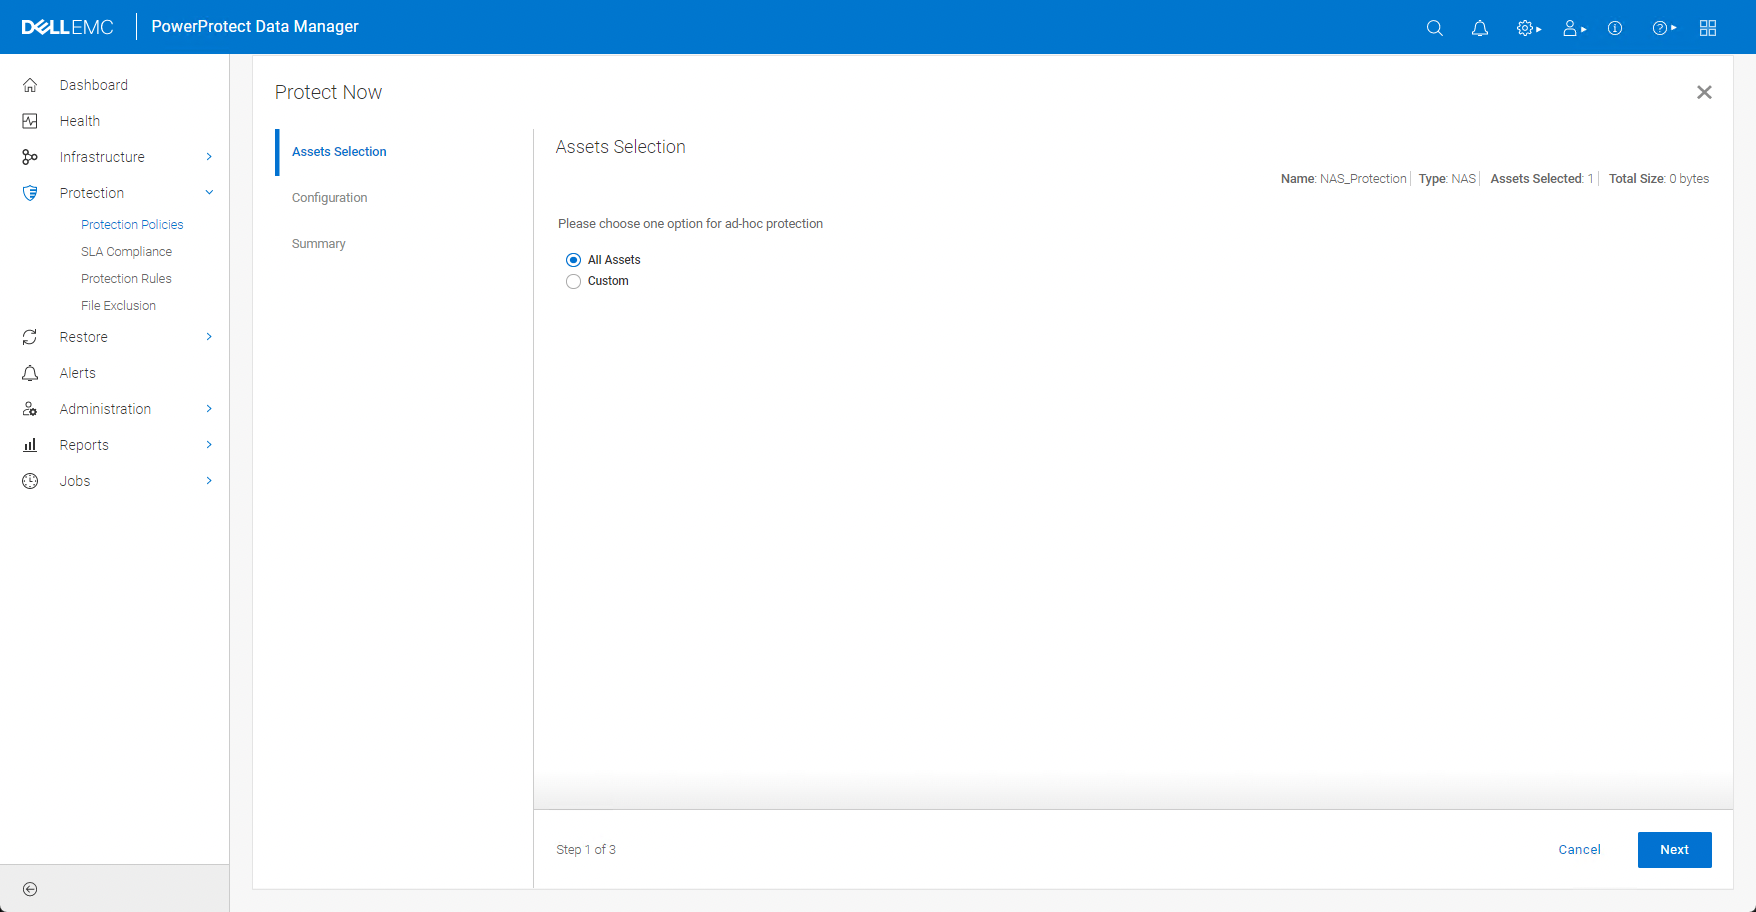
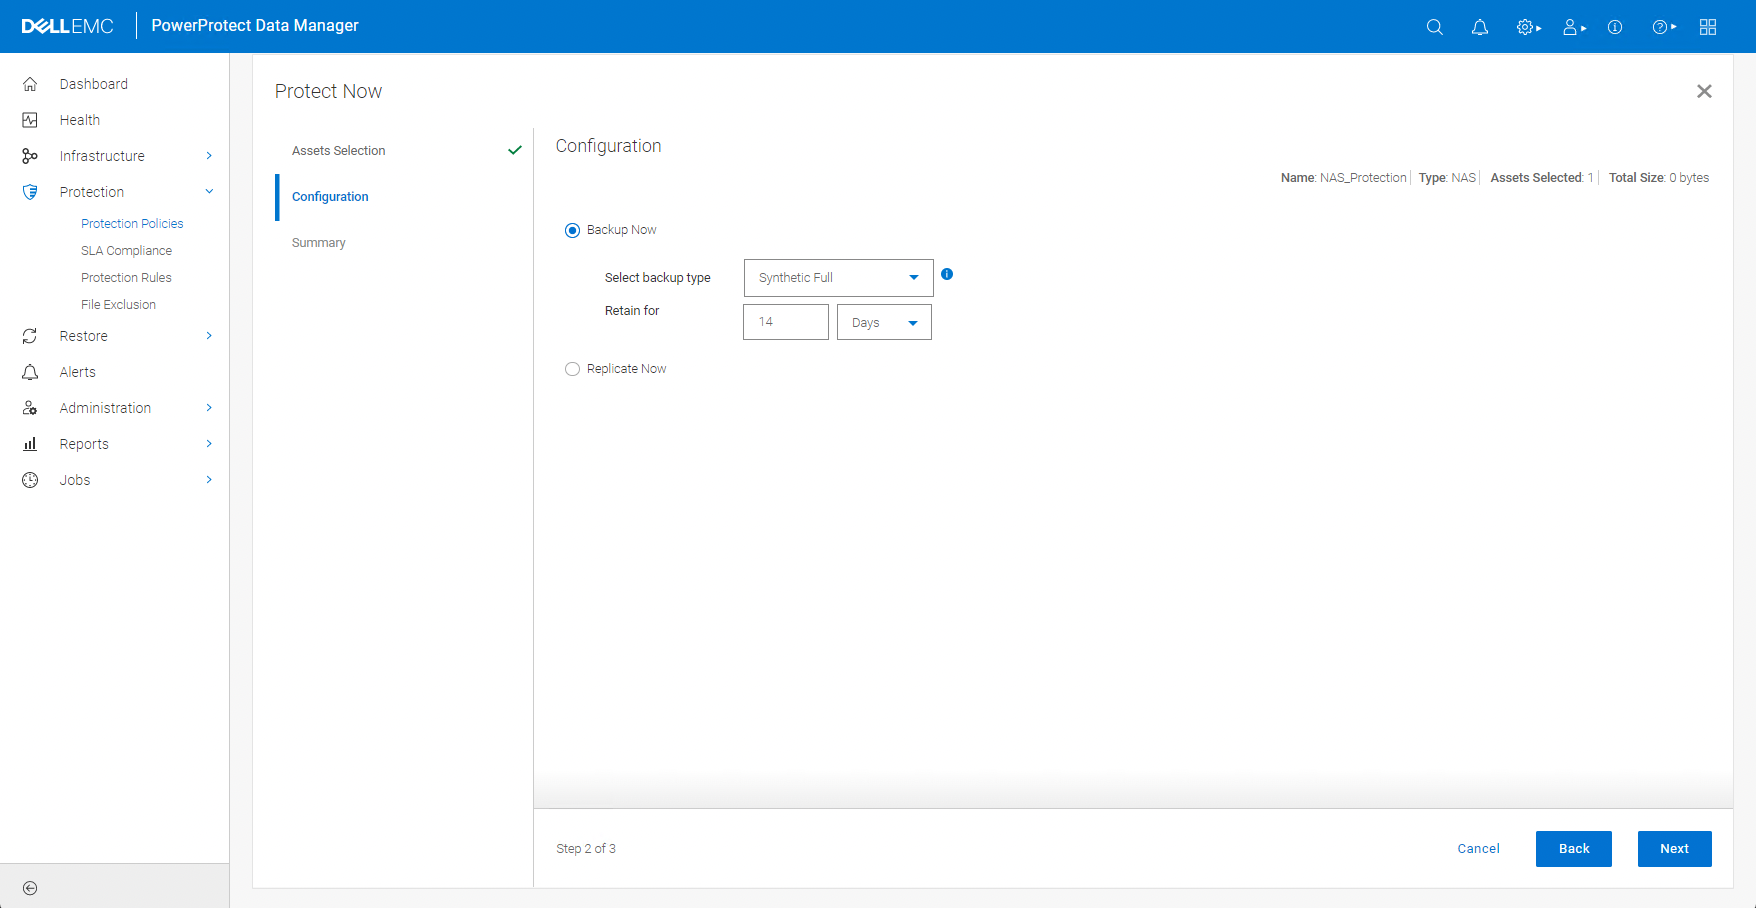
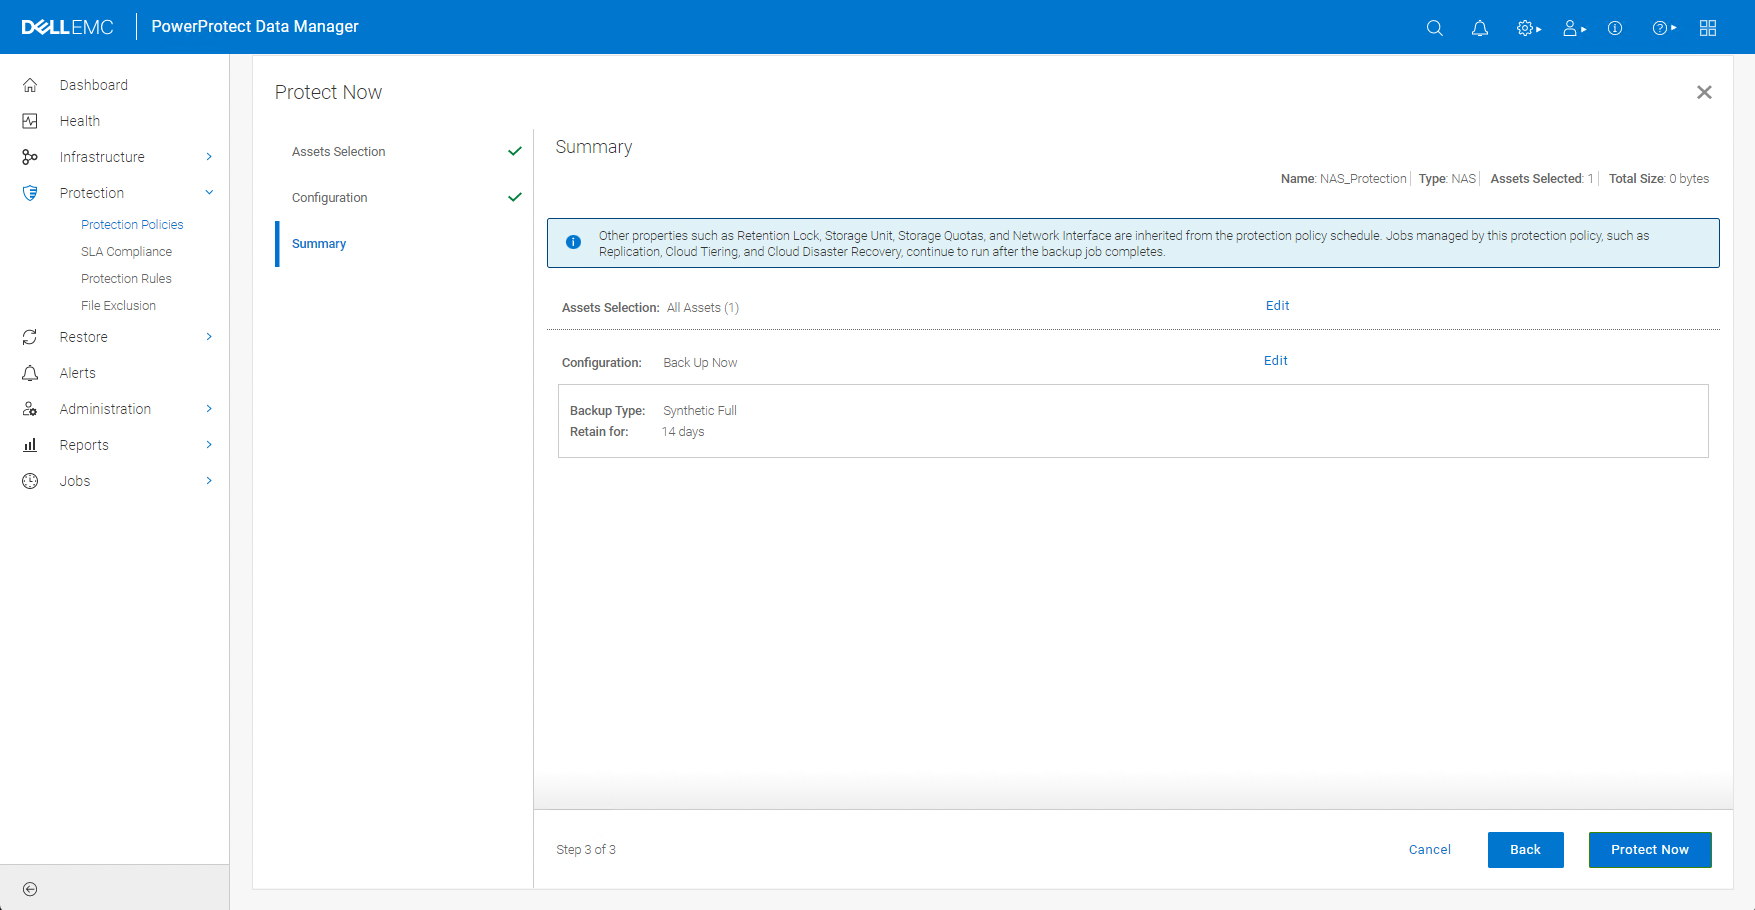
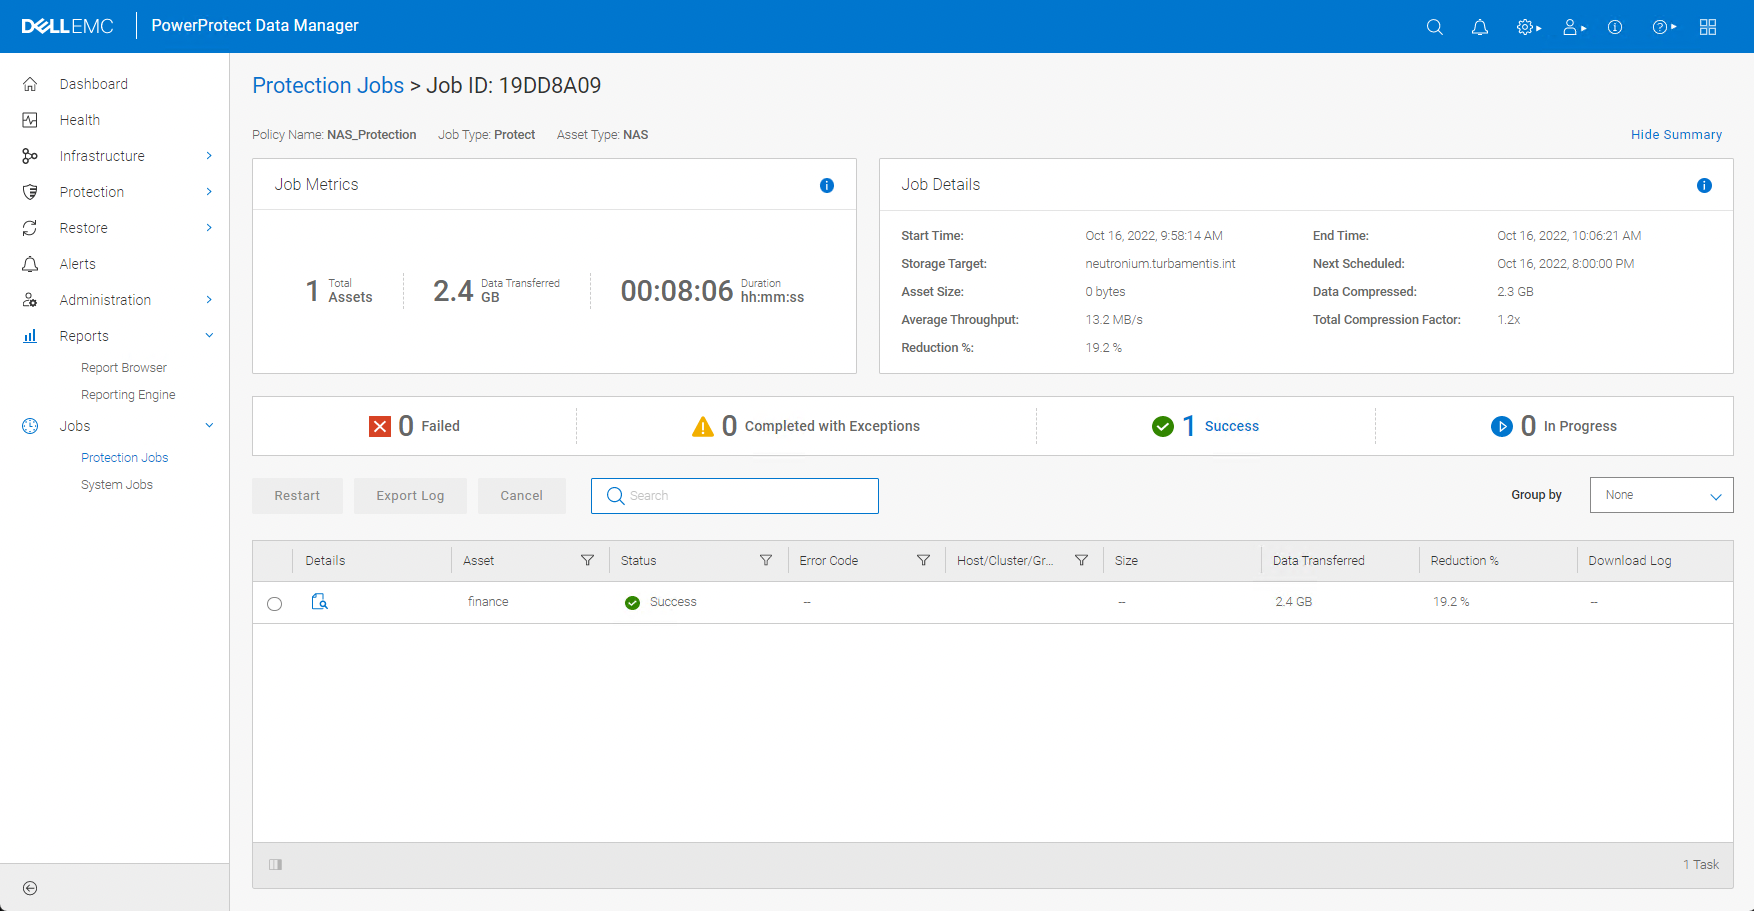
I didn’t need to change any of the protection options, so I just quickly stepped through them and clicked the Protect Now button to start the backup. Of course, while the backup was running I could monitor it through the Jobs view, and here’s a view of the completed job:
Running a NAS Recovery
Of course, I wanted to check out recoveries, too! That started by going to Restore > Assets and clicking across to the NAS tab:
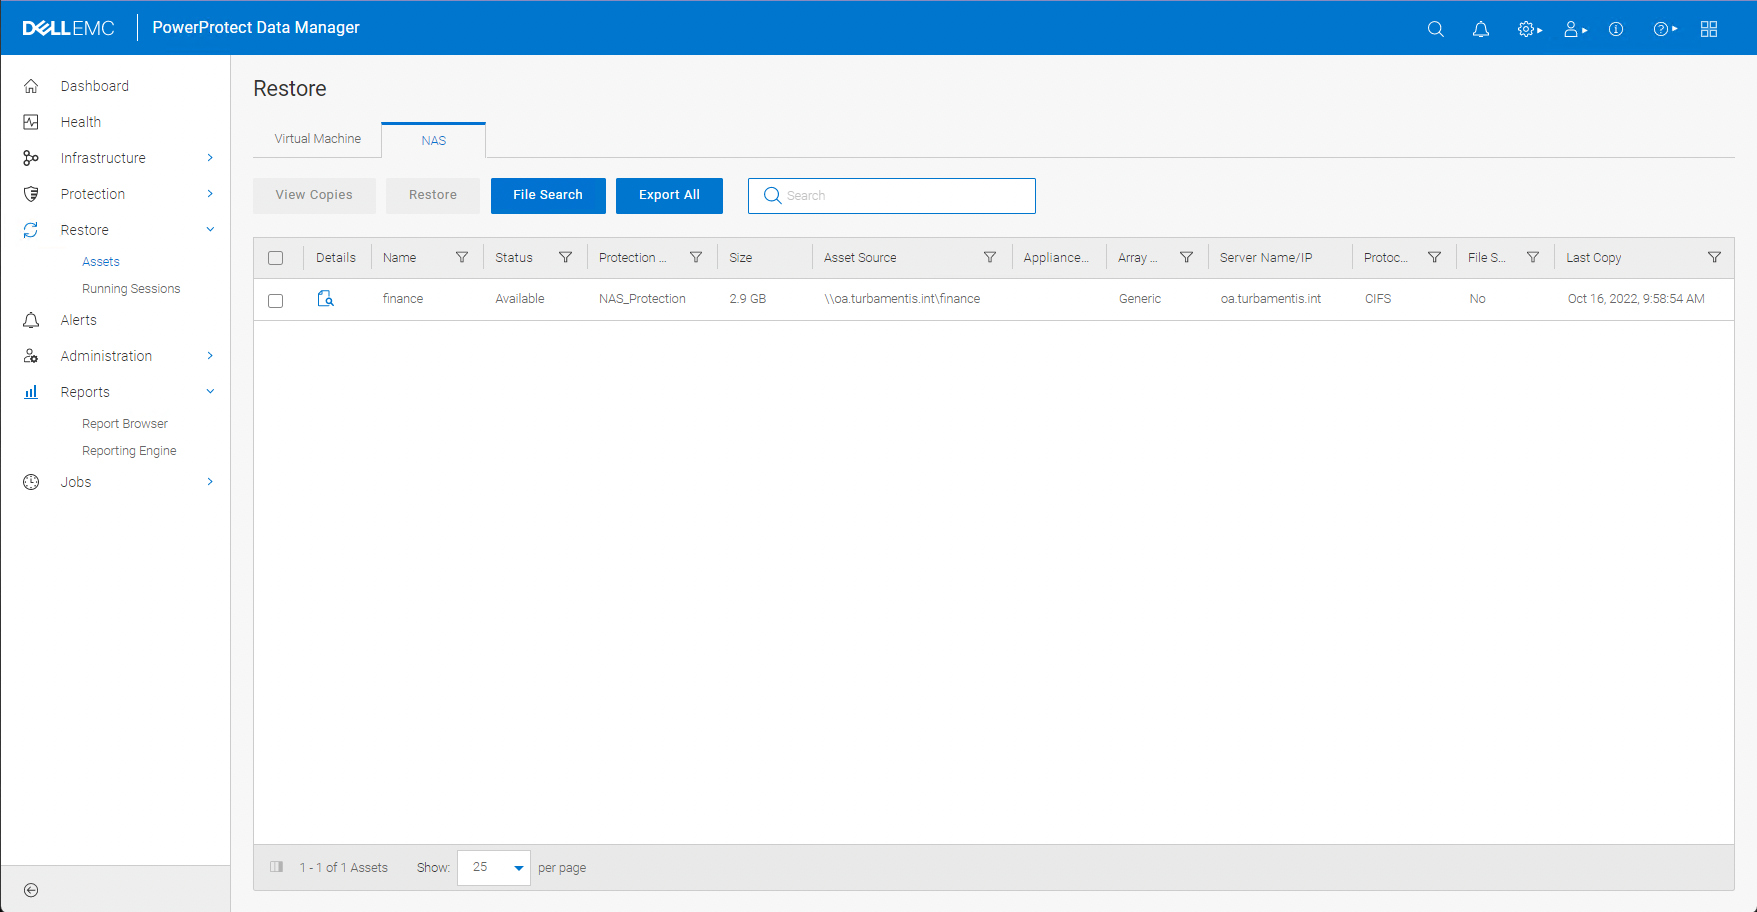
I wanted to do an indexed restore, so I clicked the File Search button and filled in a partial file name that I knew would get at least a few hits:
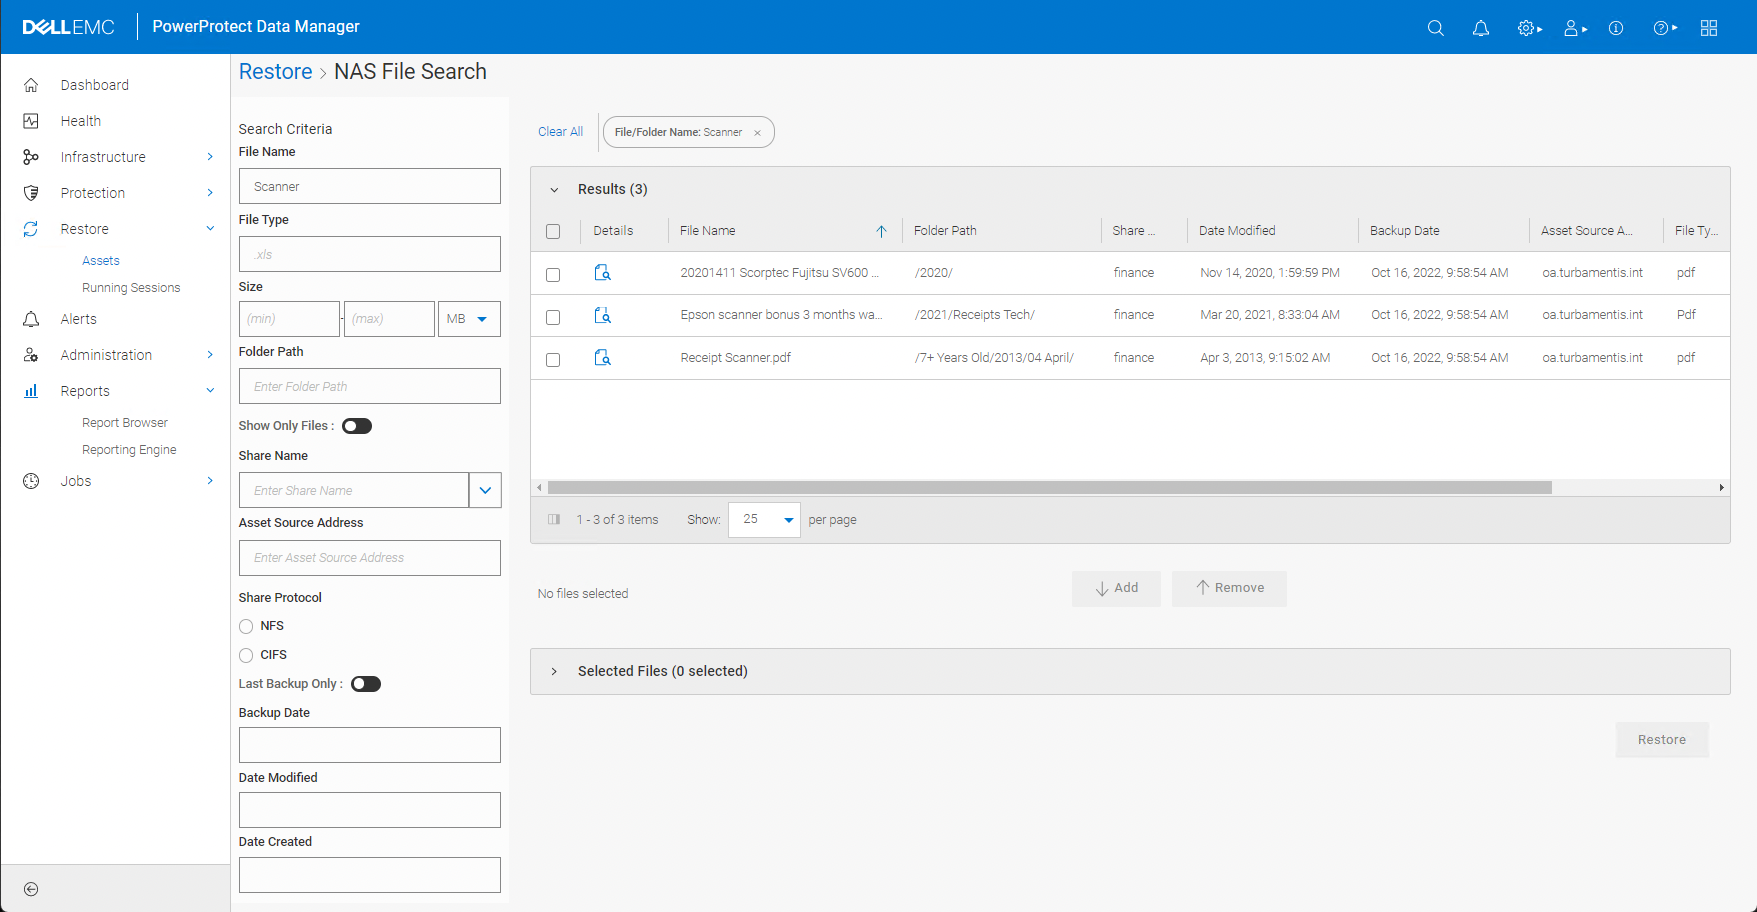
Having found some files, I selected one of them and clicked the Add button in the centre of the search view to add it to the restore list:
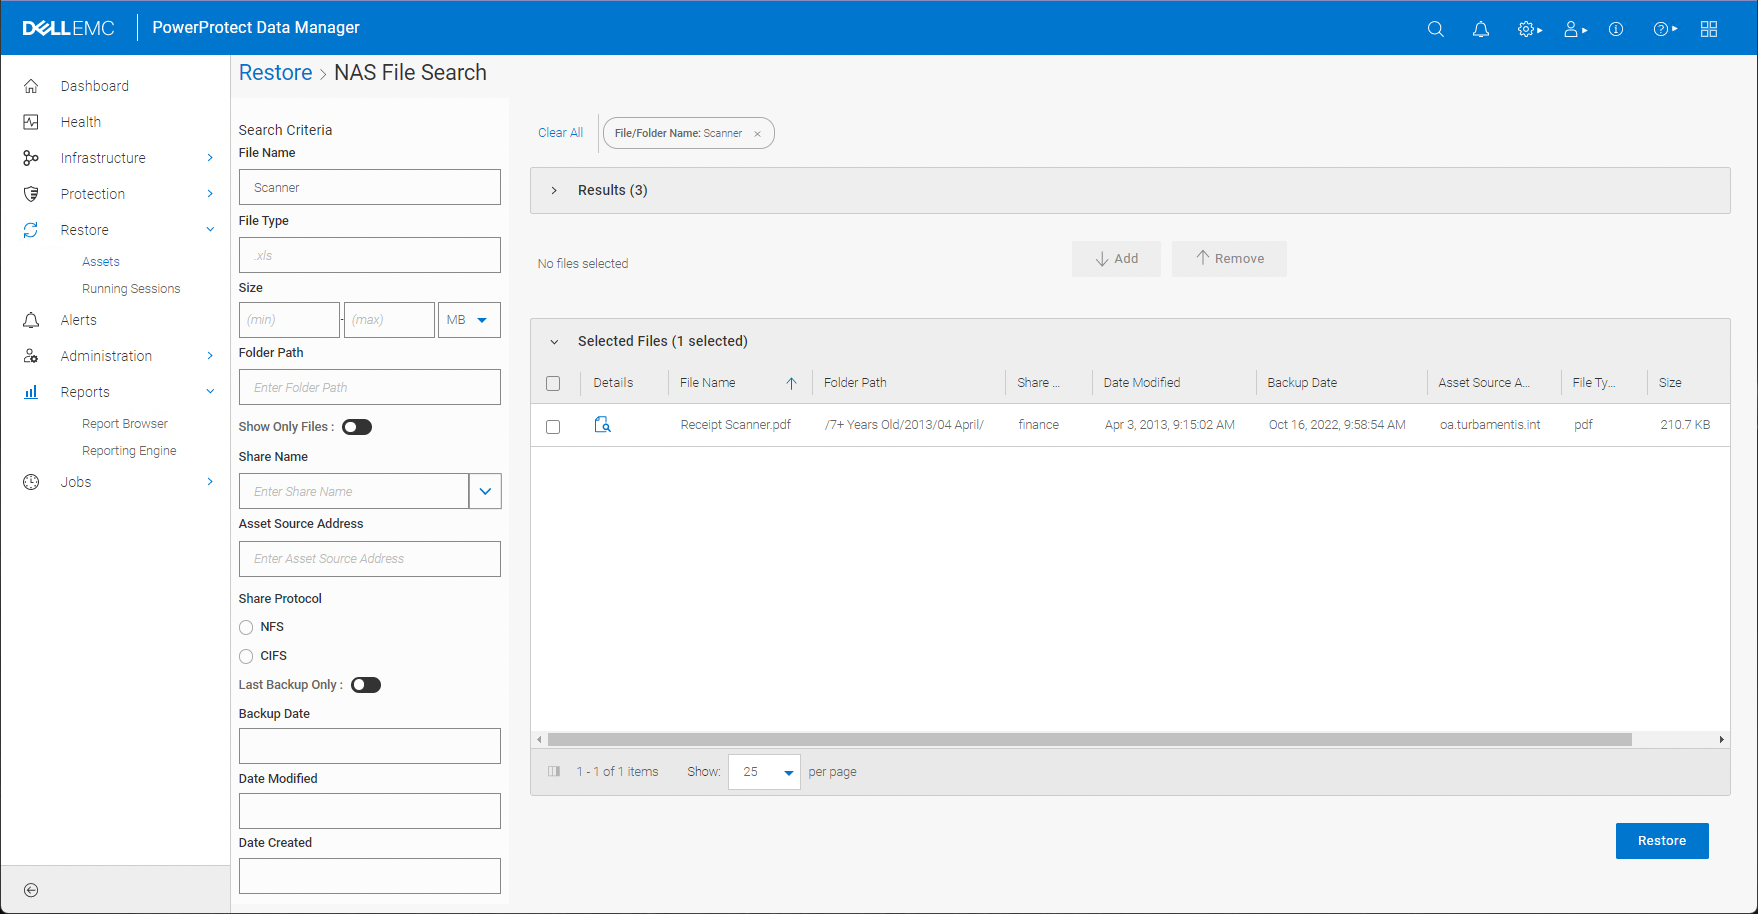
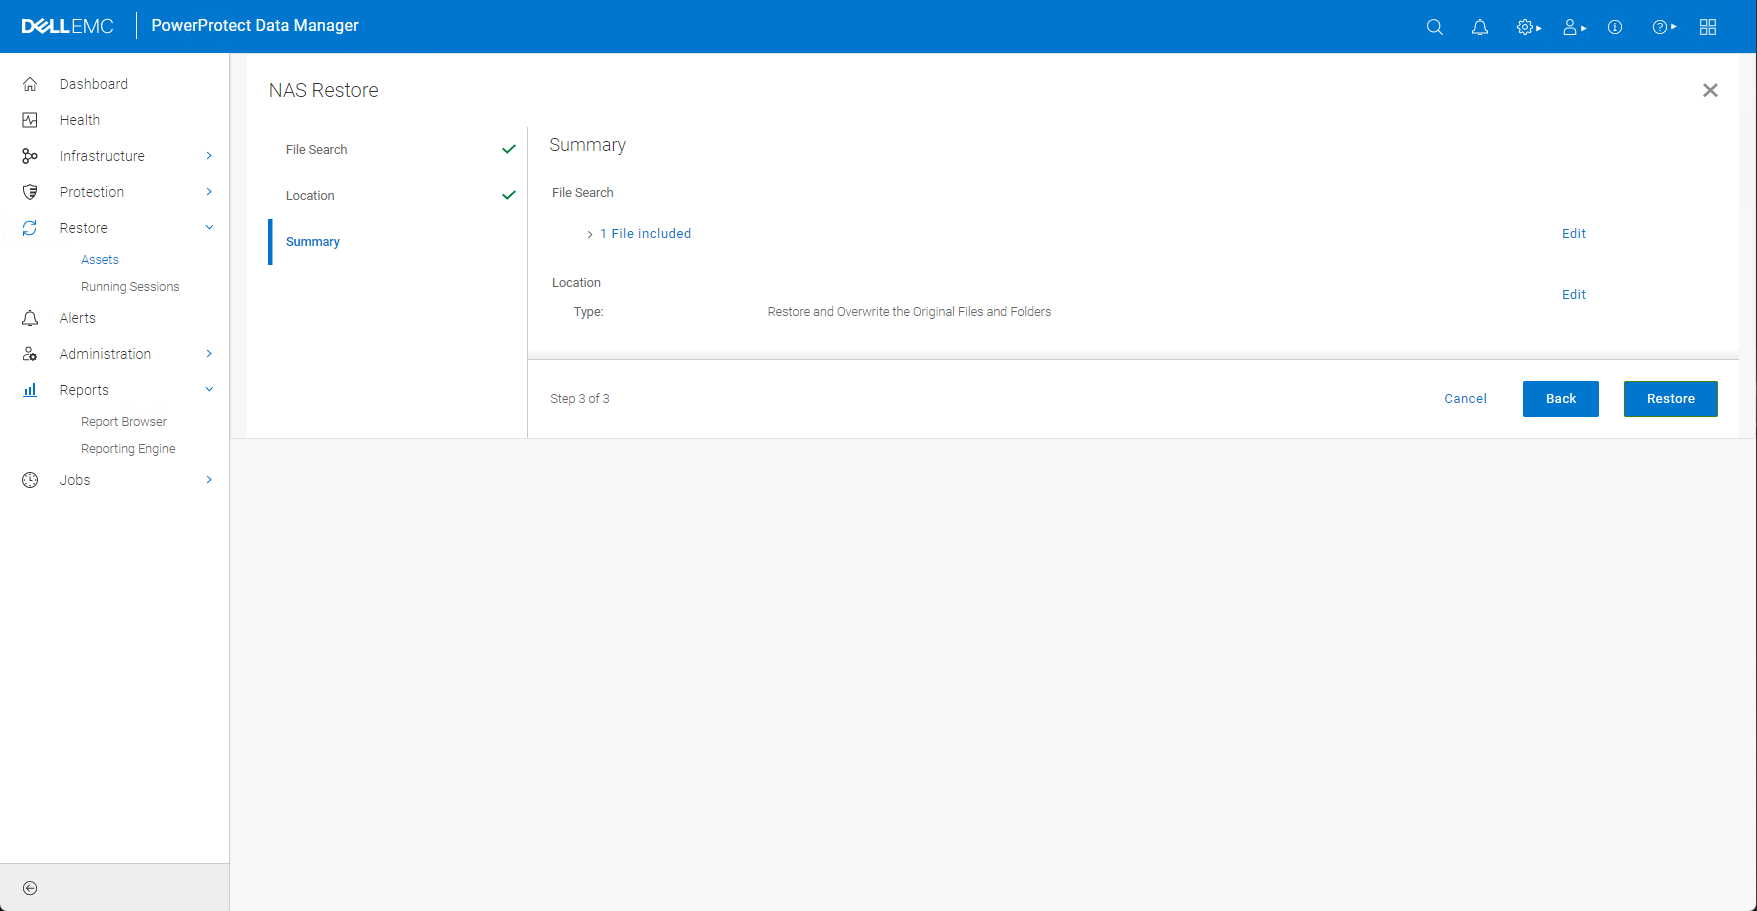
I then clicked the Restore button to start going through the options – in this case I wanted to overwrite the original file:
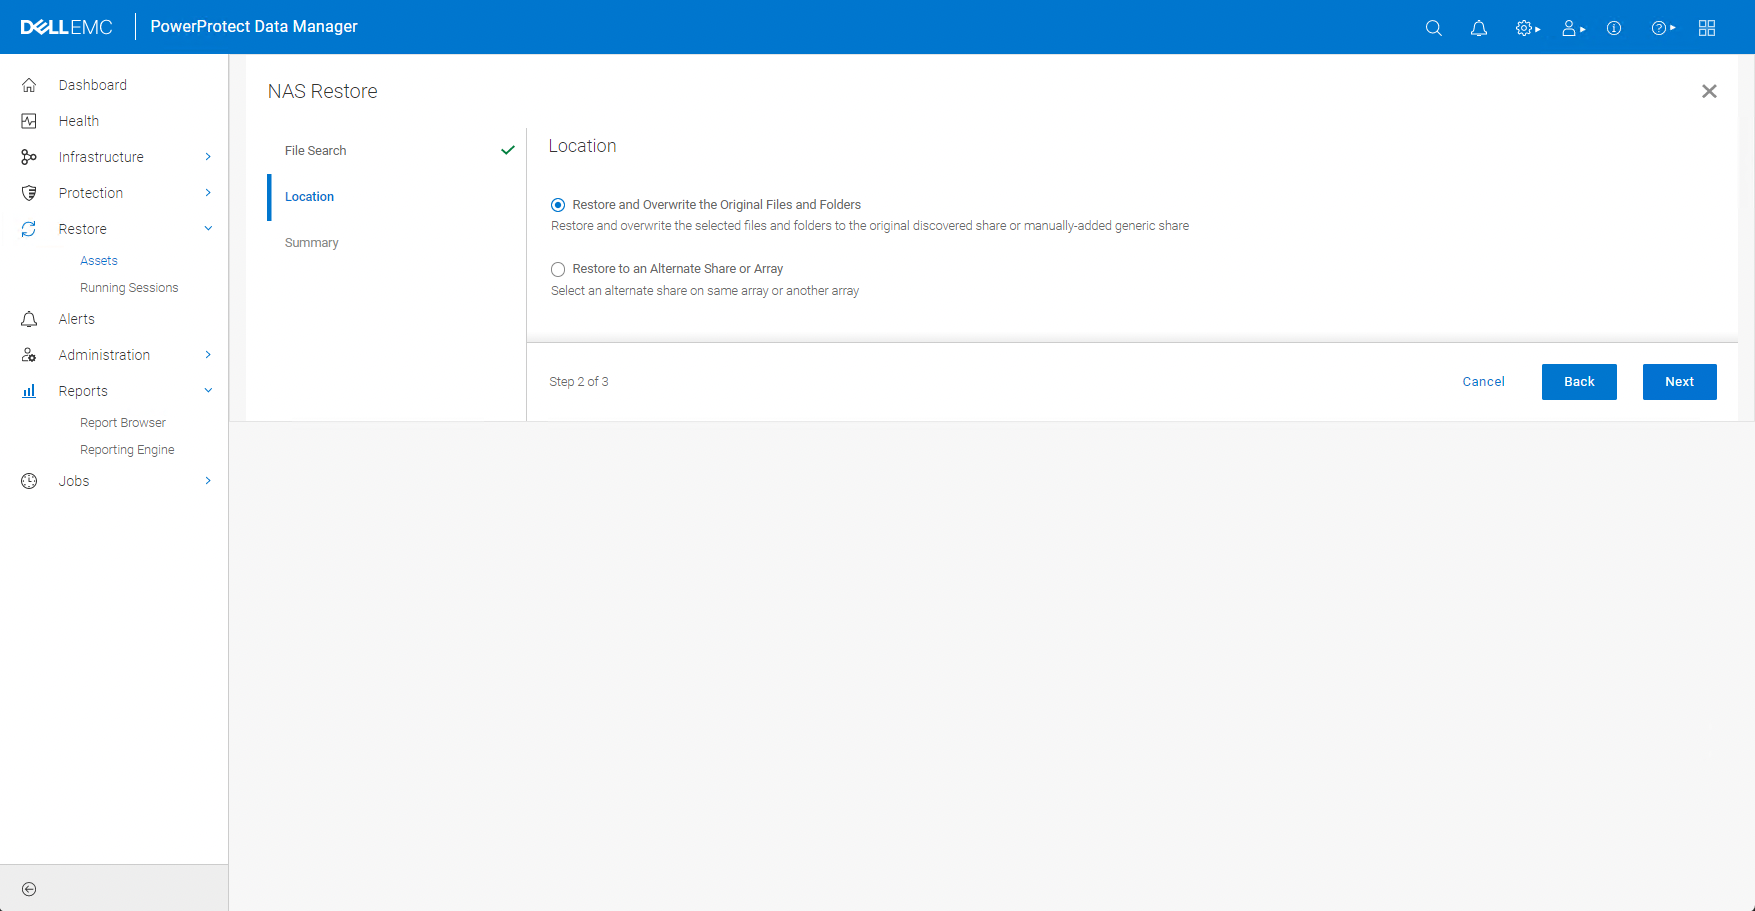
With the options selected I then clicked Next, and Restore on the final page after reviewing options to start the job:
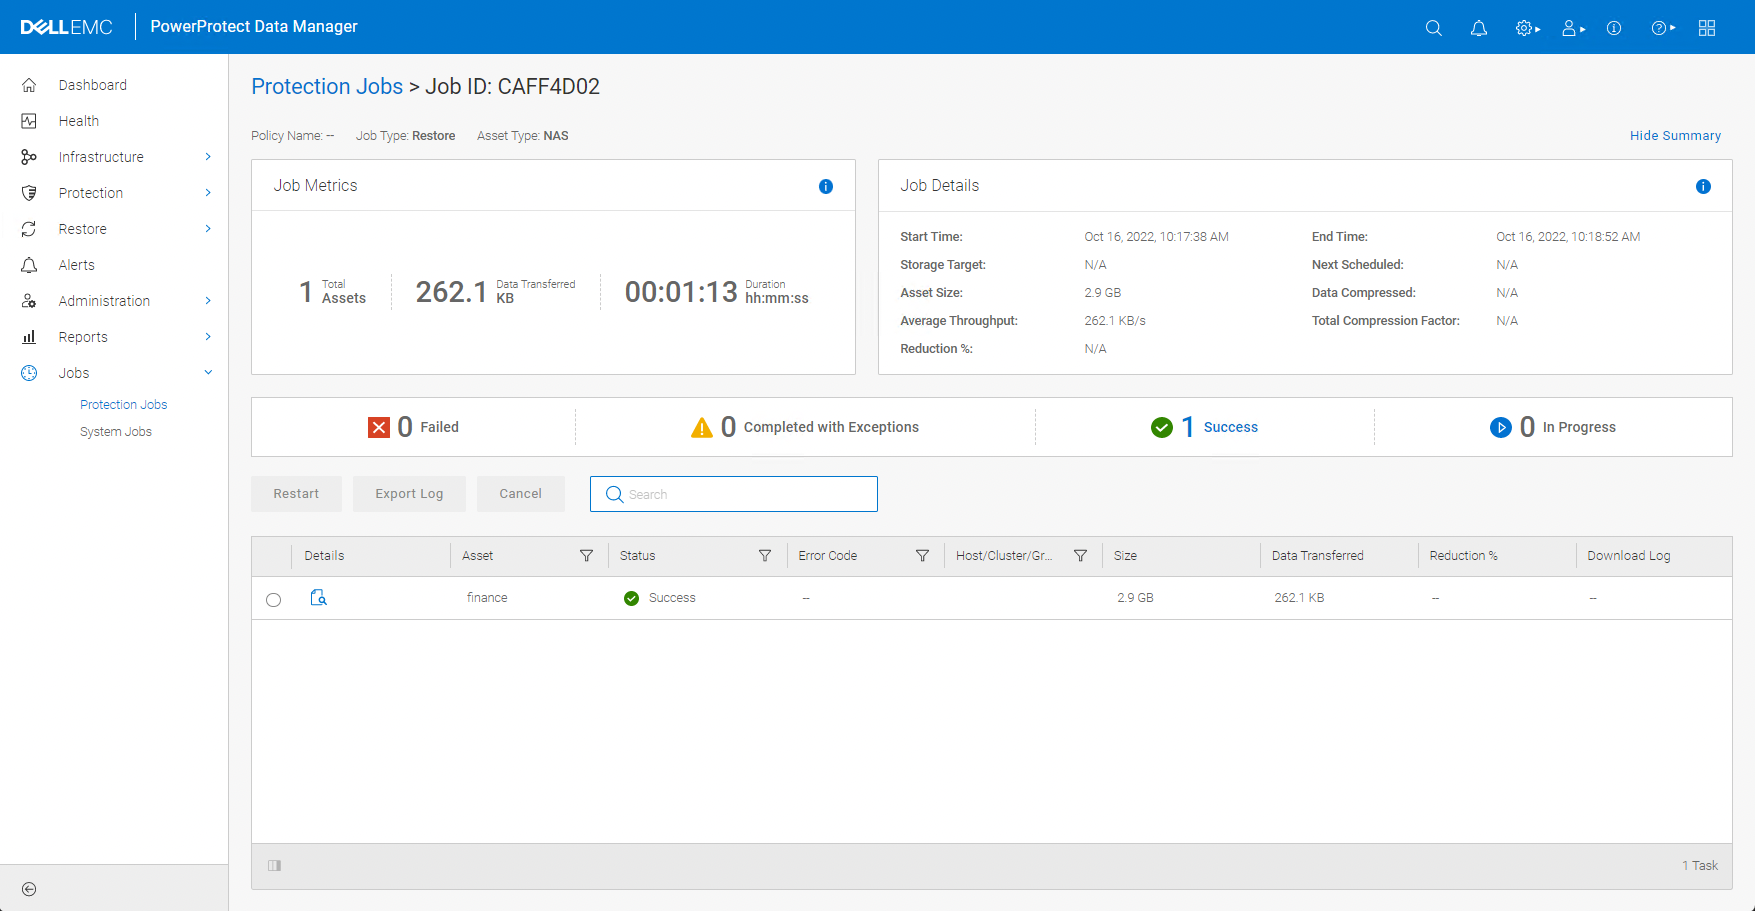
And finally, the completed restore job:
Wrapping Up
All in all, configuring NAS backups in Data Manager is a quick, easy and straight-forward process, meaning you can go from nothing configured to completing your first restore in minutes.
That’s got to be a win for a time-starved backup administrator!
Hi Preston,
I have a question about this feature:
What about SPEED?
In my experience using CIFS for Backup is much slower then NMDP, even if you do “n” parallel sessions, which you could do with NDMP too.
kind regards
Uwe
You can do NFS with Dynamic NAS — I simply chose CIFS because on Synology there’s a little more work to do (admittedly only a tiny amount) to enable NFS access to shares.
Dynamic NAS delivers performant backups; I don’t have a big enough lab environment to document it, sorry.
Hello
From experience may I suggest that you will be prompted for creds if you restore to an alternate location.
The format of those creds is critical, and if you get it wrong the error messages will not be clear on what went wrong.
In my case, the username is in user@domain.etc format.
Drew