First up, a quick explanation: I’ve not posted a lot of late because I’ve spent most of my time outside of work in November preparing for a special date. On 30 November, on our 22nd anniversary, my partner and I married – we were finally able to get rid of that tediously sterile word, partner and start calling ourselves husbands. With the special day behind us, it’s time to get back to some blogging!

I’ve been meaning to do this blog post for a while. In this post, I’m going to be covering off Data Protection Search, a seriously useful helper for NetWorker and Avamar environments. You can get a lot of value out of Data Protection Search (henceforth: DP-Search) when you attach it to just a single NetWorker or Avamar server, but its extended value starts when you’re managing multiple environments.
So, let’s start with the basics: what is it? As its name implies, it’s a search utility; but, calling it a search utility is as gross a simplification as calling Dell Technologies a “computer company”. This is powerful search, ideal for help desk/recovery operators, backup administrators, and even specialised groups, such as legal teams. In the simplest possible view, you might think of it as “Google for Backups”. And yes, that means it operates completely within a web interface.
DP-Search is integrated into the licensing for Data Protection Suite for Backup, Data Protection Suite for Enterprise, and Data Protection Suite for Virtual Machines. (If you’re using traditional NetWorker or Avamar licensing, or capacity based NetWorker licensing, contact your local Dell EMC team for help on that front.) You can find the support page here.
DP-Search is based on an elastic scaling appliance engine – you deploy one or more virtual machines into your ESX environment. In a single node deployment, you only deploy the single host; for multi-node deployments, when deploying you just nominate a key search server. (In the back end, the appliances negotiate amongst themselves on who does what.)
The other thing you need to know about DP-Search is that it’s trivial to deploy and get running. How trivial? After I completed the download (accursed Australian ADSL made that the longest part in the entire process), it took me well less than an hour to deploy the virtual machine into my lab, hook it to my NetWorker server, and start running searches. (It would have taken less time except I deployed over WiFi, dragging the OVA between an intermediary laptop.) For my testing, I downloaded DP-Search 18.1.
The DP-Search deployment guide has excellent information in it on how many appliances you should consider deploying, and what size disks you’ll need. After that, all you need is some appropriate IP addresses and DNS entries, and you’re off and running for deployment. In this case, I didn’t bother with screen-shots of the deployment process, but instead after deployment I booted the search appliance and waited the suggested 10 minutes or so before browsing to:
https://searchAppliance/admin
In this case, my search appliance was ‘jart.turbamentis.int’. The login page is a very standard one – if you’ve used the NetWorker HTML5 UI, the Avamar HTML5 UI or Data Protection Central, it will look quite similar:
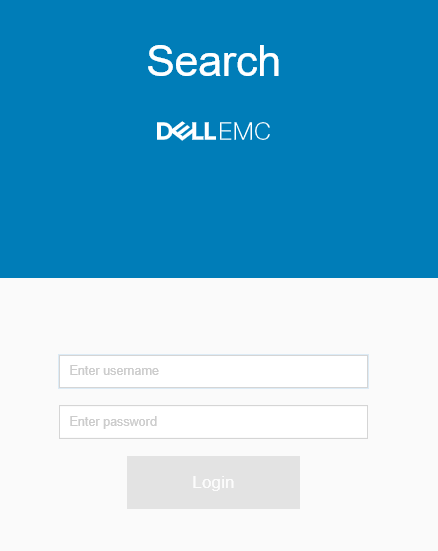
Your default username is admin; the password for both the admin and root accounts is assigned by you as part of the OVA deployment.
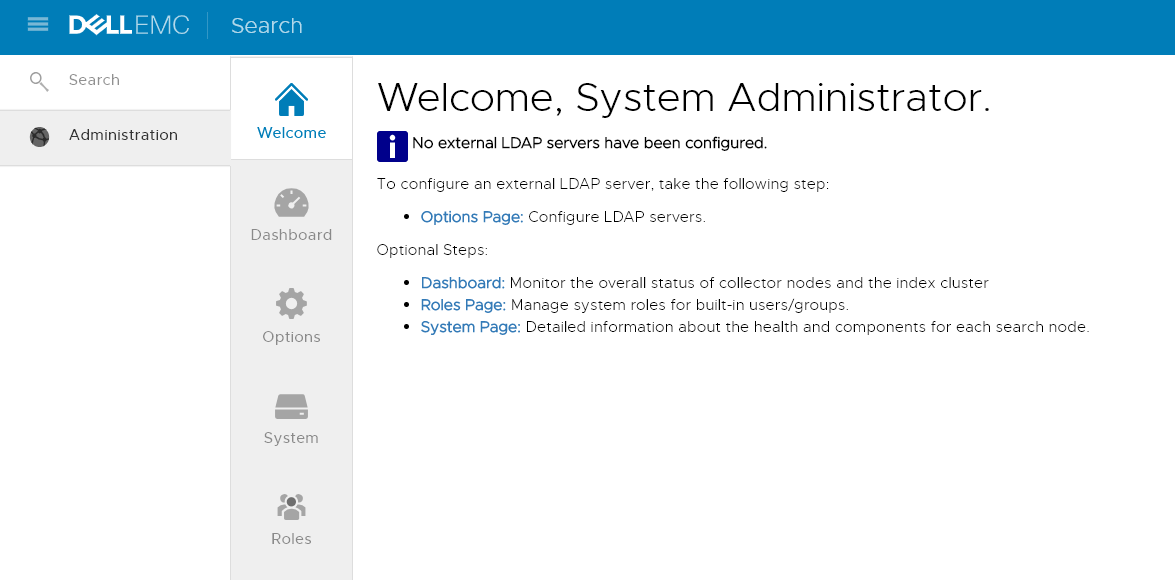
When you log on to a freshly initialised DP-Search appliance, you’ll get the initial welcome screen; in the screen-shot below, the only difference is I’ve clicked the hamburger menu in the top left-hand corner to show the options along the menu pane:
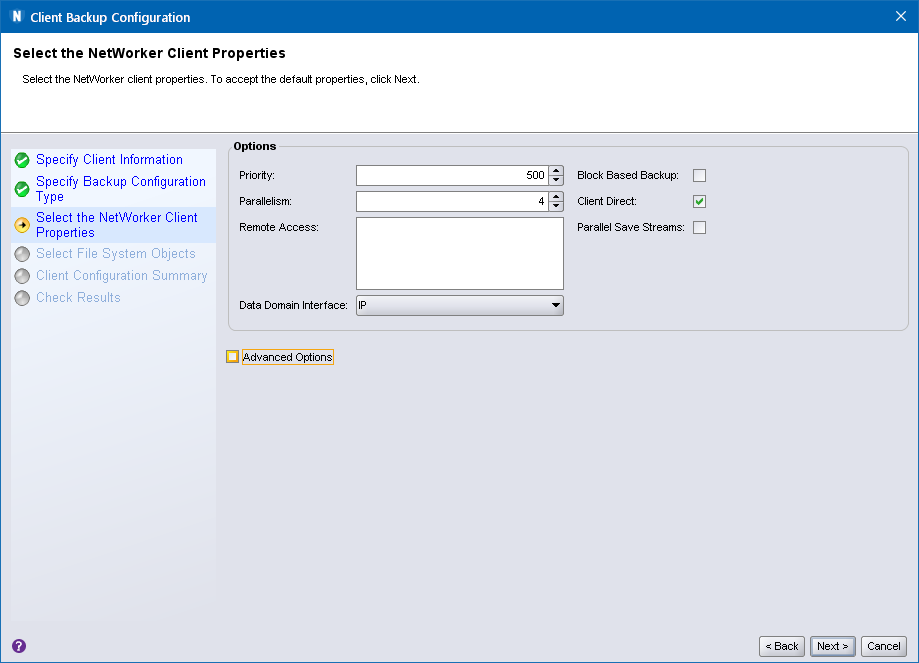
Now, in this example, running in my lab, I’m not worrying with LDAP servers. I wanted to push on fairly much straight away and get my lab NetWorker server added to the search environment. There are specific instructions for adding both NetWorker and Avamar servers to a DP-Search environment in the deployment/administration guide for DP-Search. For NetWorker, you need to quickly run through the process of adding the DP-Search server as a NetWorker client (you don’t have to back it up – for a clustered DP-Search environment, you add each DP-Search server as a client), then set some remote access options. So, with a hostname of jart, I used the NMC client creation wizard as follows:
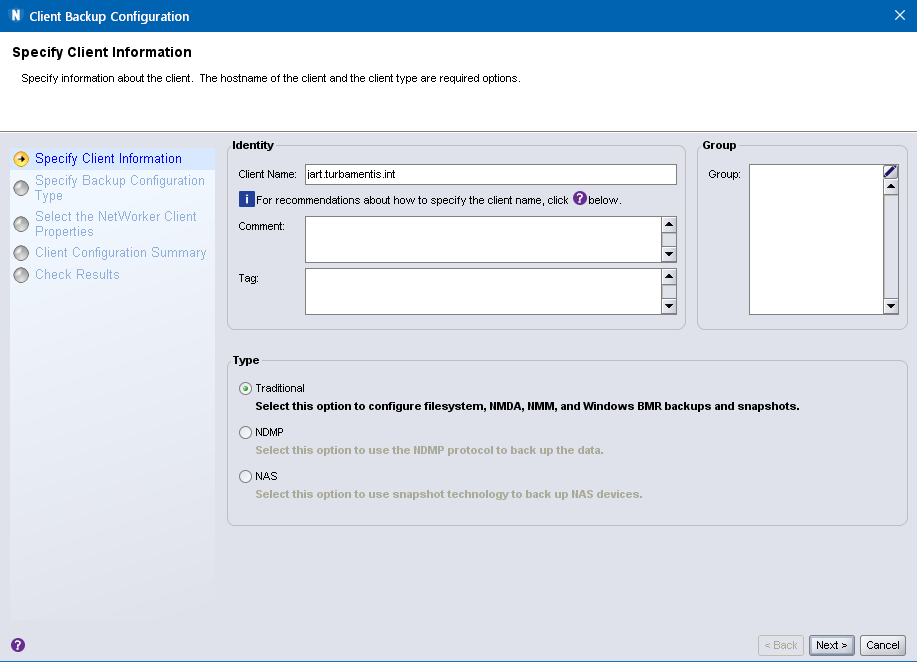
First step of course per the above is to specify the client name, then click Next >.

Here we detect the OS and NetWorker version as well as available backup types from the client. It’s fine to leave everything here as-is and click Next >.
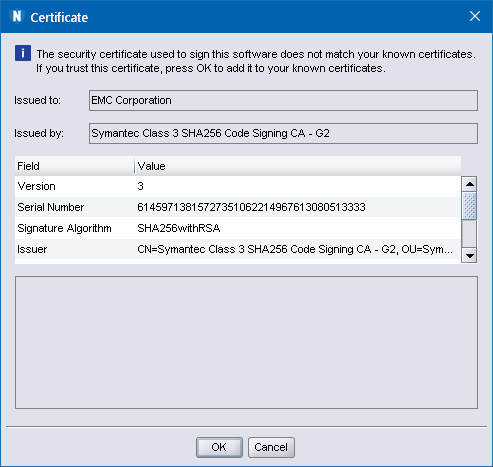
You’ll get a notification about the client certificate at this point, click OK to continue.
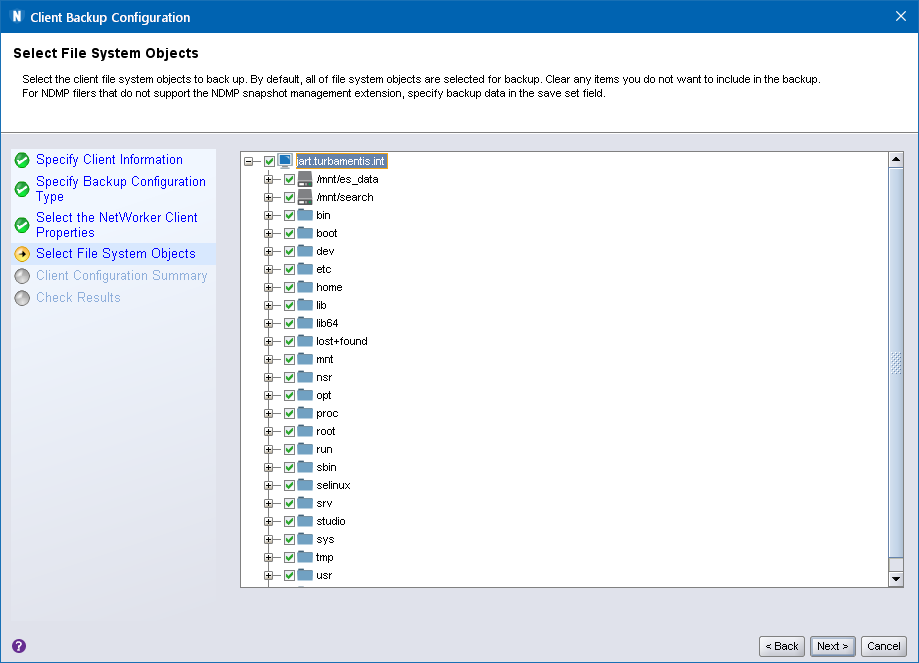
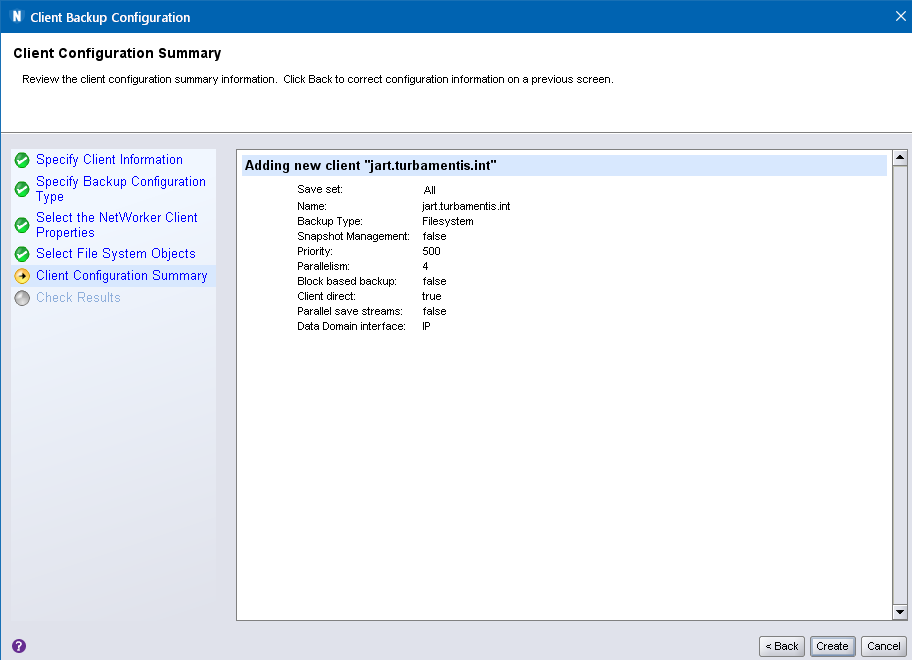
You can pretty much walk through all of the client creation wizard steps, leaving all options as-is, so progressing along now:
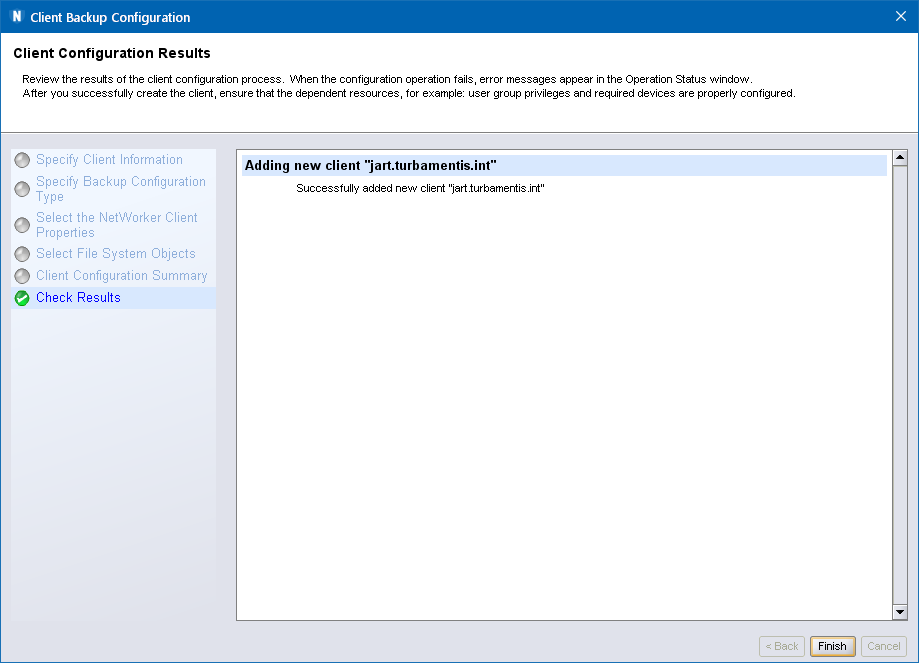
There, that’s done! Now, the next step is that we want to create a clone of the Operators user group within NMC for the NetWorker server, and add the root user for each DP-Search cluster node into the group:
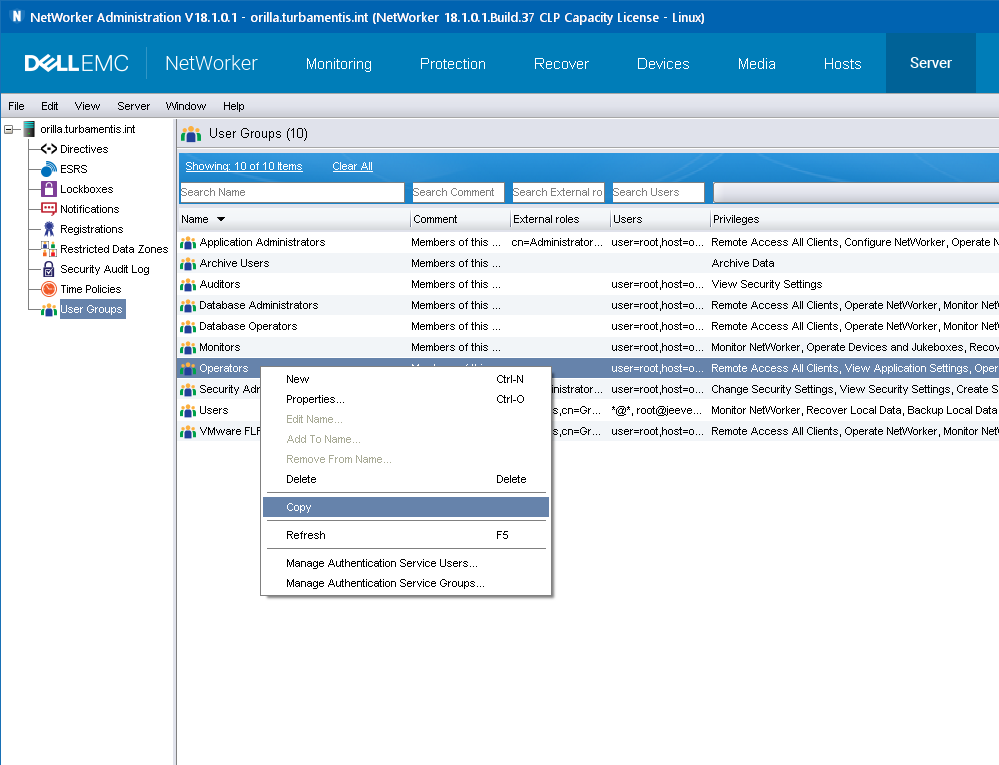
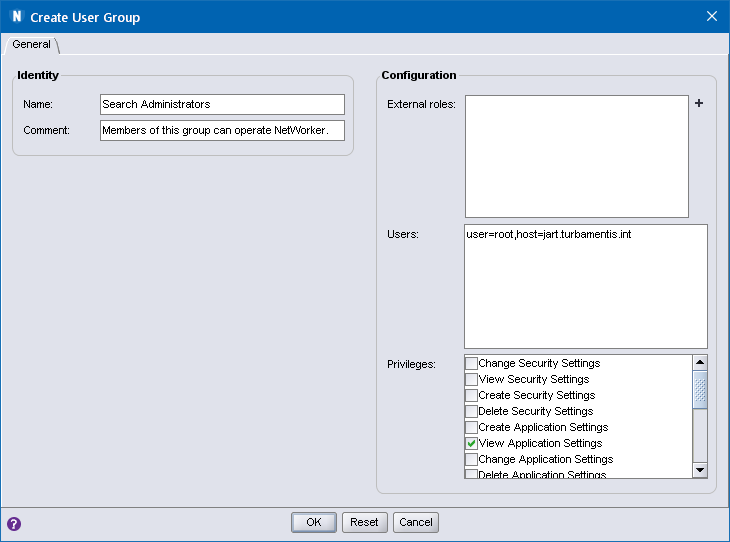
So, you may be wondering why we’ve done the above. What we’re effectively doing is setting up a configuration within NetWorker that allows NetWorker to:
- Know about each Search cluster node (NetWorker knows about hosts by having them as clients)
- Allow each Search cluster node to connect and query NetWorker for indexing information – essential to building search results.
Now that was done, I could go back to the DP-Search system and add the NetWorker server. When you’re logged in, you can switch your administrative context between the DP-Search system itself, NetWorker or Avamar by using a simple switcher in the top right hand corner, viz.:

When you’ve switched over to NetWorker, you’ll get a view such as the following:
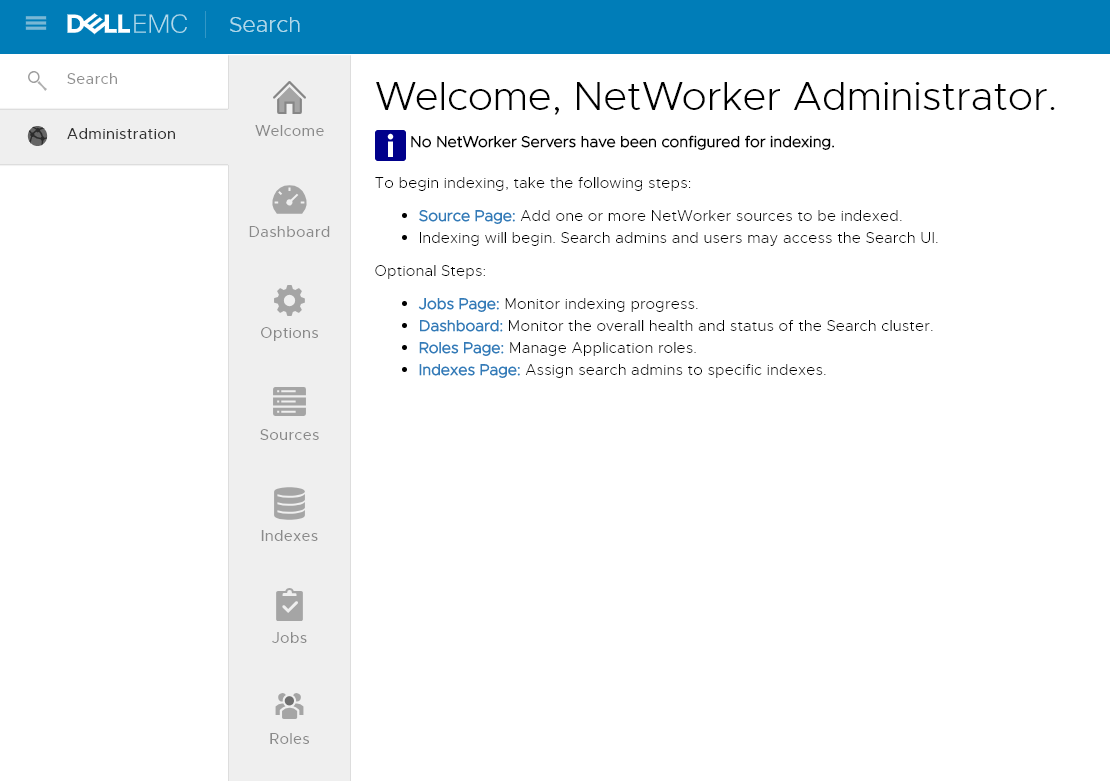
As you can see, it’s a pretty straight-forward list of actions, so I clicked through to the Source Page to add a NetWorker server:
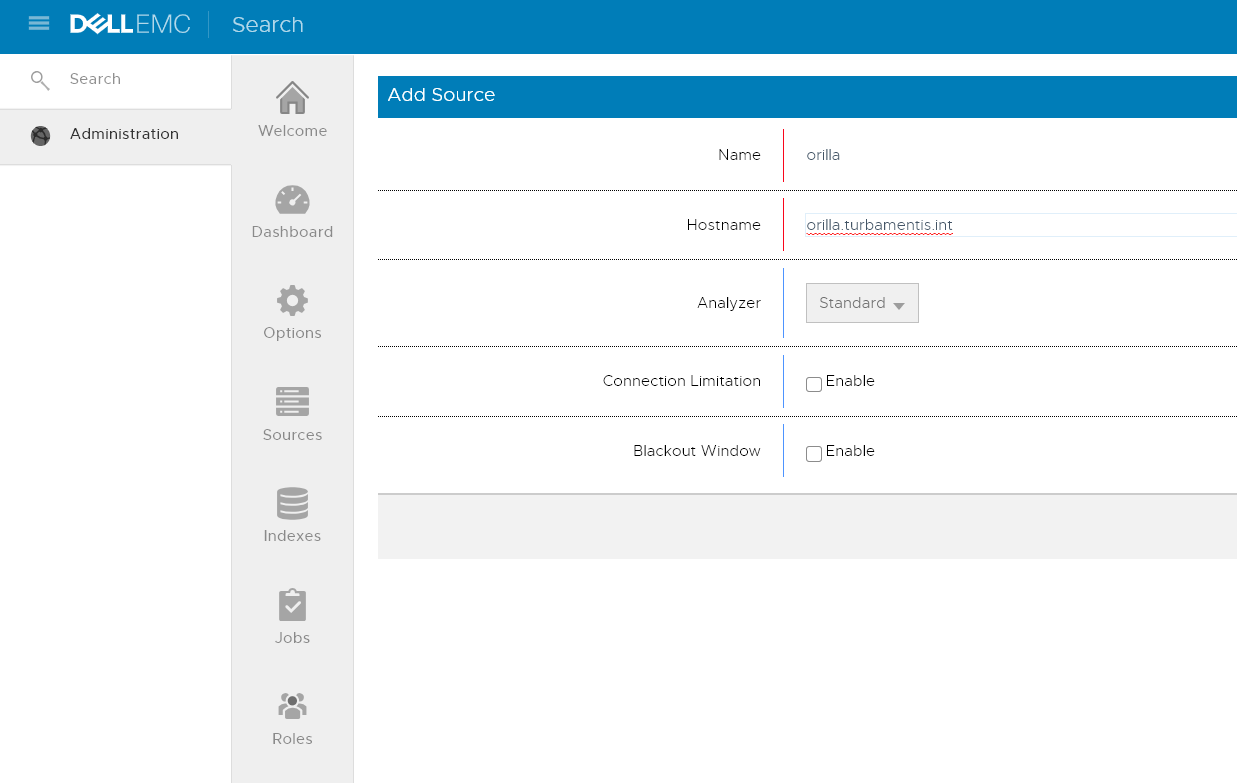
You’ll notice you’re not being prompted for any passwords or user accounts here – that’s because you’ve provided permission via the client/search administrator group technique I outlined earlier.
For most installs, all you need to enter here is a simple descriptive name for the NetWorker server (I went for the short hostname), and it’s fully qualified domain name. You can change analyzer options, establish a blackout window or rules around connections, but for an average environment that won’t be necessary. There’s a button, not shown above, to start the creation process based on the entered details, which will trigger DP Search to reach out to the NetWorker server and examine it:
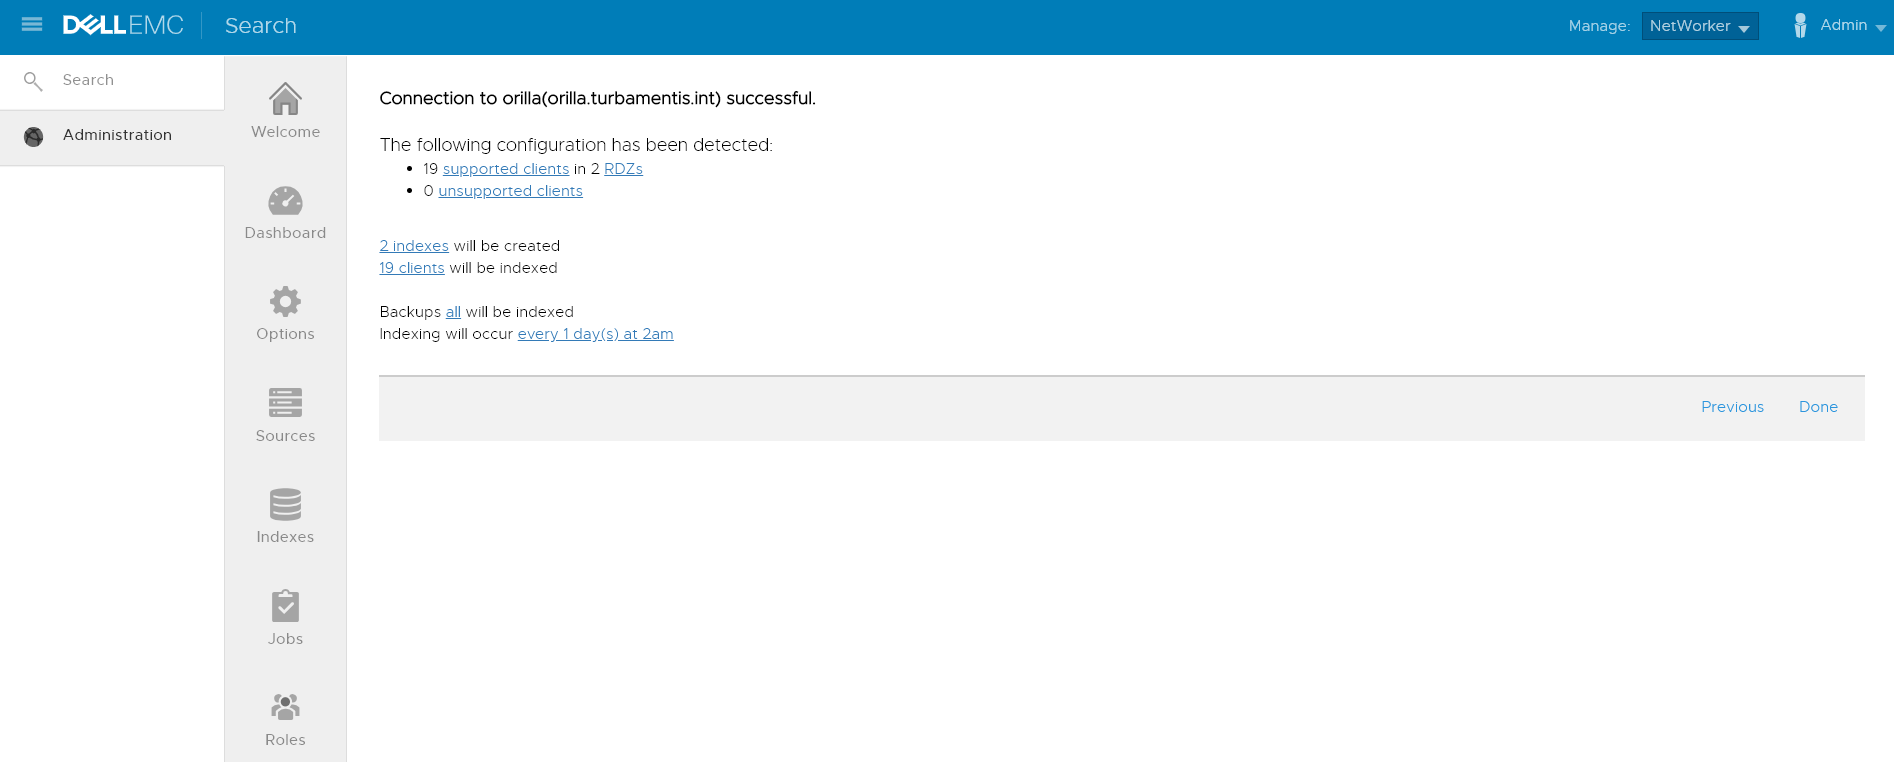
If you’re happy with the results, you can click Done to complete the addition of the NetWorker server to the search environment.
At this point, you can either wait for the first index run, or if you’re keen to get things started, you can click through to the source summary to force an indexing operation to start.
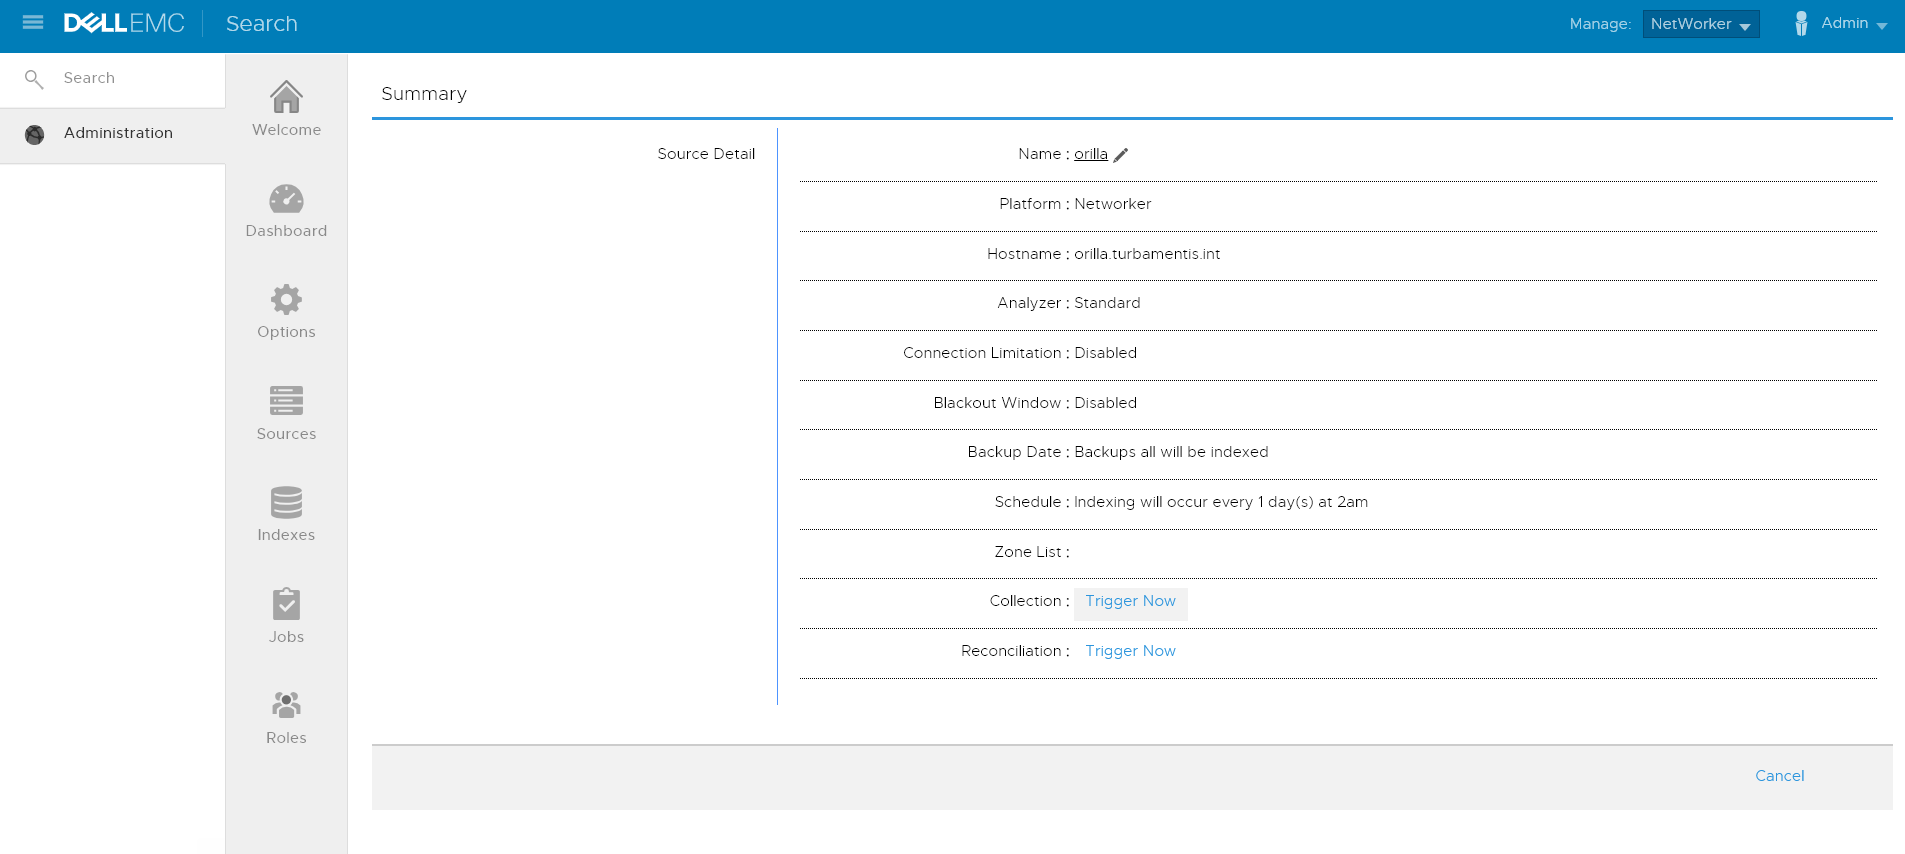
To kick off an immediate index, just click the Trigger Now link next to Collection. That’ll result in a prompt:
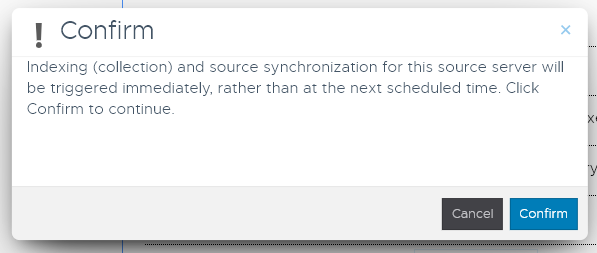
Clicking confirm will give you confirmation the job has been submitted:

Depending on the size of your NetWorker environment, this may take a little while. For my lab environment with about 20 servers and under 5 million unique files, I really only needed to give DP-Search about 10 minutes. (Helped by the fact that the NetWorker server lives on SSD.)
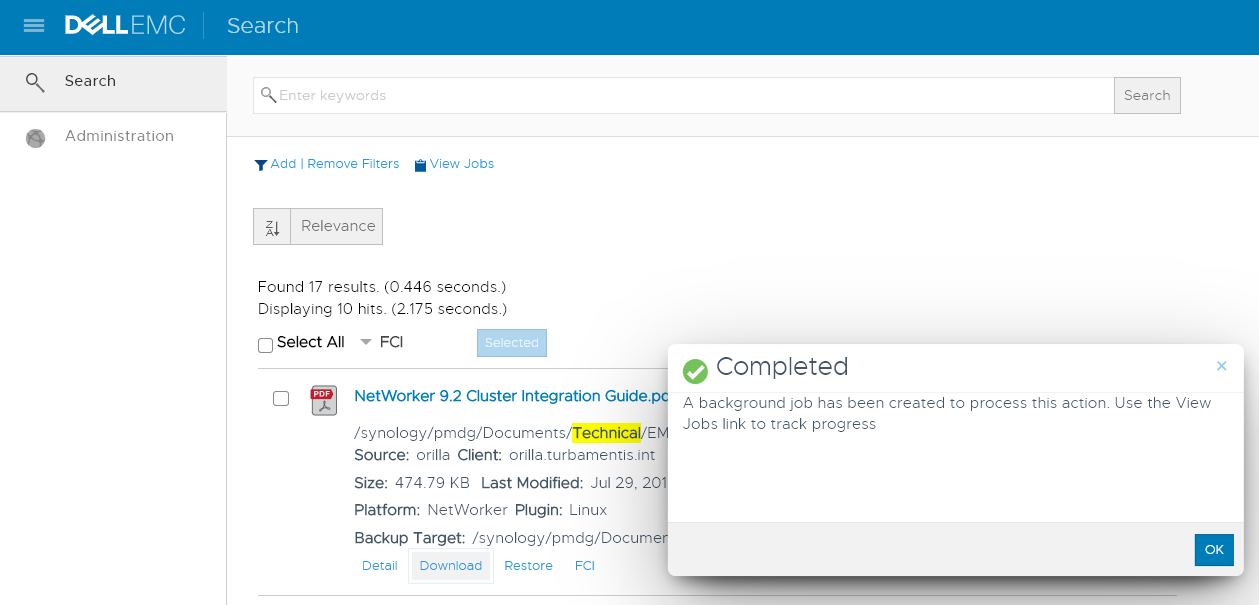
With the indexing out of the way, I could get to the exciting bit – searching! To get started on that, switch from the Administration section in the left pane menu to Search. Here’s an example search form filled out:
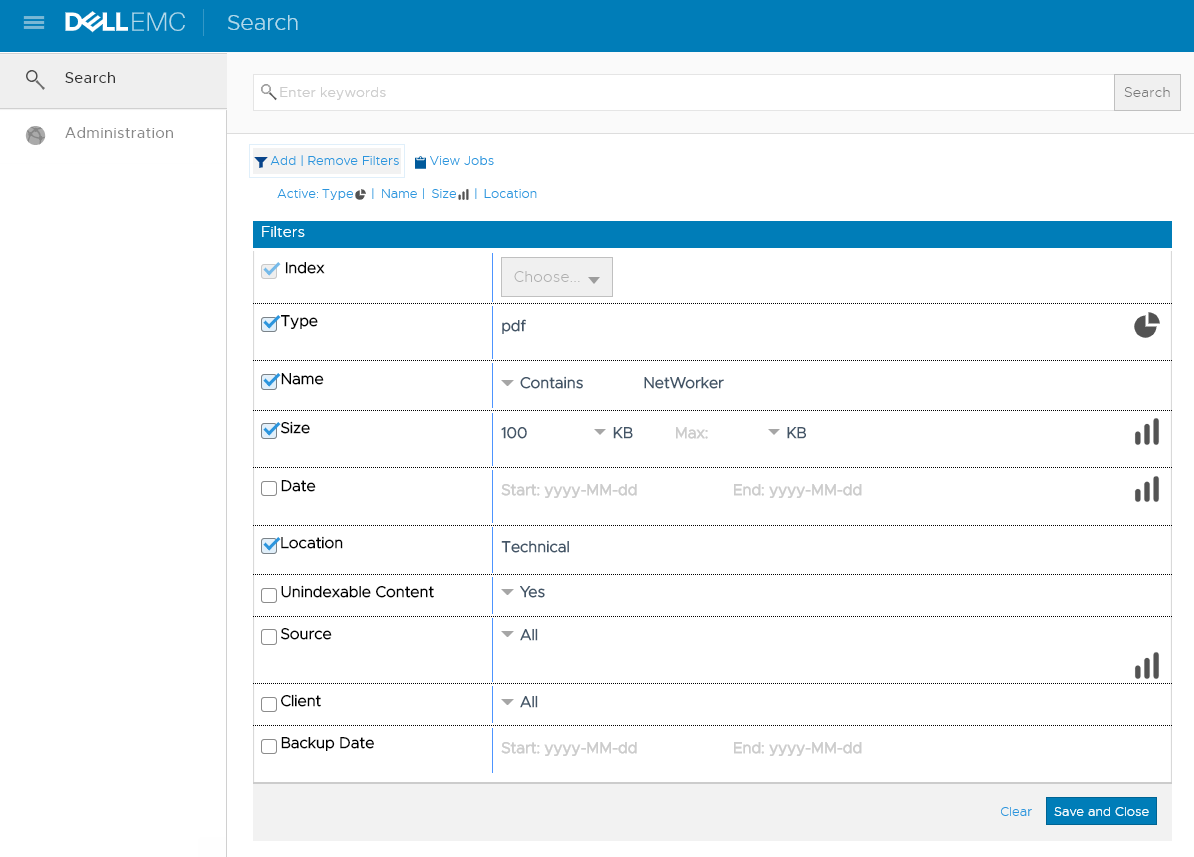
So what am I searching for here? Well, I’m searching for pdf files that have a filename containing NetWorker, that are at least 100 KB in size, and are located in a directory that contains the word Technical. Once those details were entered, I clicked Save and Close to get the search results:
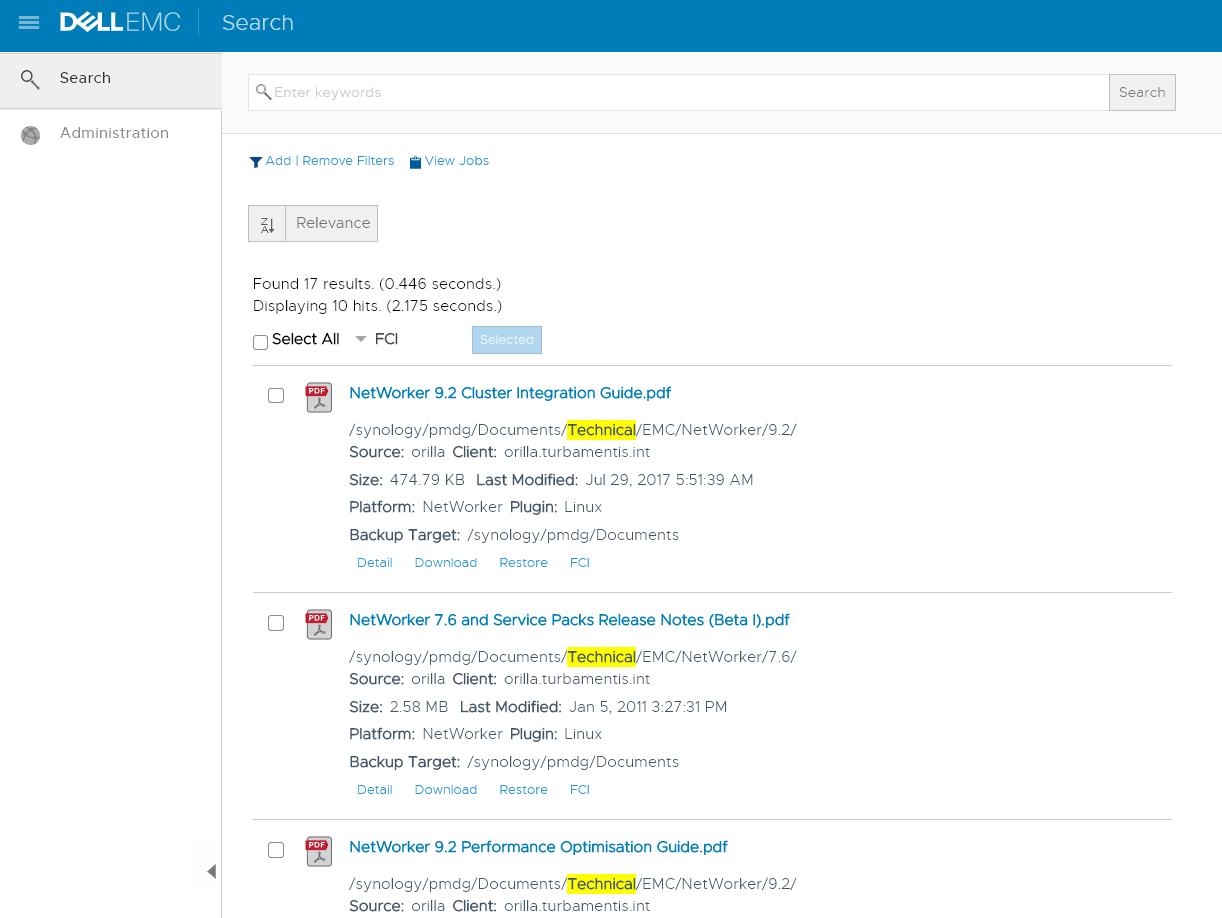
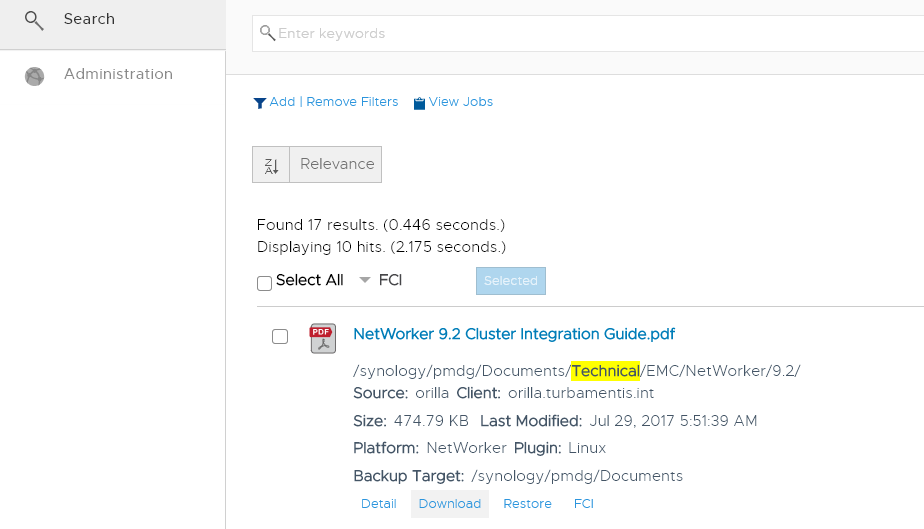
Whoa. Seriously, I love how fast DP-Search is. Because it doesn’t have to do a real-time perusal of indices, it’s blazingly fast. You’ll notice options underneath each found result:
- Detail
- Download
- Restore
- FCI
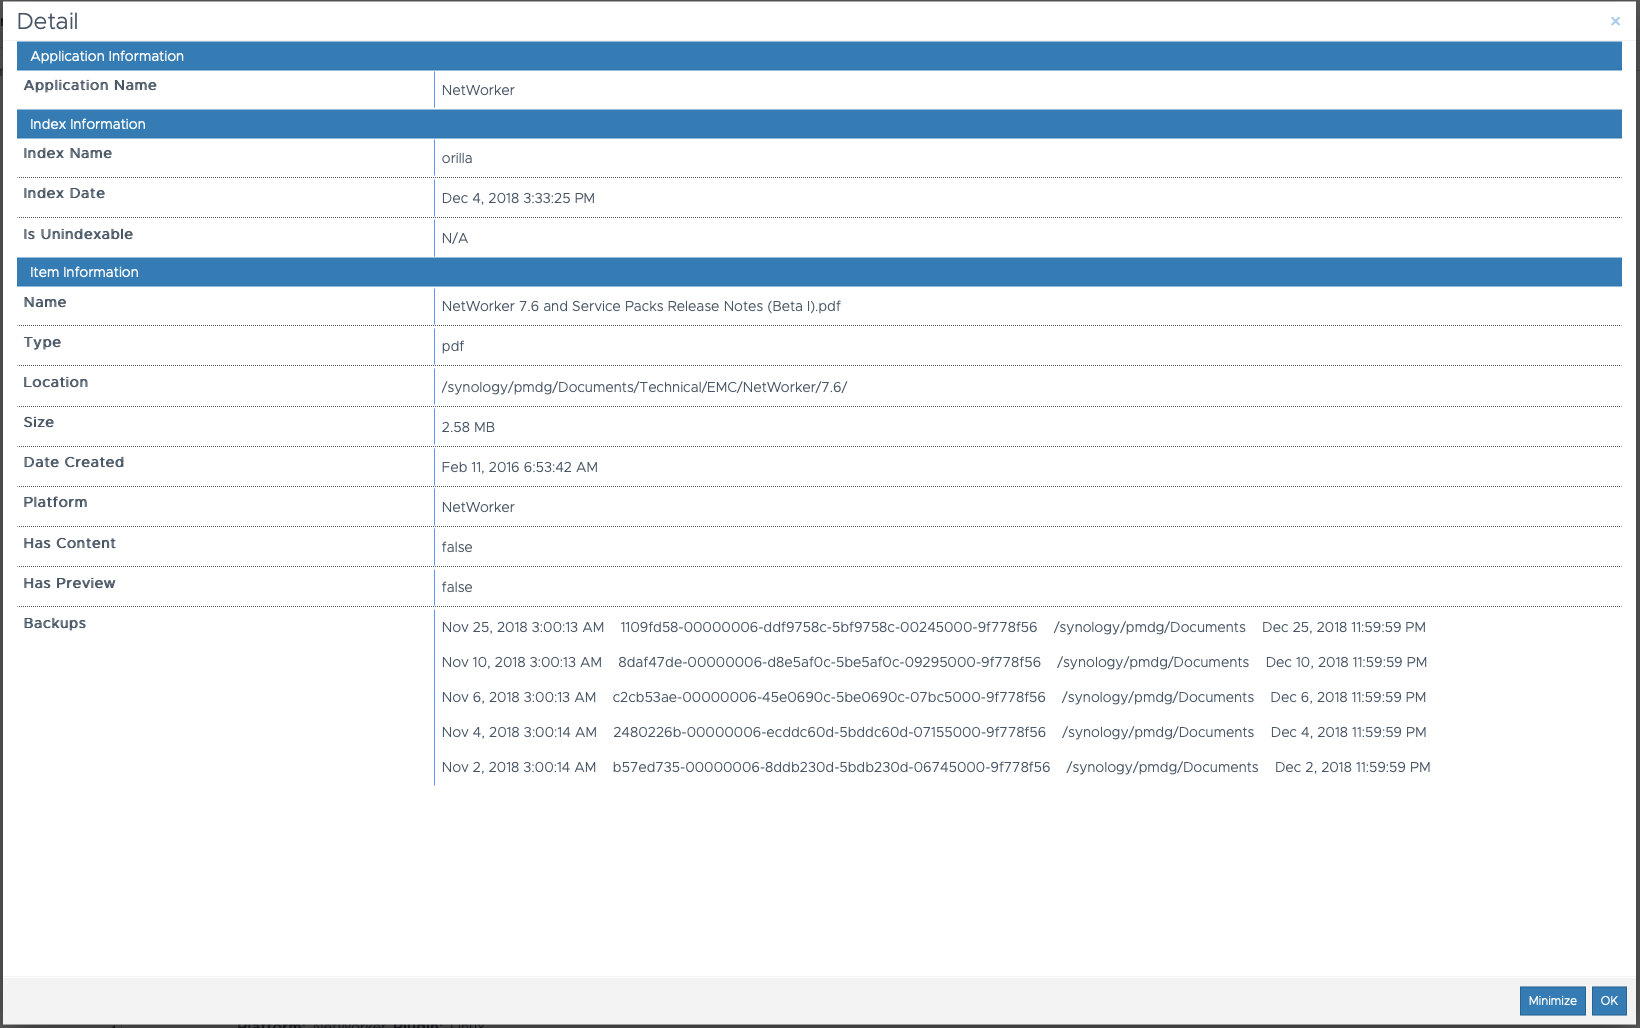
Clicking on Detail will get you extended details about a found result, such as:
Now here’s where it gets cool. Click the Download button, and DP-Search will initiate a background job to recover the data to its staging area, from where you can then download the recovered file:
Once you’ve clicked the Download button, you’ll be told the job has been submitted and how to monitor:
If you click View Jobs, you’ll get a view of recently run and currently executing jobs, viz.:
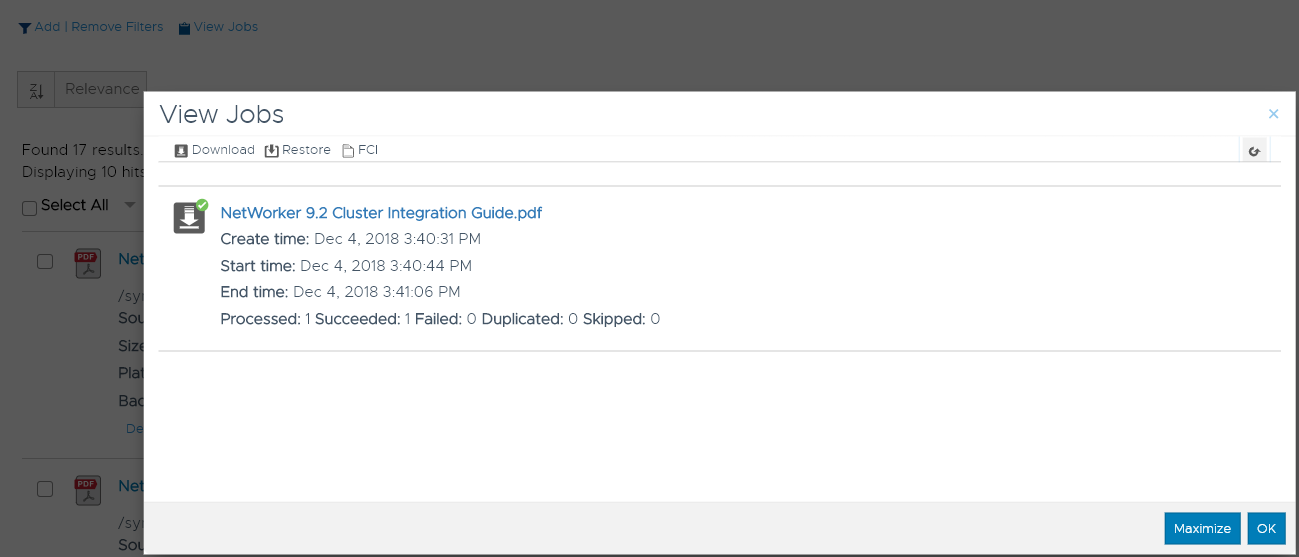
Once you see the job has been processed successfully, just click the filename to initiate a local download within your browser, i.e.:

Now, you may be wondering what that “FCI” is that you see in places in DP-Search. It stands for Full Content Indexing. What does that mean? Well, once you’ve isolated a bunch of search results, if you’re still not sure of whether the results contain the details you need (e.g., a user is somewhat vague about what they want recovered, or your legal team is wanting to find content that includes the term “Project Tango”), you can select the search results (or a subset thereof), and initiate full content indexing. Here you’re obviously best served for data sitting on disk based backup devices (AFTD or Data Domain – in my example here this is data on an AFTD). This basically sees DP-Search run an in-memory recovery of the selected content and saves text strings it finds into a full index.
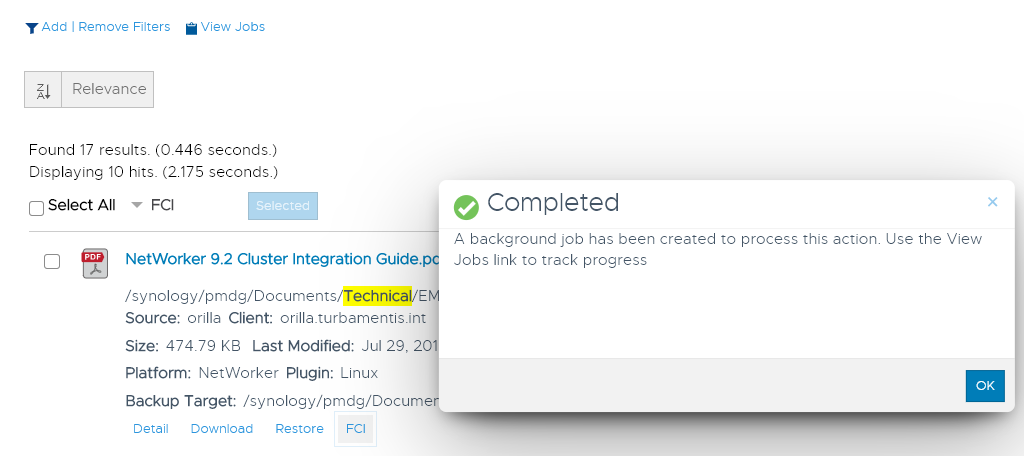
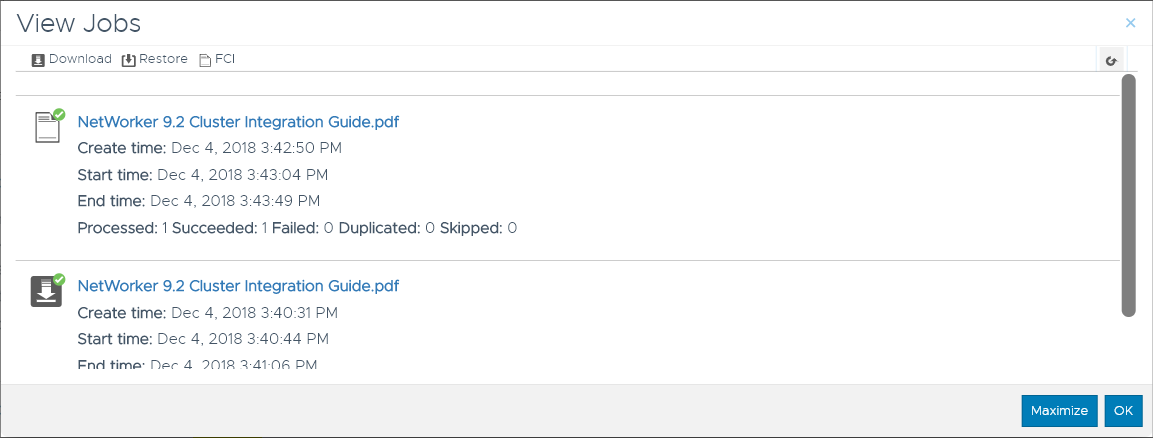
So in this case, rather than select a bunch of search results, I just clicked the singular FCI option for a single search result, which started the indexing and gave me a prompt on how to review its status. I waited a minute or so before clicking through to the Jobs link again, which showed:
Right! So how do you do content searching? You’ll notice above the search results there’s a further search field with instructions, “Enter Keywords”. So, doing that:
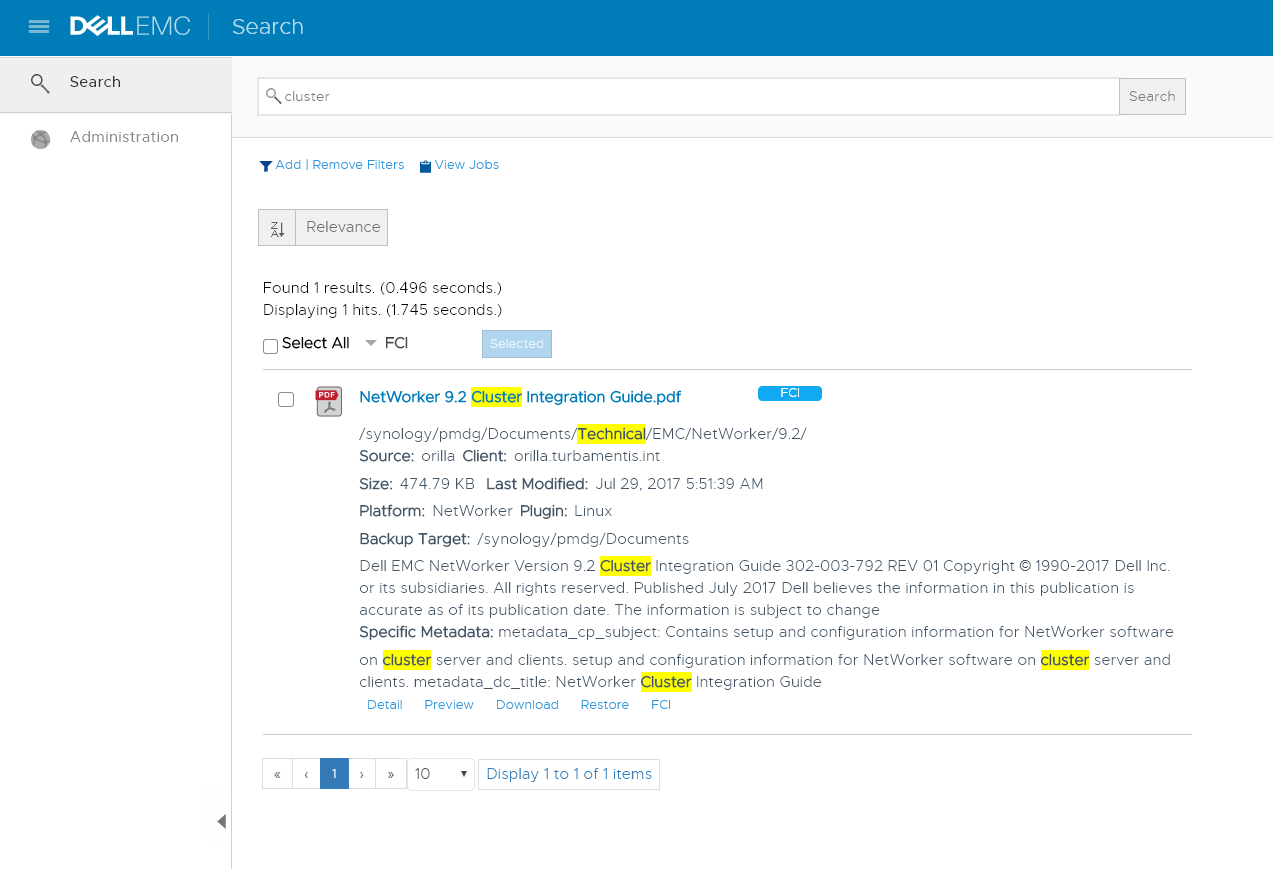
In the results above, you can see it’s refined the search results to only show backed up content that includes the word cluster, and highlighted an example of what that result is. You can even click the Preview option to see the complete text extract, viz.:
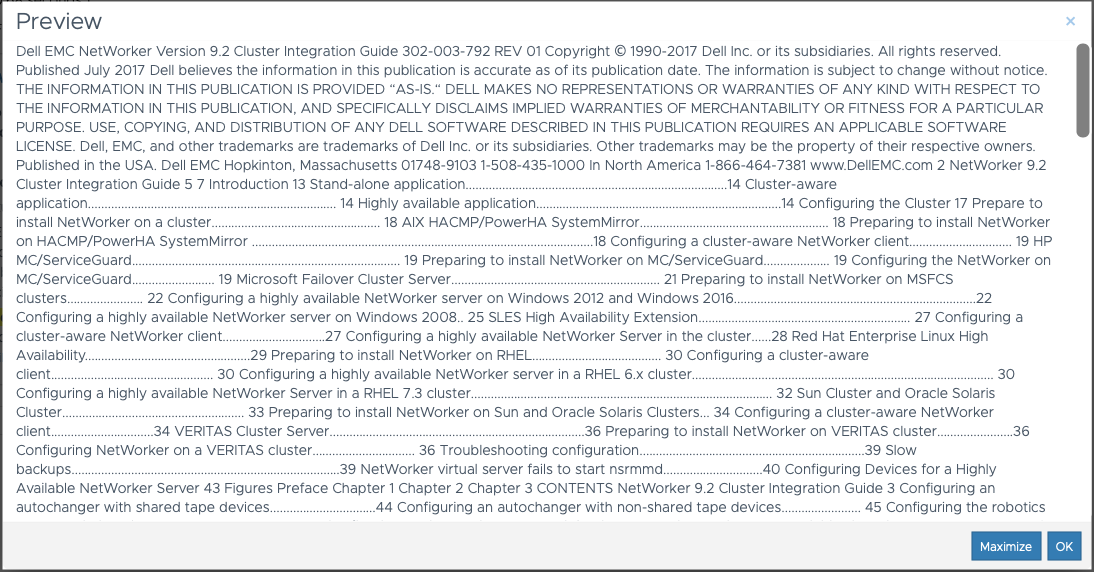
Clearly there’s no formatting as such there – but what you’re seeing is a genuine extract of the text within a PDF that was backed up a week or so ago in my lab.
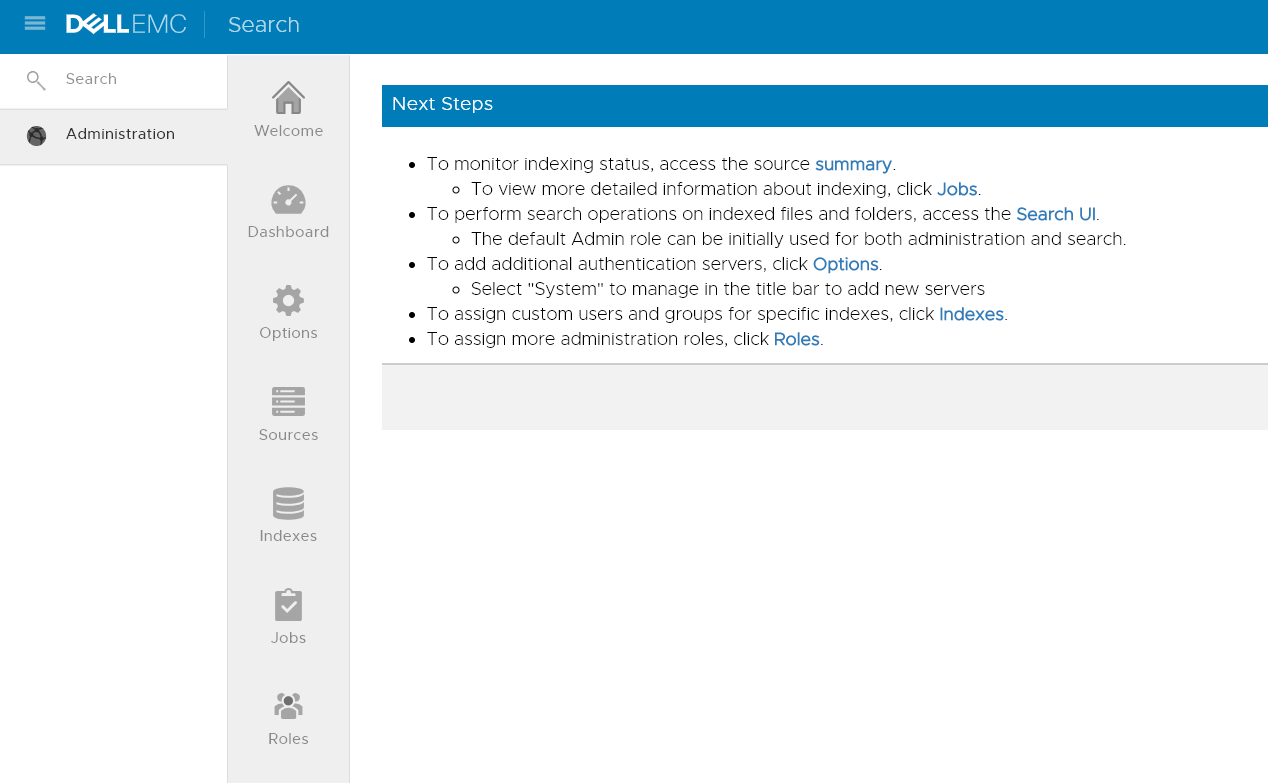
In reality, there’s not a lot more I need to show you on DP-Search. I’ll do an updated post soon showing combined NetWorker/Avamar search results, but what you should see in the above is that DP-Search is easy to use and simple to deploy. If you’re a backup administrator with NetWorker or Avamar (or both – or even many of both!), you really should be adding DP-Search to your utility belt.
Nice Article, was very handy to see it, as we are now beginning to look at DP Search ourselves. A question though, would the indexing work on VM Images? Or would this only work for traditional In Client backups with the Networker Agent? So lets say you have a Windows File Server VM, backed up by vProxy, could you search for a word document containing “Networker” from the image and recover it?
The search engine can index virtual machine backups created by Avamar, but not NetWorker at this point in time. If you’ve got a lot of virtual machine backups you’d like to maintain indices for, I’d suggest looking at some of the advanced indexing functionality in PowerProtect Data Manager.