In my previous post, I walked through the process of getting Data Protection Search up and running – from that post, you’ll recall that DP Search is a powerful, web search system for your backup systems. In the previous post, I simply got DP Search up and running with my lab NetWorker server, but the true power of DP Search lays in being able to search multiple backup servers (NetWorker and/or Avamar), simultaneously.
So, in today’s post, I’m going to walk through a process that took me about 10 minutes – connecting my DP Search server to my Avamar lab server, forcing an immediate indexing operation, and getting search results across both NetWorker and Avamar.
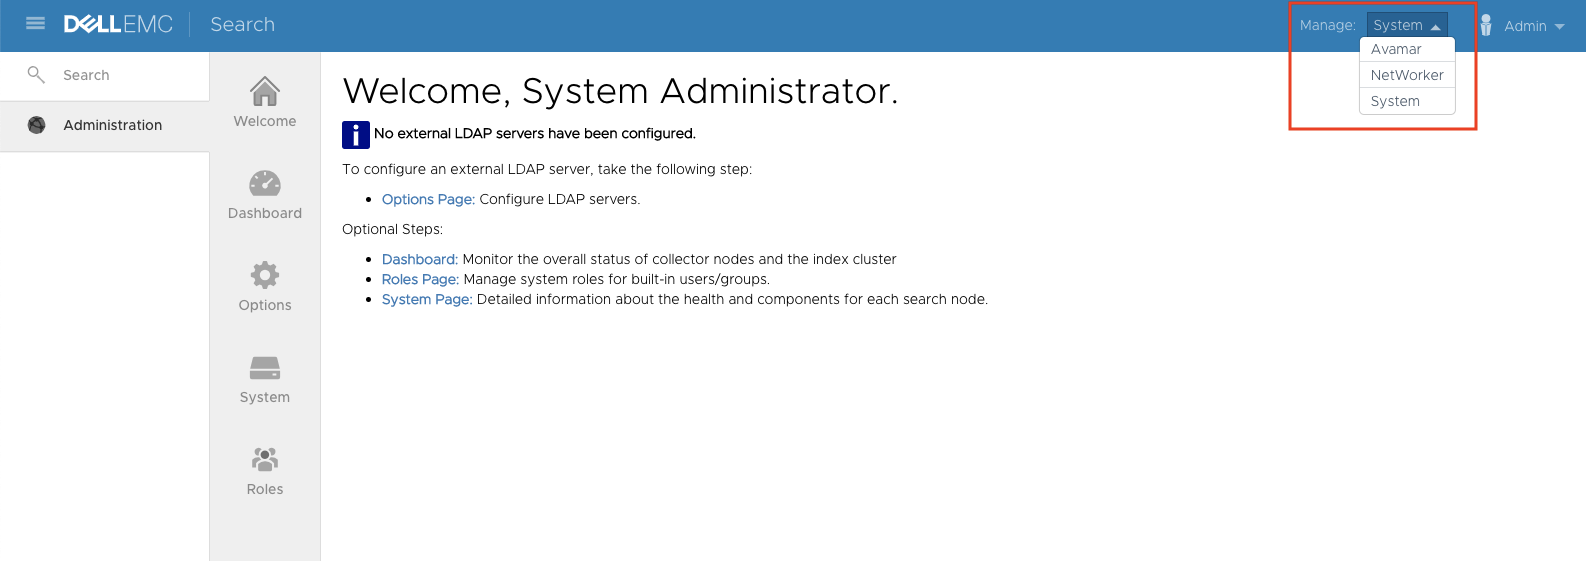
So, the first step after logging in to my DP Search server was to switch to the Avamar administration context:
The Avamar administration area of DP Search will present a welcome screen similar to the following:
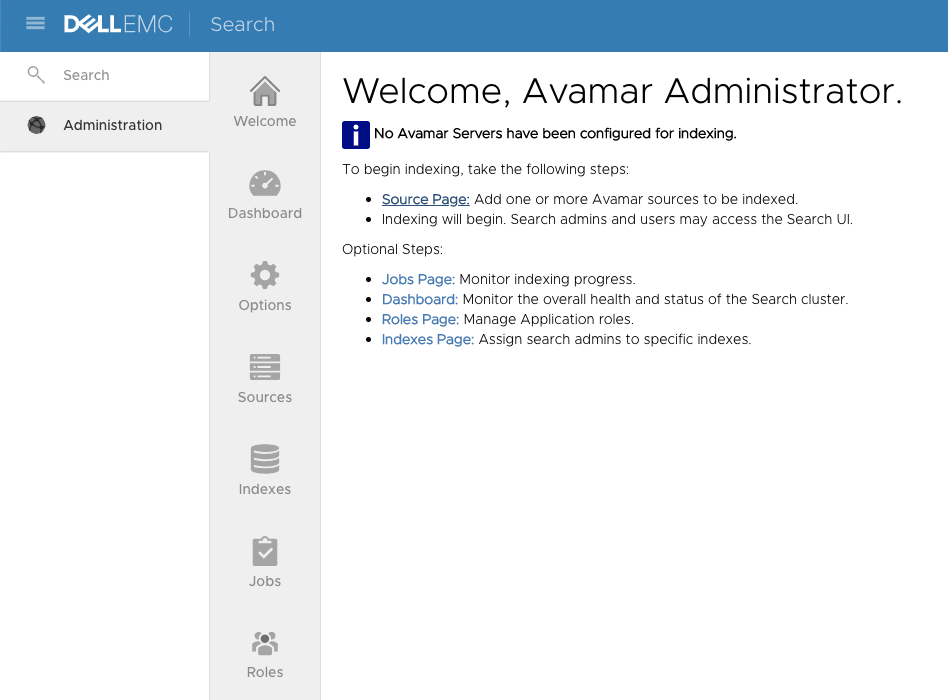
To add an Avamar server to the search system, click on the Source page on the welcome screen – this will bring up an add-new host form:
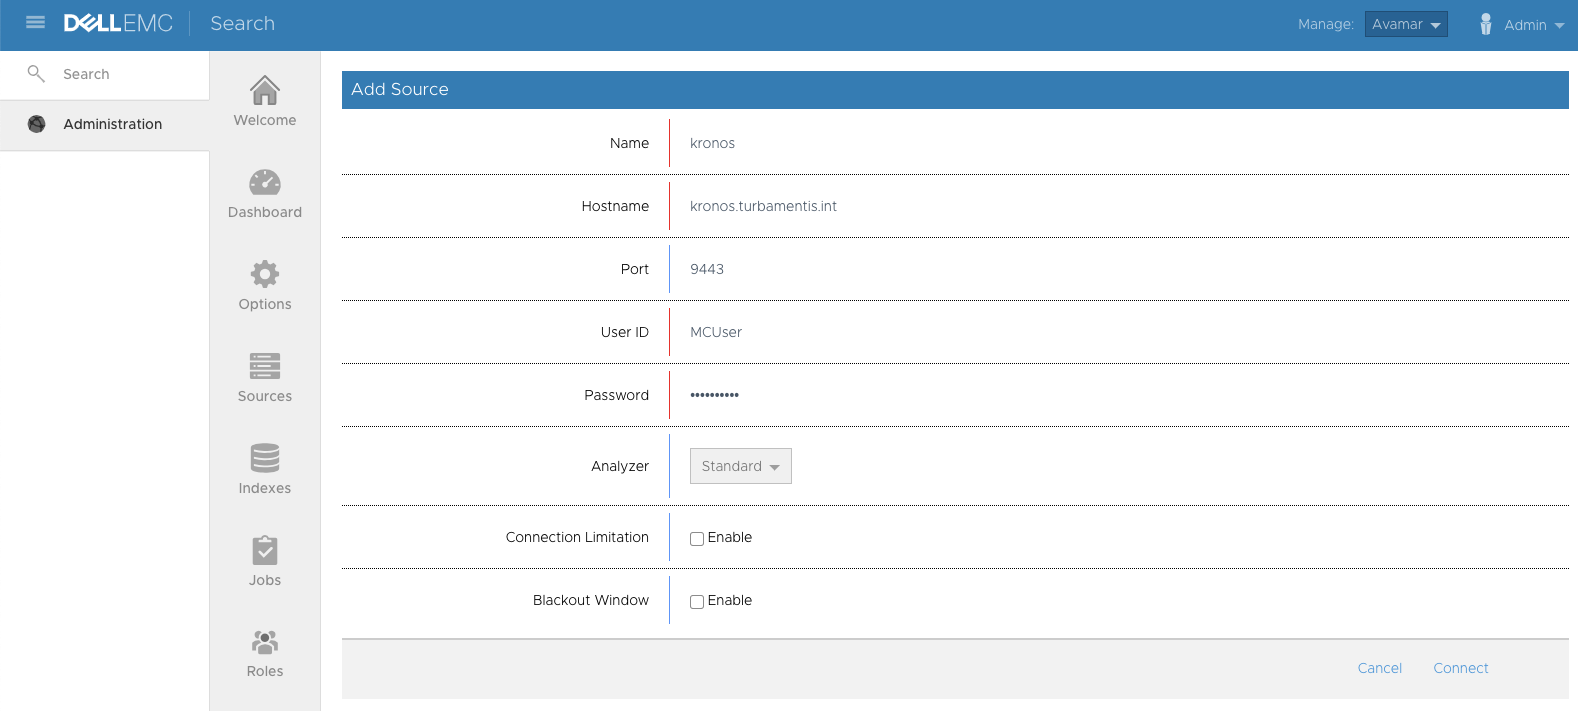
Whereas with NetWorker we had to setup the DP Search node(s) as client(s) in the NetWorker environment, and setup appropriate user group entries, for Avamar the process is a little different – we just have to give the DP Search system a set of credentials that it can use to connect to the Avamar server. In my example, I’ve just used the MCUser credentials; if you’d prefer, you can setup a dedicated administration account within the Avamar server just for the DP Search system. Again, I left Analyzer (primarily used to indicate languages to search on) with the standard setup, and didn’t specify any connection or blackout limitations. After those details were entered, I clicked the Connect link to continue.
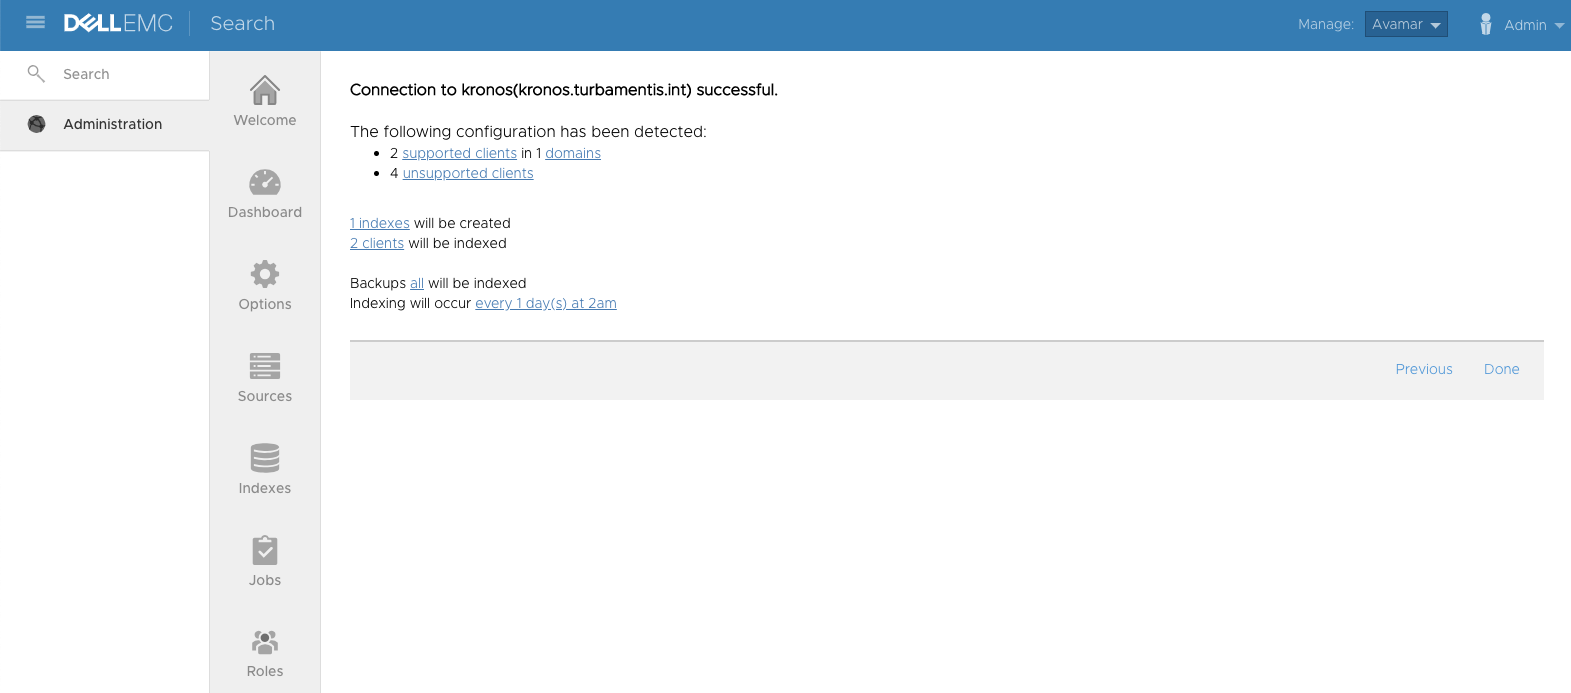
DP Search at that point discovered the key details on the Avamar server – the unsupported clients for this case primarily represented clients in the /RETIRED domain. I was happy with the results (and the number of clients – I’ve not scaled up my lab Avamar server tests yet) so I clicked Done to finish adding the Avamar server to the DP Search system.
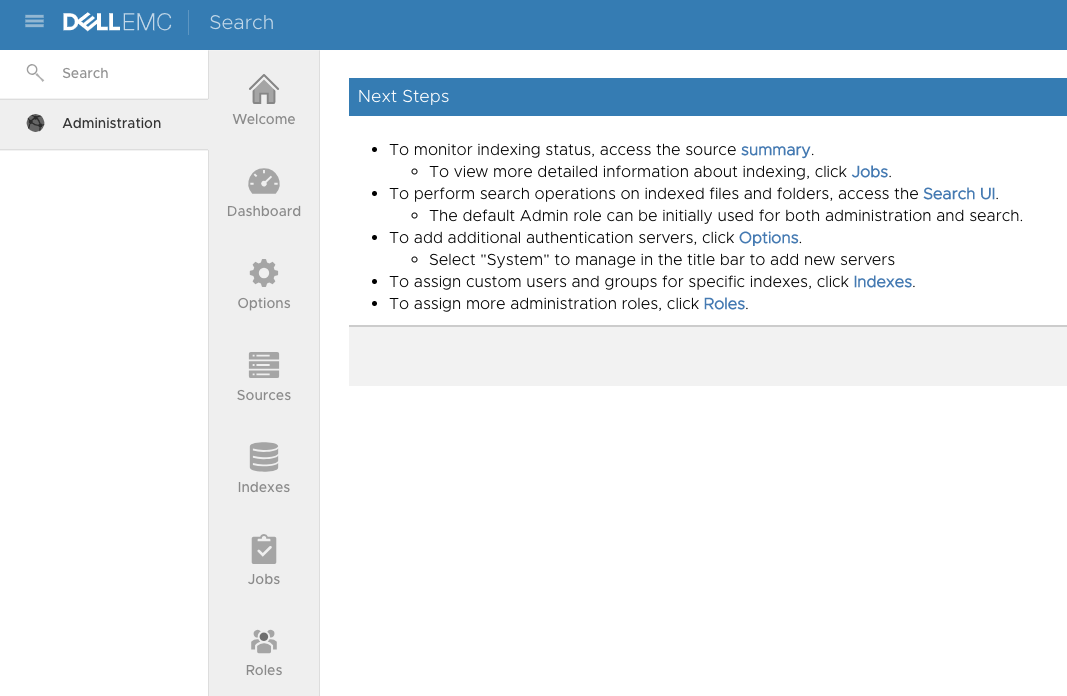
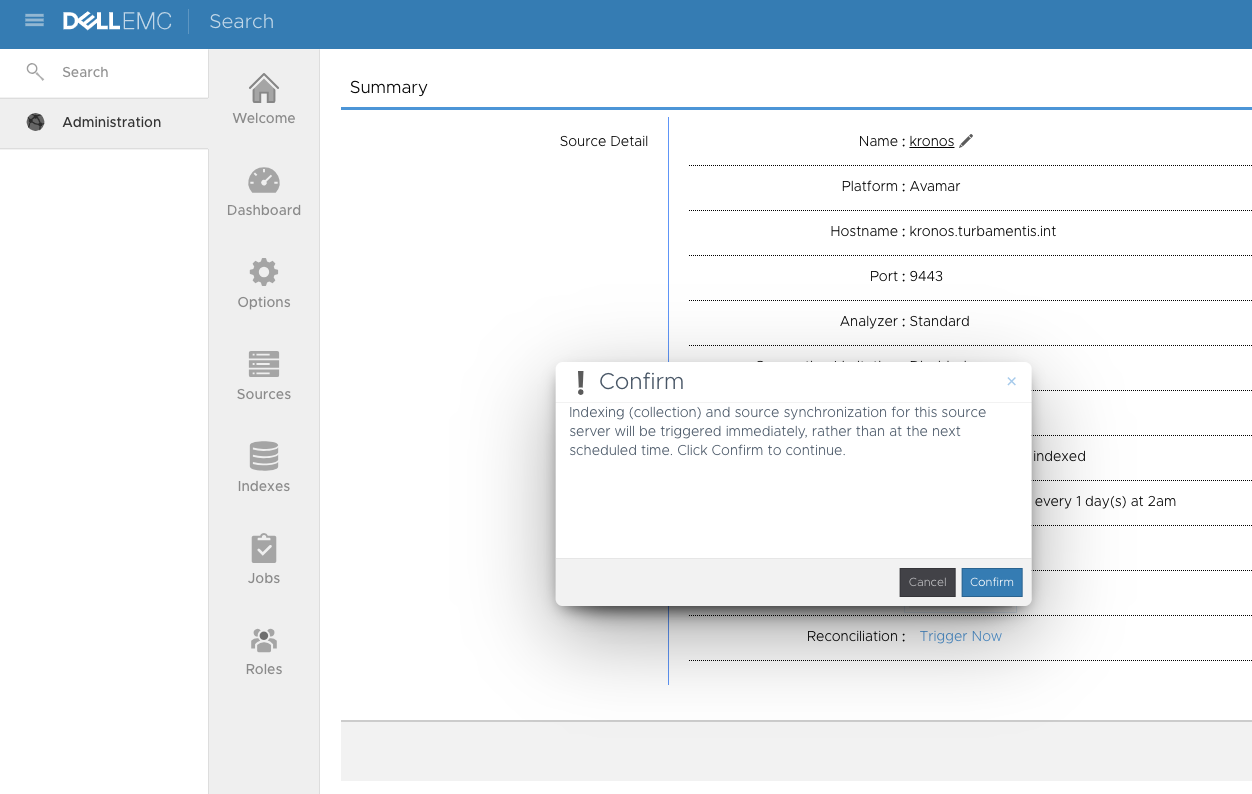
Here DP Search told me the Avamar server had been successfully added; I wanted to force an immediate indexing operation, so I clicked the summary link provided and clicked the “Trigger Now” option associated with Collection. This led to the standard DP Search prompt:
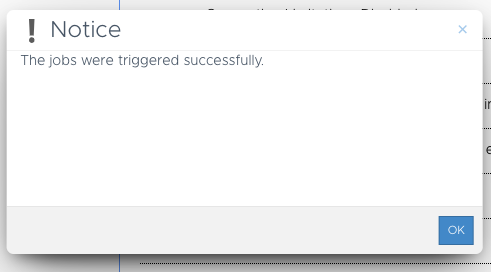
When I confirmed, the standard response too:
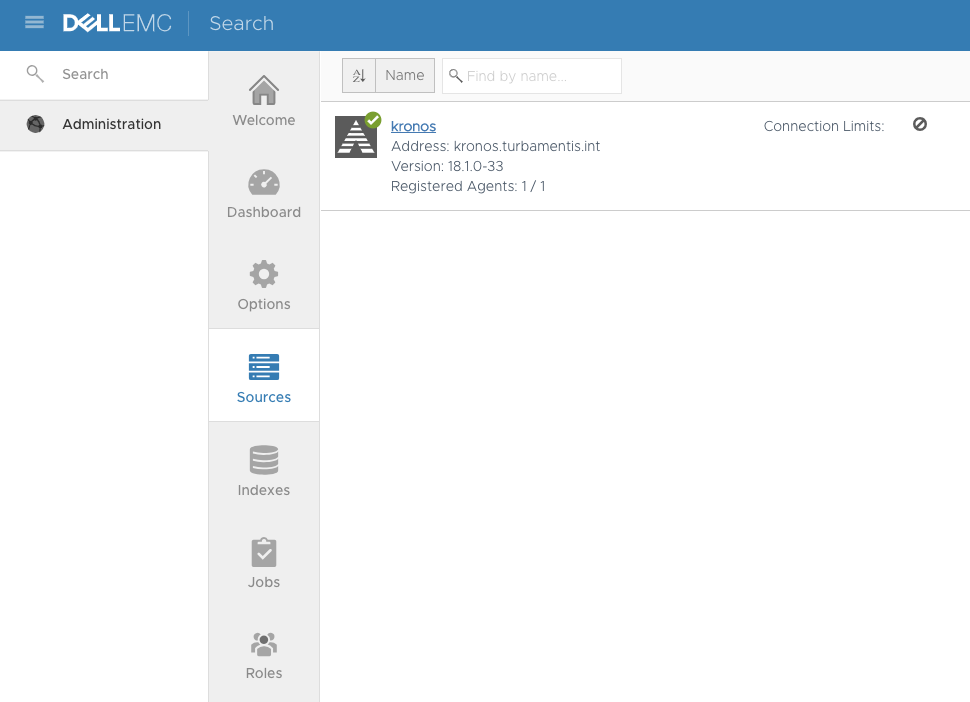
Since it’s just a lab server, I left the index collection running for just a few minutes before switching over to Search. In fact, before switching to search I switched to Sources – this is where you can see (for each of Avamar and NetWorker), a view of the sources you’ve added, and whether DP Search has a successful connection into them:
Now, on to the searching. In this case, since my Avamar clients are Linux systems, I wanted to pick a search that would give results for both NetWorker and Avamar, and stand a fair chance of letting you see both systems appear in the first few search results. So, I searched for files containing the word bash in locations of bin:
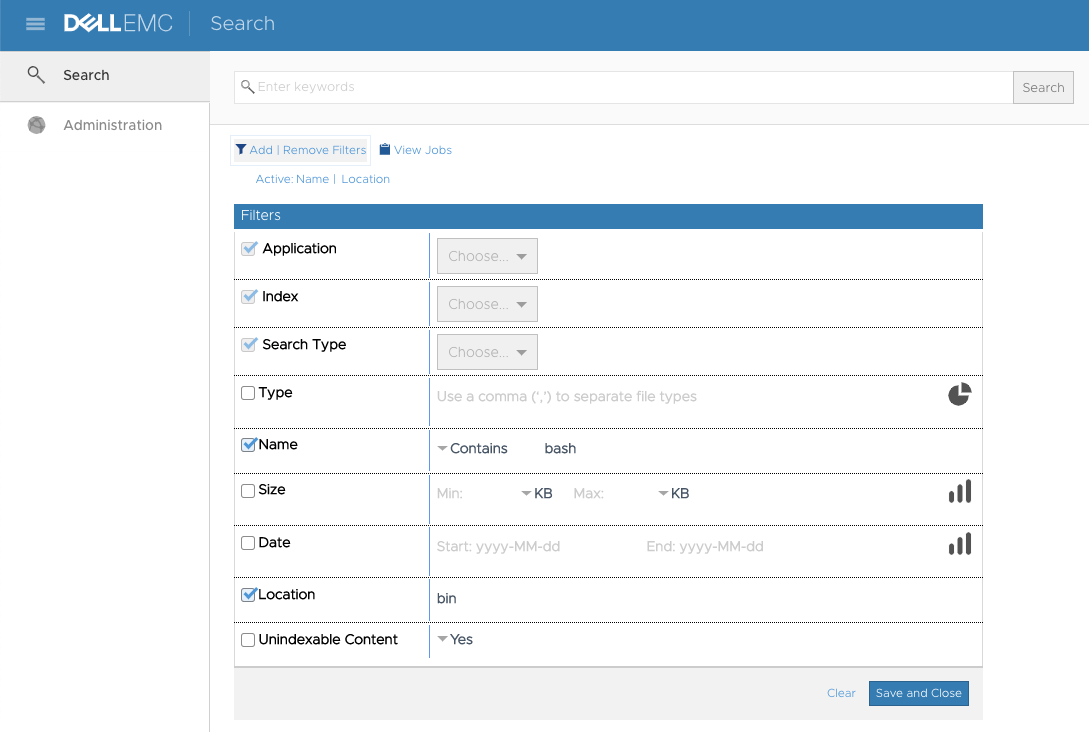
With the search details entered, I clicked Save and Close to run the search, and here’s a grab of the first few entries in the results:
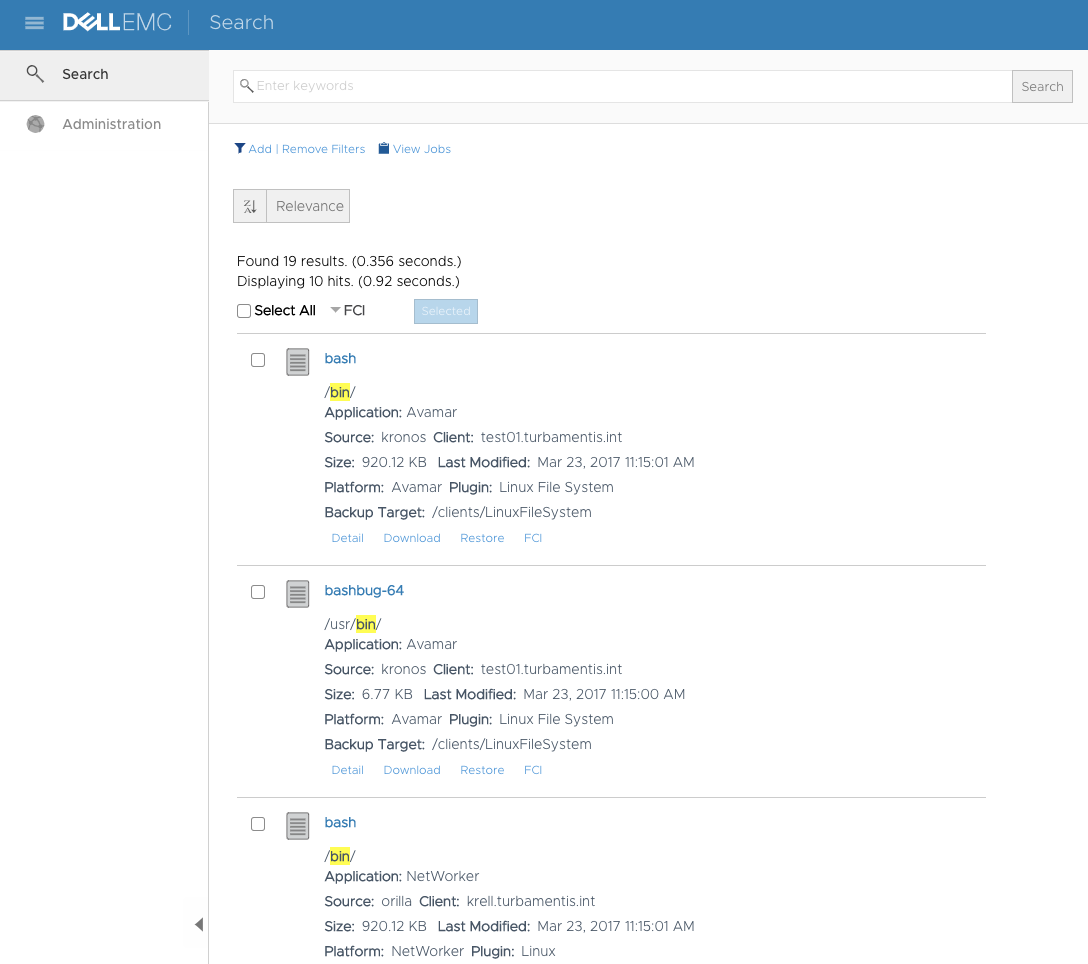
So there you have it – simultaneous search of both NetWorker and Avamar backups, with the search completing in well under a second. I can also honestly say that it’s taken me about 3 times longer to type up the blog article than it did for me to integrate Avamar, force indexing and run that search, too. So if you’ve not checked out DP Search yet, make sure you do soon.
While I’m here, don’t forget: if you’re interested or work in Data Protection, be sure to check out my book, Data Protection: Ensuring Data Availability.
