PowerProtect (the Data Manager software, and the storage platform) — the next generation data protection platform from Dell EMC, became generally available in the last couple of days, and while my schedule is currently pretty brutal, I wanted to quickly get the PowerProtect Data Manager installed in my lab. This is by no means meant to be an exhaustive introduction to the PowerProtect Data Manager, but I did want to get the ball rolling and have an introductory post that I can expand on in future articles.
So, to start with, PowerProtect Data Manager can be found from support.emc.com. I pulled down the documentation, OVA for the appliance, and the filesystem agents for Windows and Linux. On the initial release of PowerProtect Data Manager, there’s support for VMware backups via the vProxy service, Windows and Linux block based filesystem backups, and Oracle/SQL backups. Obviously that’s a list that will continue to grow (I know, I’ve seen the roadmap). Storage integrated protection of Oracle and SQL is also supported.
Deployment of the Appliance
PowerProtect Data Manager is not a ‘traditional’ backup server where you deploy your own operating system and install some packages on. It’s designed to be deployed as a virtual machine, and runs as a dedicated appliance. (If you’ve read my earlier post on ransomware updates, you’ll probably agree that’s a good thing.)
So let’s look at the OVA deployment: it’s pretty simple.
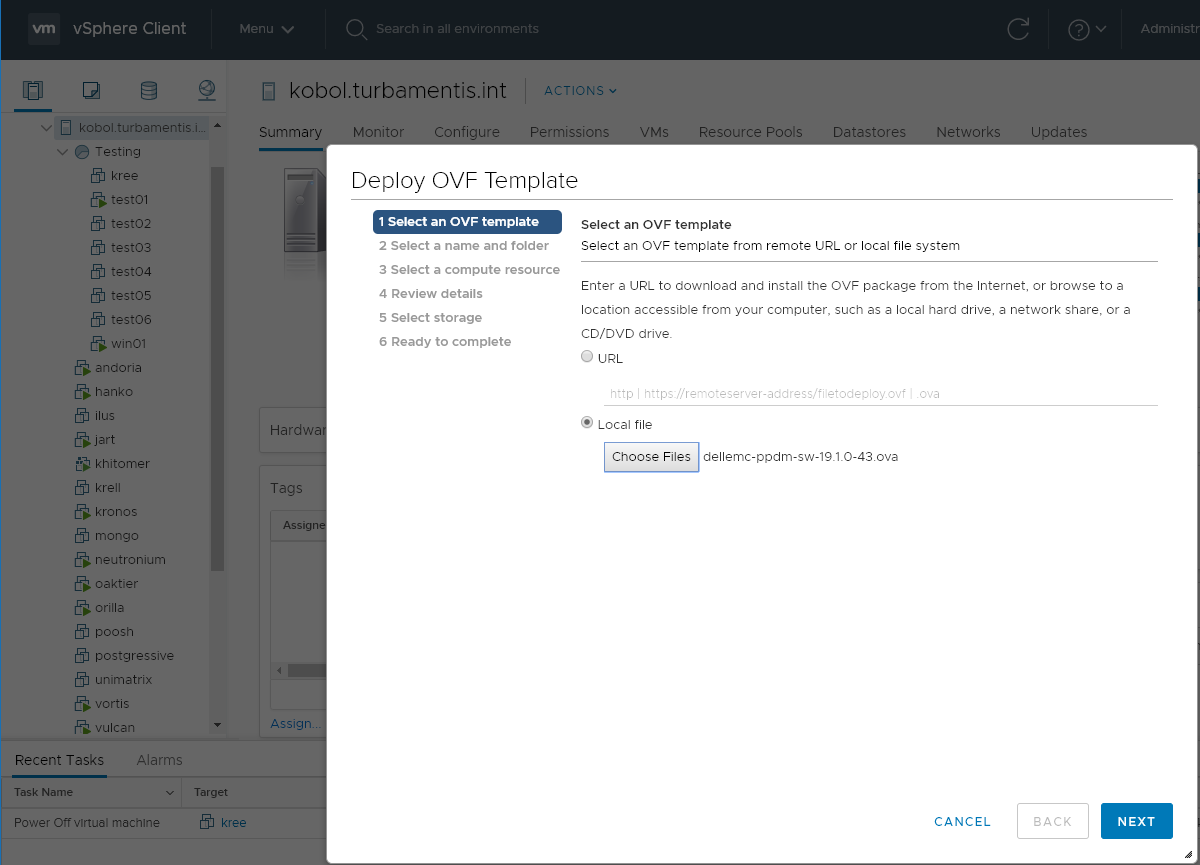
I’m using vSphere 6.5 for this, and did the deployment wholly within the HTML5 vSphere Web Client. First, select the OVA to deploy:
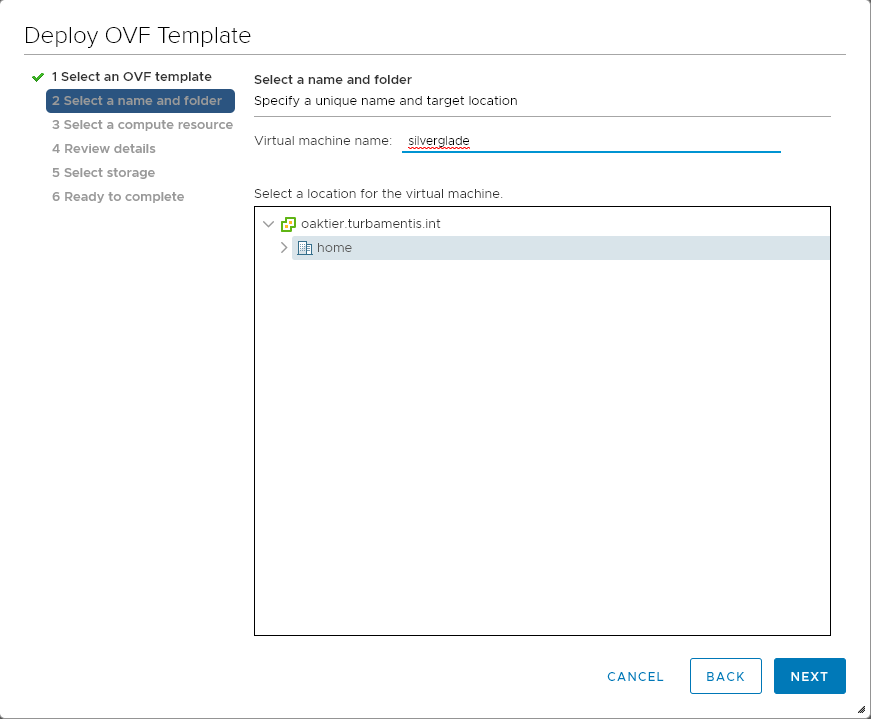
Now, before I started the deployment, I created a new DNS entry for my PowerProtect Data Manager server. That meant at the next step I could name the virtual machine via its short host name:
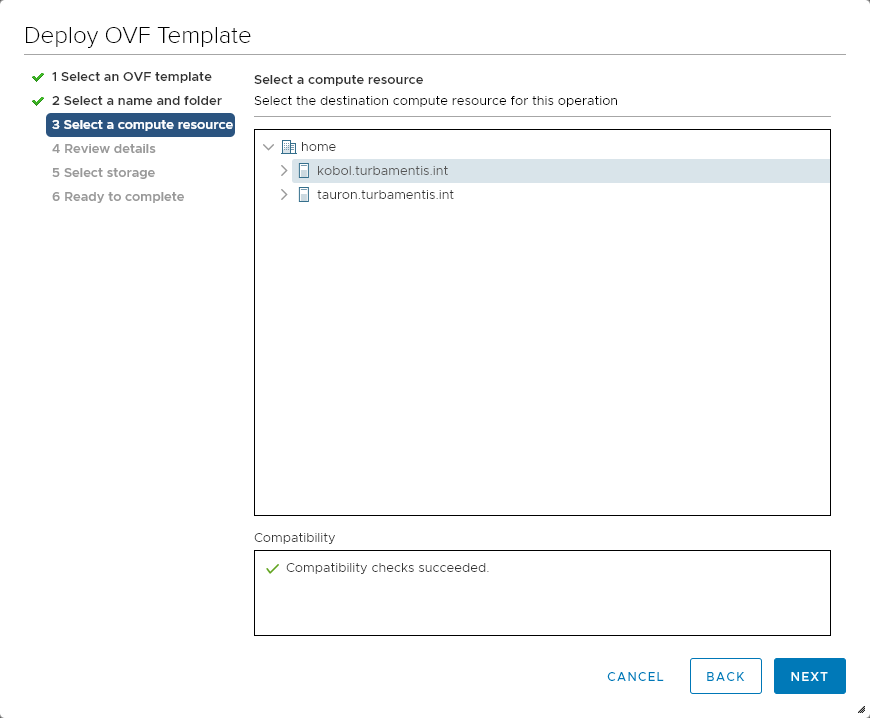
Next is to choose which ESX server you want to deploy onto:
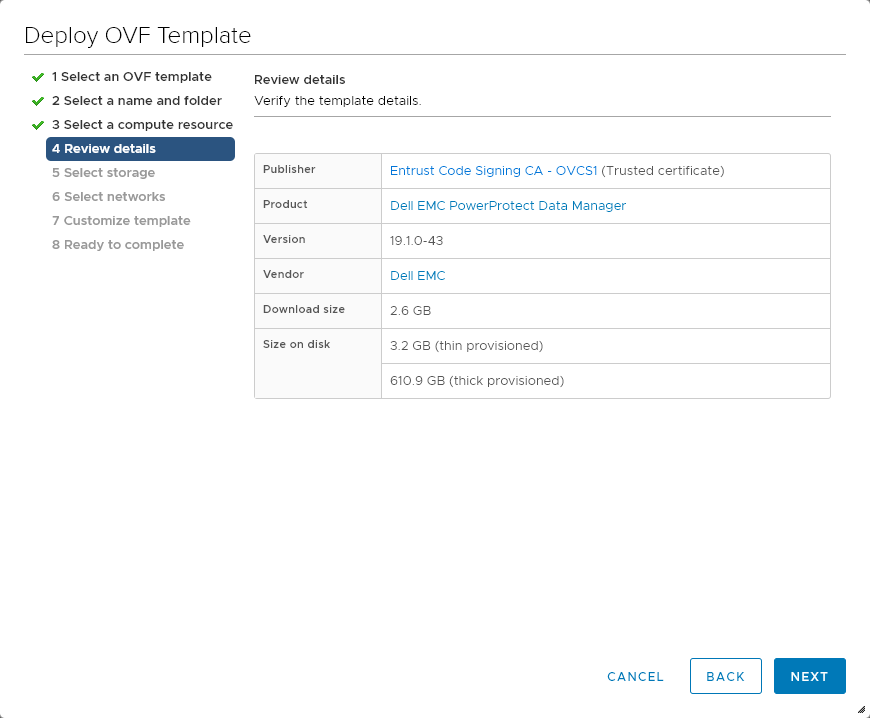
The next step is to review the details of the OVA file — it was all in order, so I could click Next:
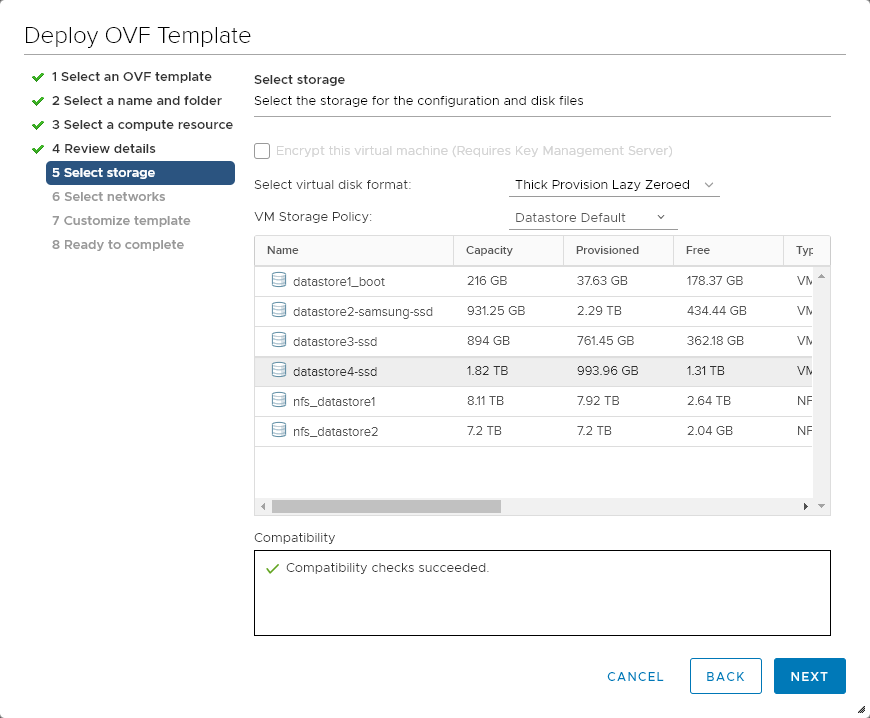
The next step is to choose where you want the virtual disks associated with the PowerProtect Data Manager appliance created. You can choose the disk provisioning layout, but ideally the only time you’d choose thin provisioning is for a lab server. I’d very much recommend sticking with the default of Thick Provision/Lazy Zeroed for any production environment.
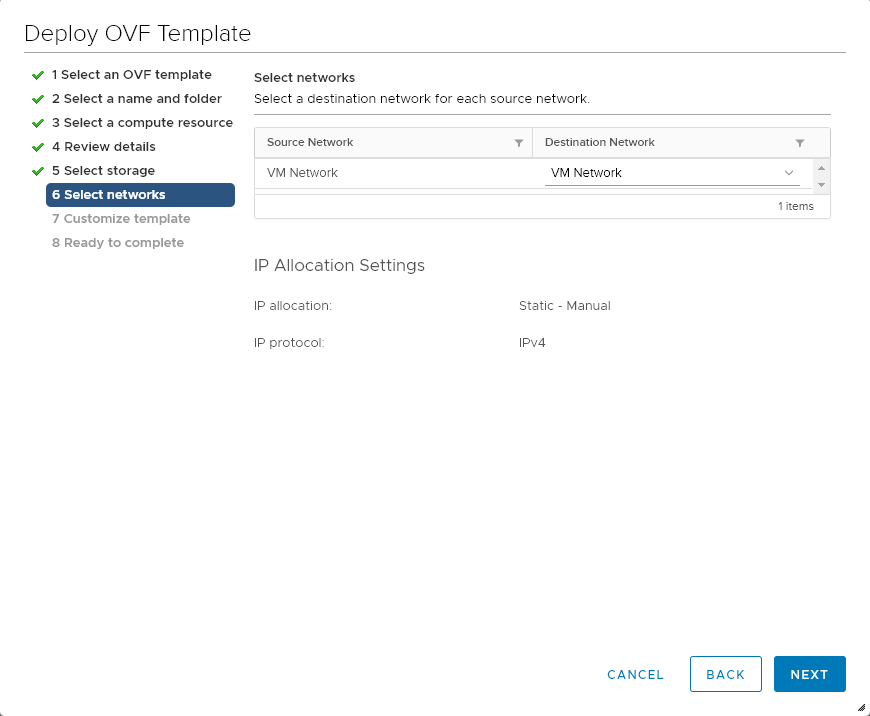
Your next step is to choose the network that the appliance will be connected to. Because it’s never in the data path, it just needs a single 1Gbit virtual NIC:
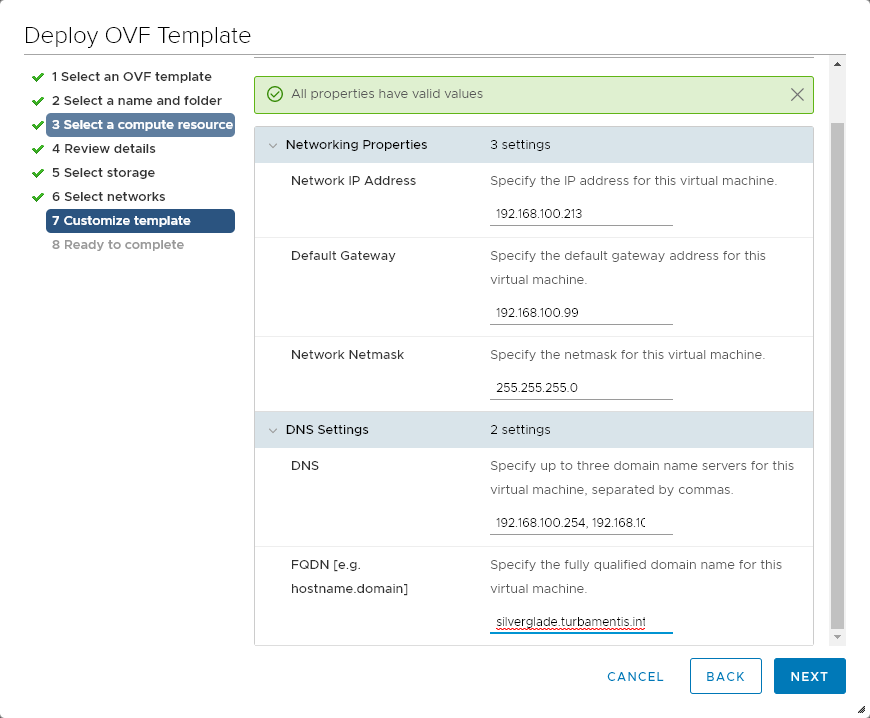
At this point, you need to enter the standard sort of customisation details you’d expect: IP address, gateway, netmask, DNS, FQDN, etc. Do so, and click Next:
Next you’ll review all the settings:
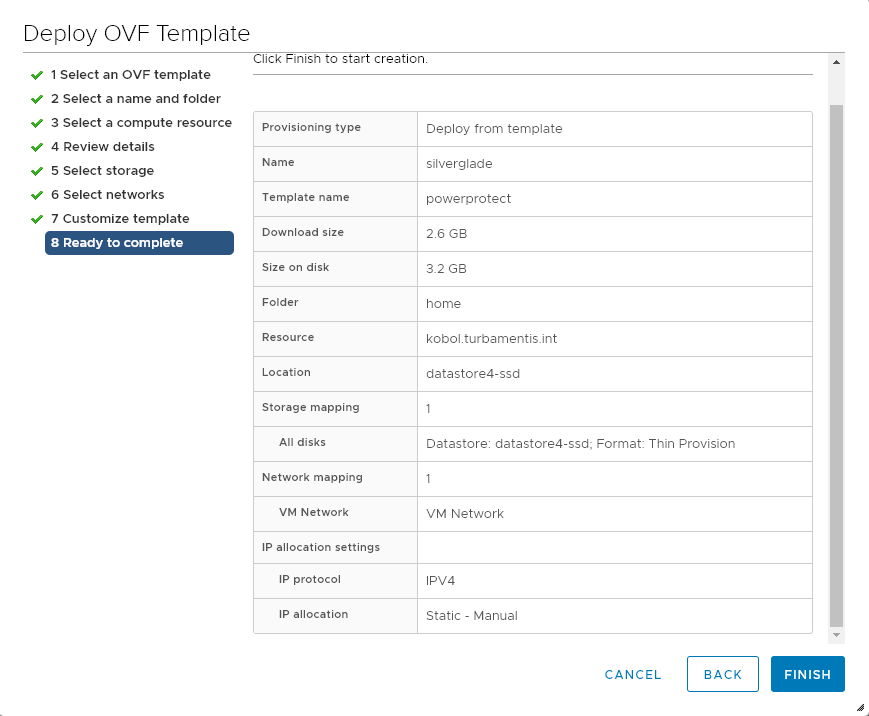
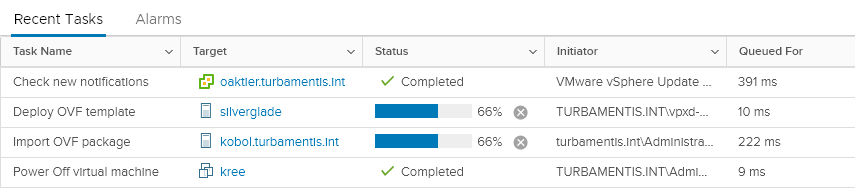
When you’ve reviewed all the settings, click Finish to have the deployment get underway. You’ll get the standard VMware updates during the deployment, viz.:
Once the deployment is complete, you can review the virtual machine settings if you want. It’s a good way to see the resources it requires:
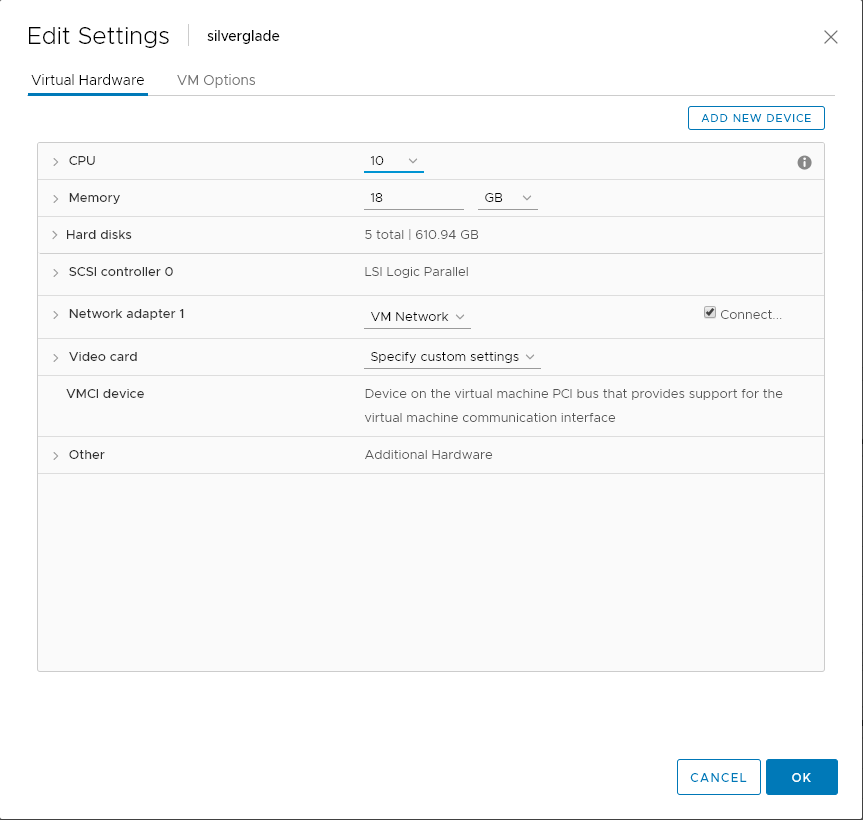
You can see there you need 10 vCPU and 18GB of RAM, and if you’re thickly provisioning you’ll need around 611GB of storage. But since you don’t need any storage nodes or whatever your data-mover tier in a 3-tier architecture calls it, it’s a pretty light-weight solution for an all-in-one policy manager.
Initial Access
After you’ve got PowerProtect Data Manager deployed, you’ll want to point your web browser at it and go through the initial setup.
The first step is to decide whether this is a true initial setup, or whether you’ve just done a DR deployment of a PowerProtect Data Manager appliance to recover configuration from:
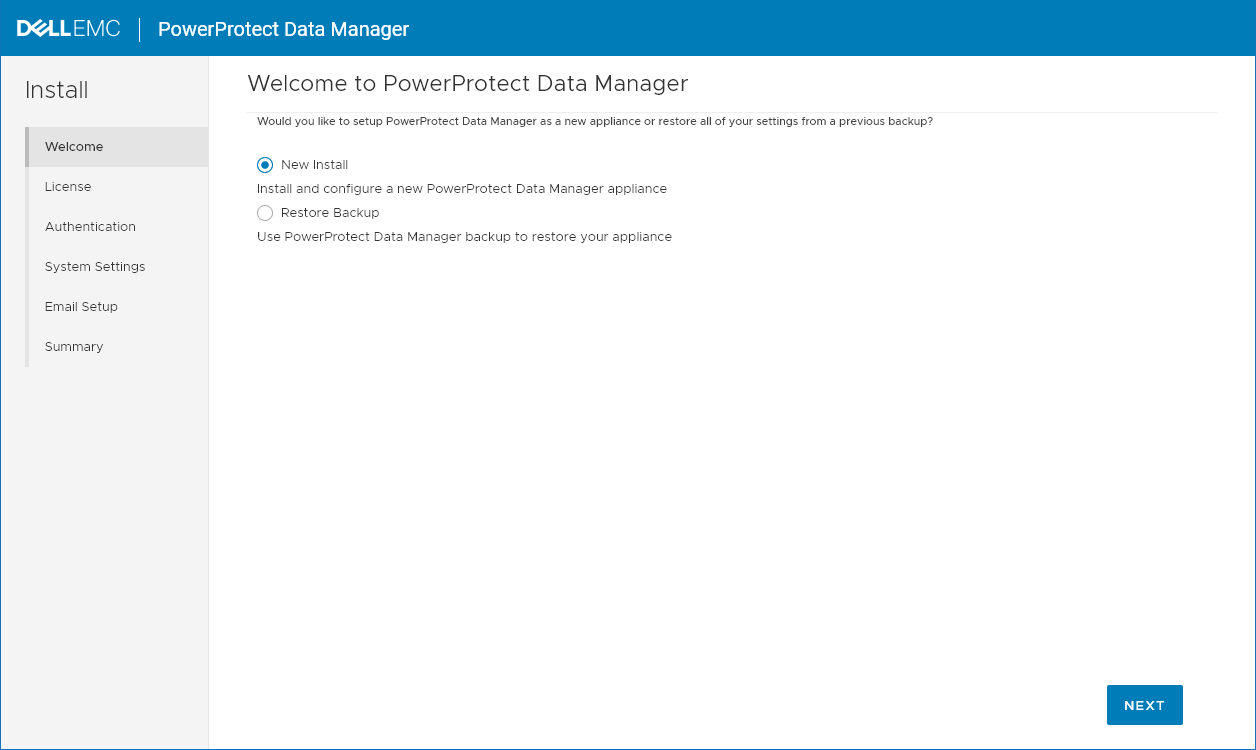
I was setting this up as a new install so I left the radio button on that selection and clicked Next:
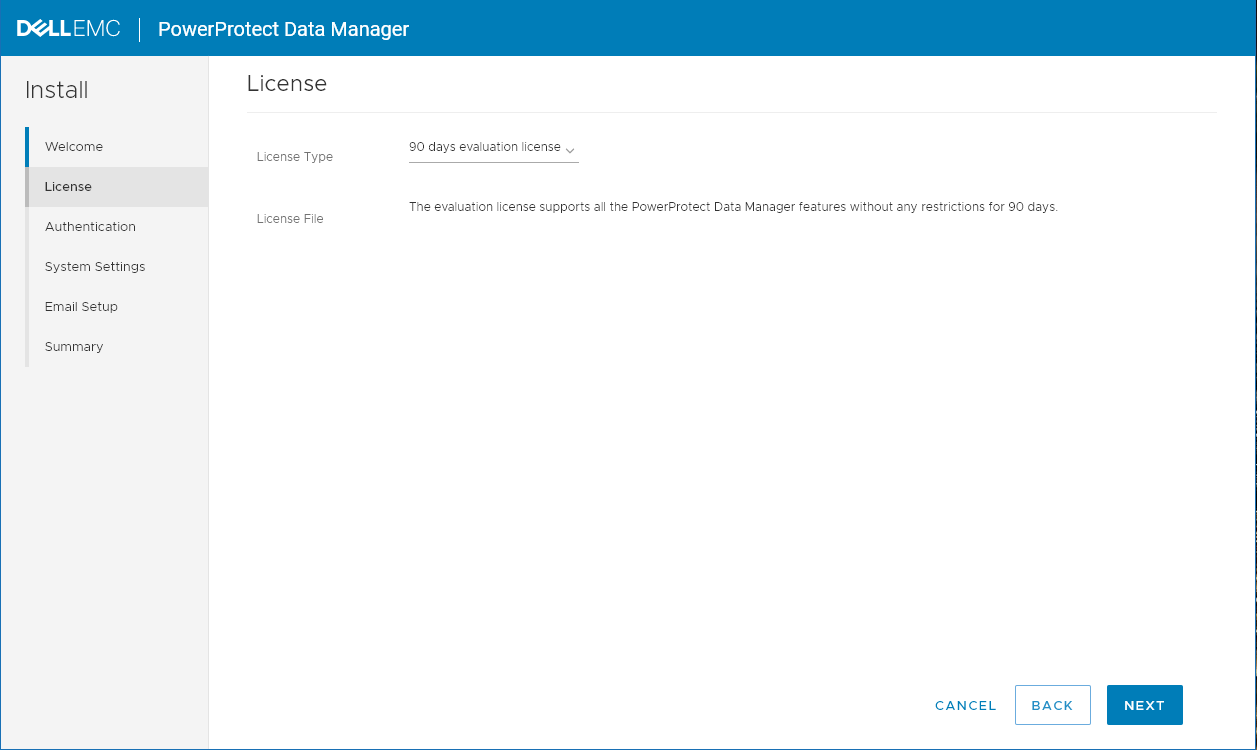
If you’ve got a full license for PowerProtect Data Manager you can choose to apply the license file at this point, otherwise you can start with a 90 day evaluation period, which is what I left it at.
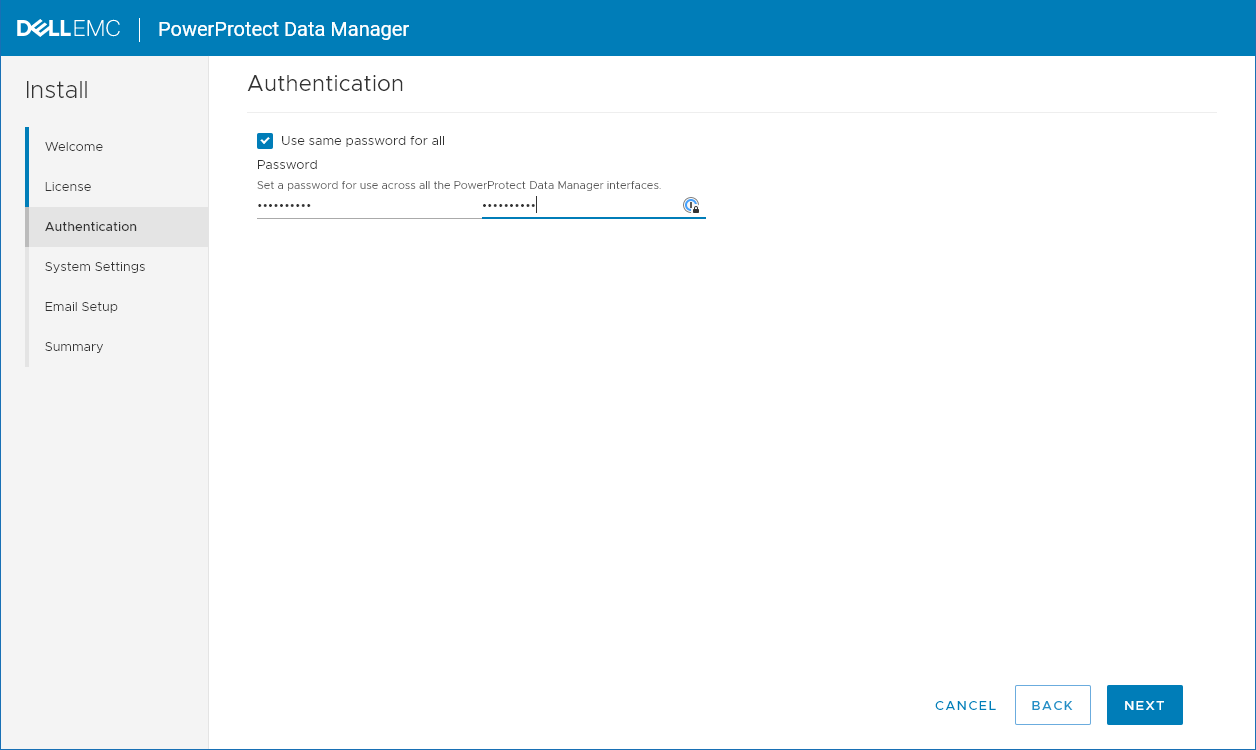
The next step is to setup passwords. I went for the “Use same password for all” option, but if you’re in a production environment you might choose to enter individual passwords for particular features.
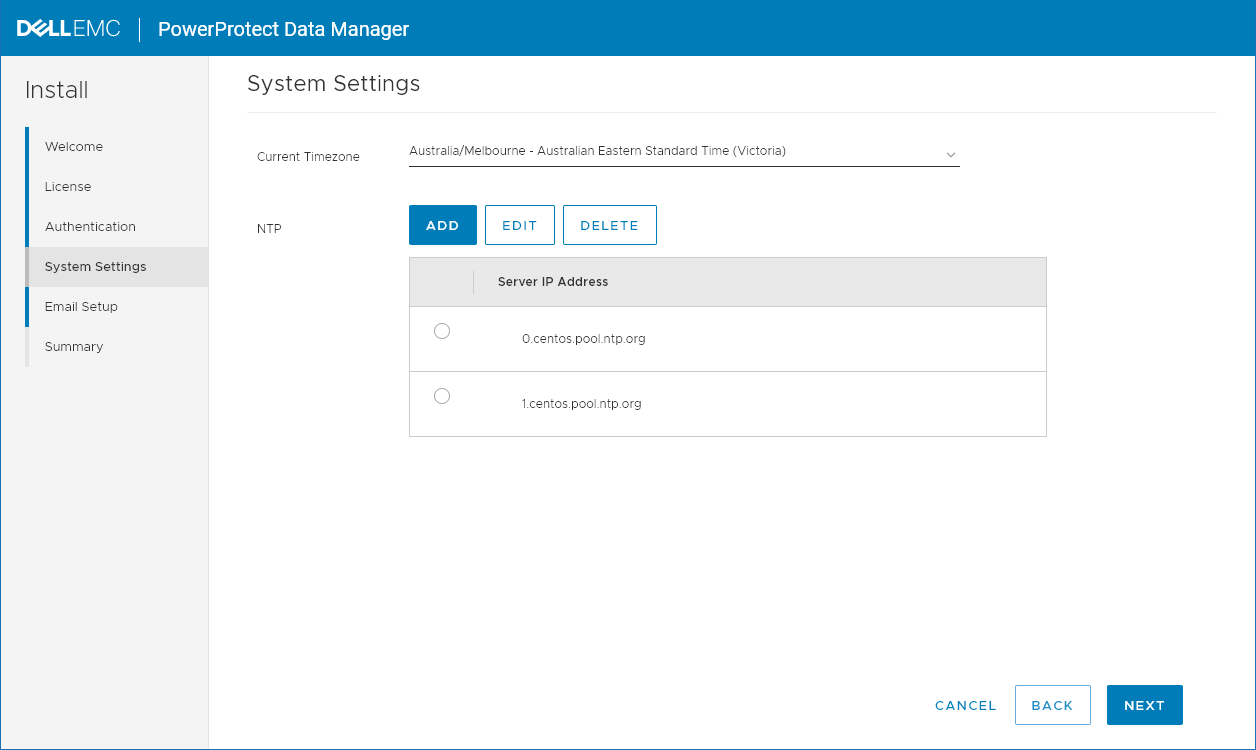
Next, timezone and NTP servers:
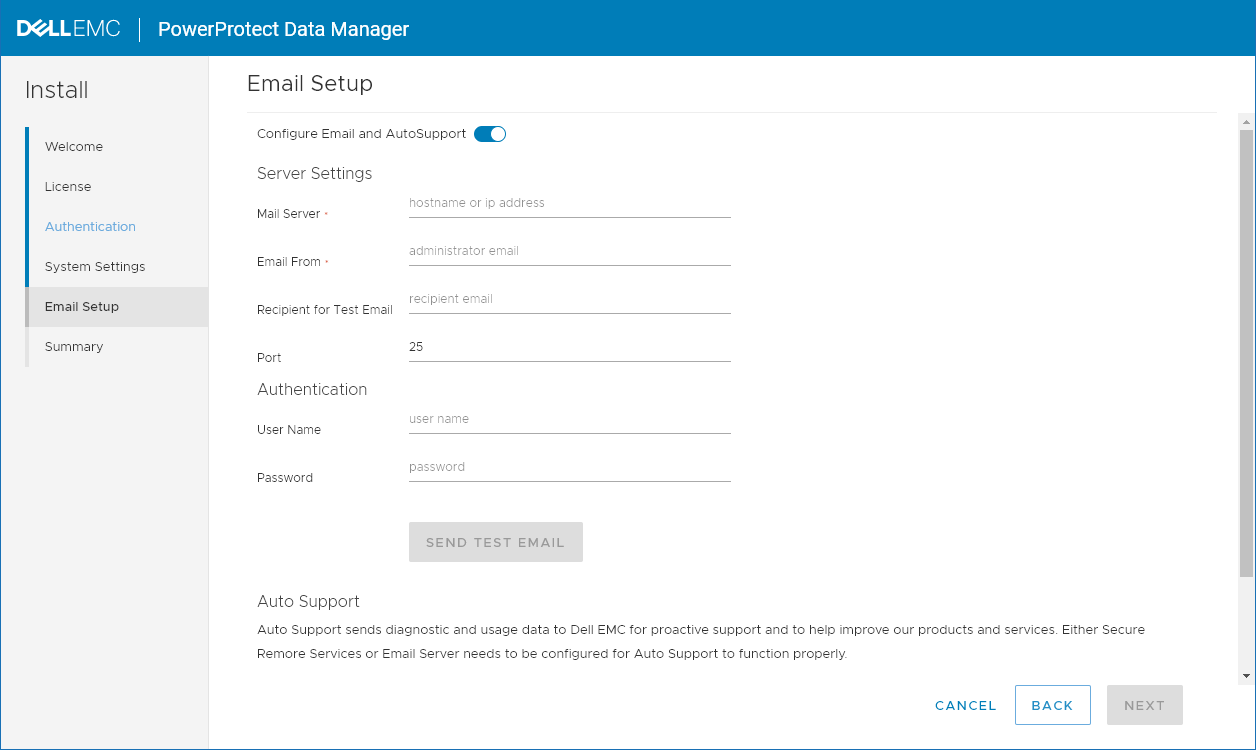
Next, autosupport. For my lab environment I turned this off, but obviously the preference is you’d fill these details out for a production environment (unless you were running a dark site):
Finally, you’ll be prompted to review your settings:
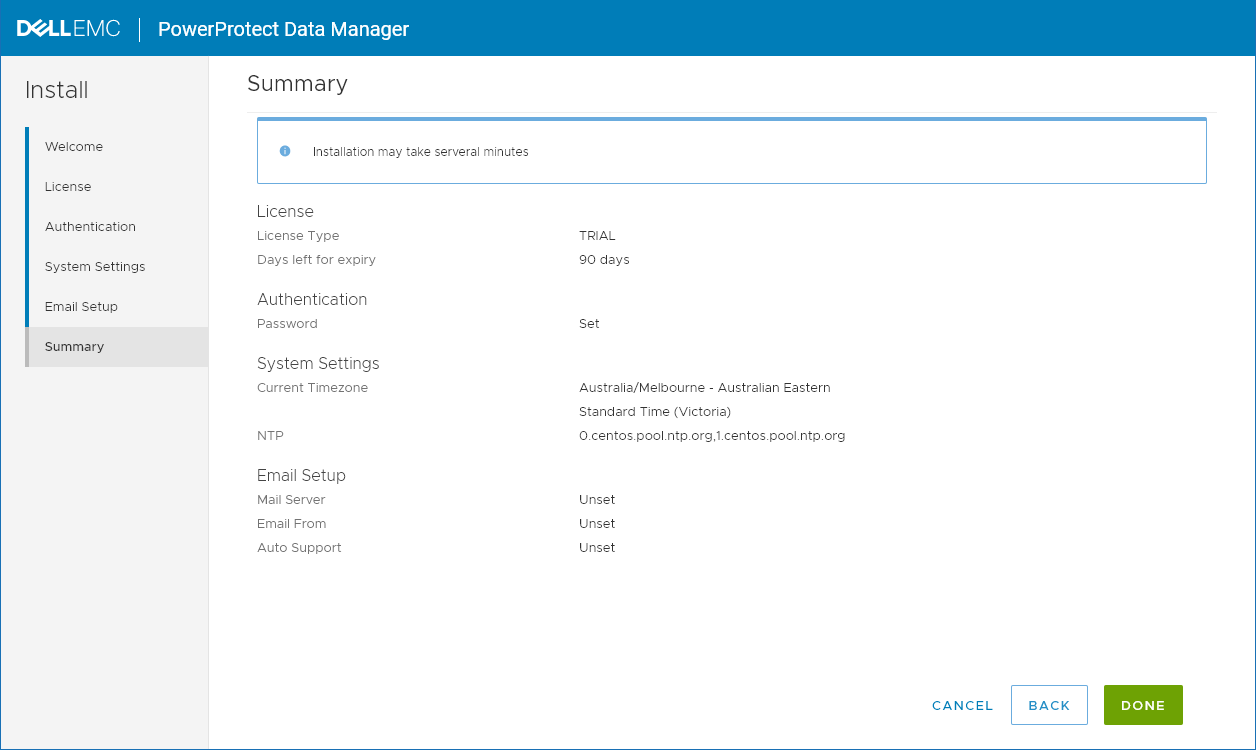
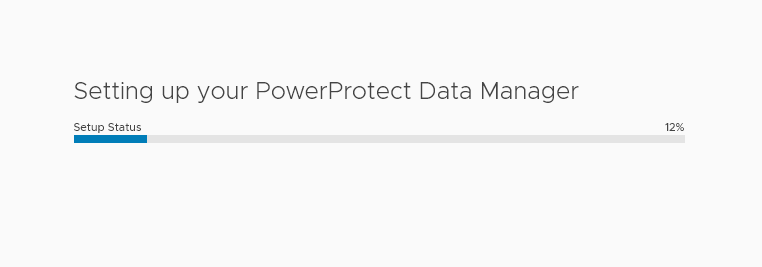
When you’re ready, click Done and you’ll get a progress bar on the initial configuration:
First Look
OK, so after that’s all done, you’ll go to the URL for the PowerProtect Data Manager appliance and login as the admin user using the password set during installation:
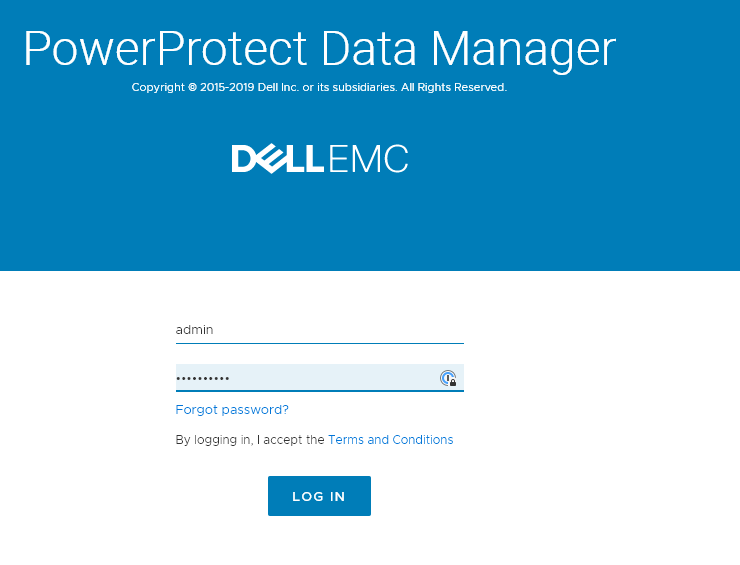
If you’ve been using any of the web interfaces for Dell EMC data protection products (e.g., Avamar, DPC, DPA, NetWorker), you’ll see it follows the same theme for login — and for the ongoing administration view, too.
There’s a few initial setup options that are recommended once you get PowerProtect Data Manager deployed, and until you click the “Skip This” option, they’ll continue to be shown on login — I think it’s a good thing to remind you of these starting activities. Here’s what that looks like:
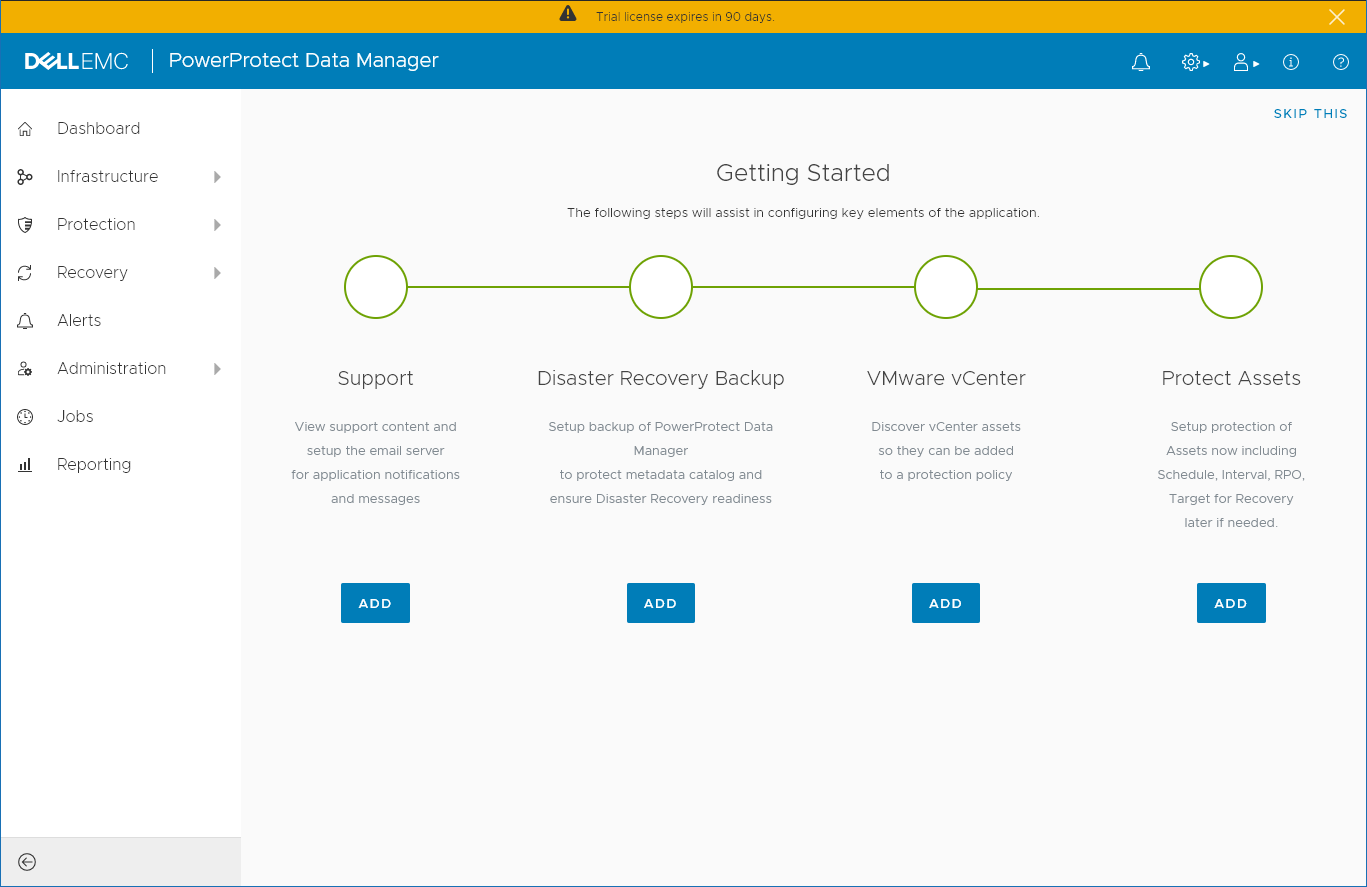
If you click the “Add” under Disaster Recovery backup, you can configure the appropriate access to a Data Domain so that the system can regularly take DR backups of itself. This is covered well in the administration guide, and there’s some good information buttons for other prompts. Here’s what the process looked like on the PowerProtect Data Manager appliance after I’d done the Data Domain setup:
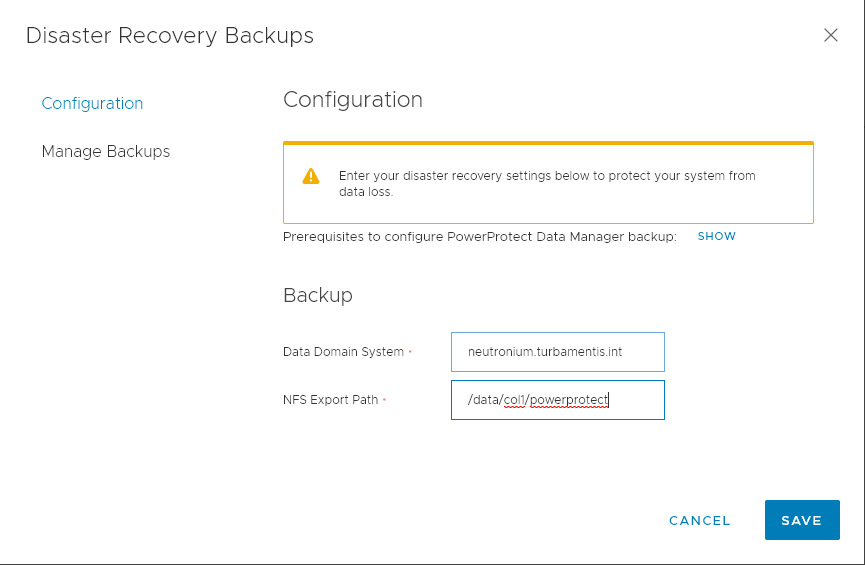
After you’ve filled in those details and clicked Save, you can progress to managing backups and creating a manual DR backup:
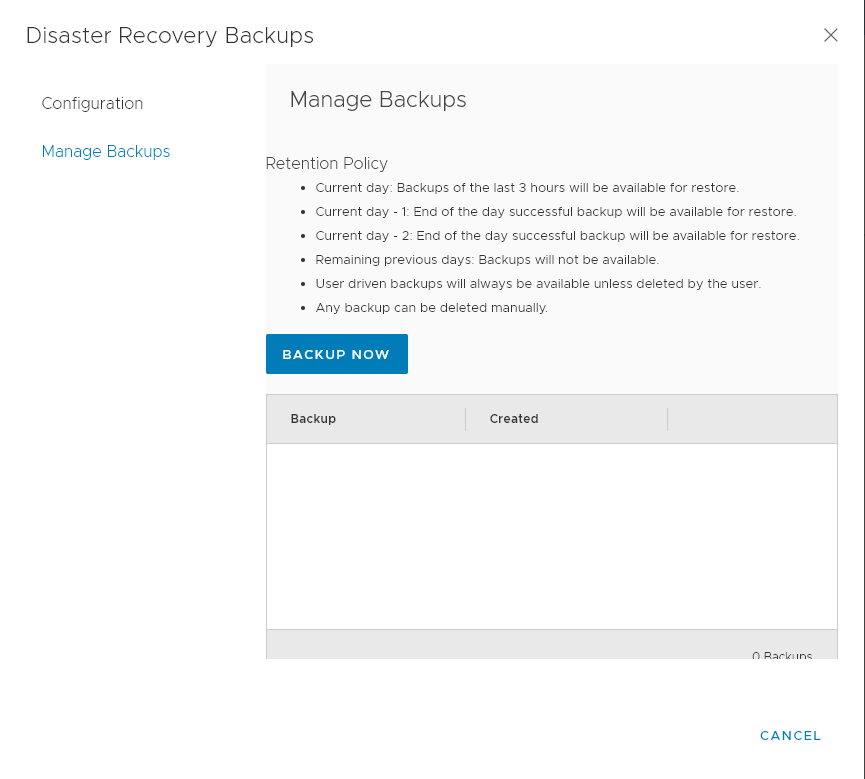
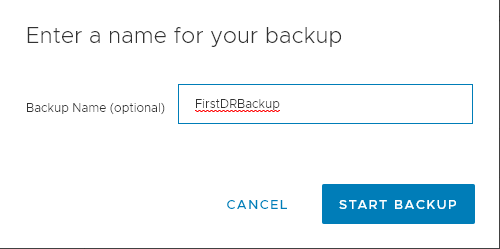
Now, PowerProtect Data Manager is keen on protecting itself, so while I was creating an initial manual DR backup, it was actually running a system controlled one in the background. When you create a manual backup, you can name it however you’d like:
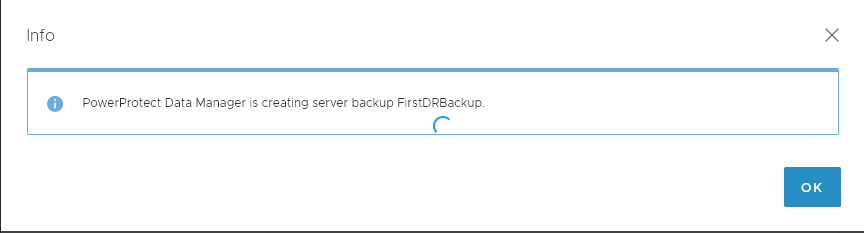
After you click Start Backup, you’ll get a notification it’s underway:
Here’s the view after PowerProtect Data Manager had finished the manual DR backup I requested and its automatic first DR backup:

Creating a Policy
Before I created a policy, I installed the filesystem agent on a Windows server and went through the registration process. I’ll come back to this in a future blog post. Here’s what the policy creation process looked like though:
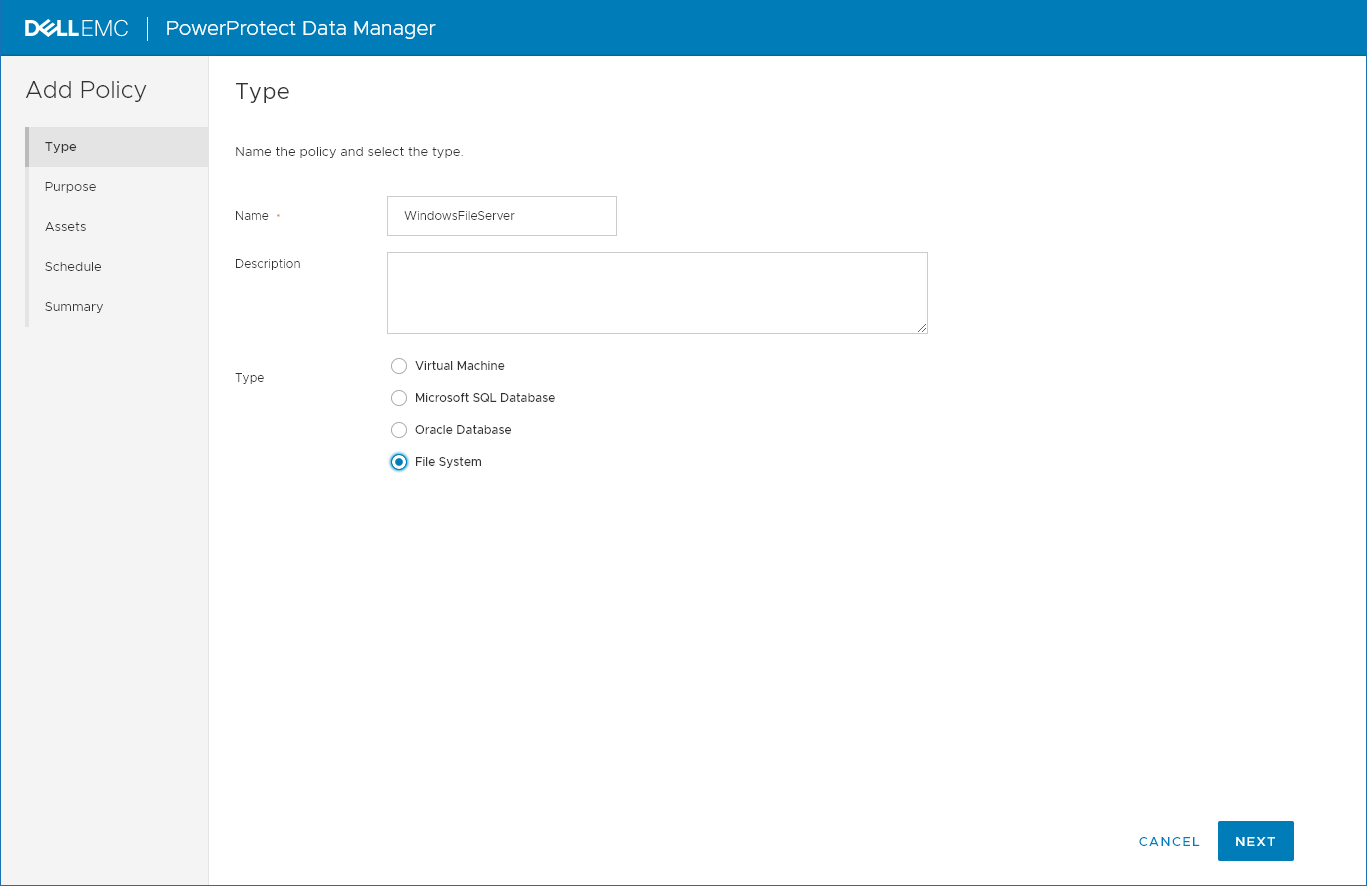
To start with, you choose the policy type you’re creating, and give it a name and optionally, a description. After filling that out, click Next and you’ll progress through the wizard:
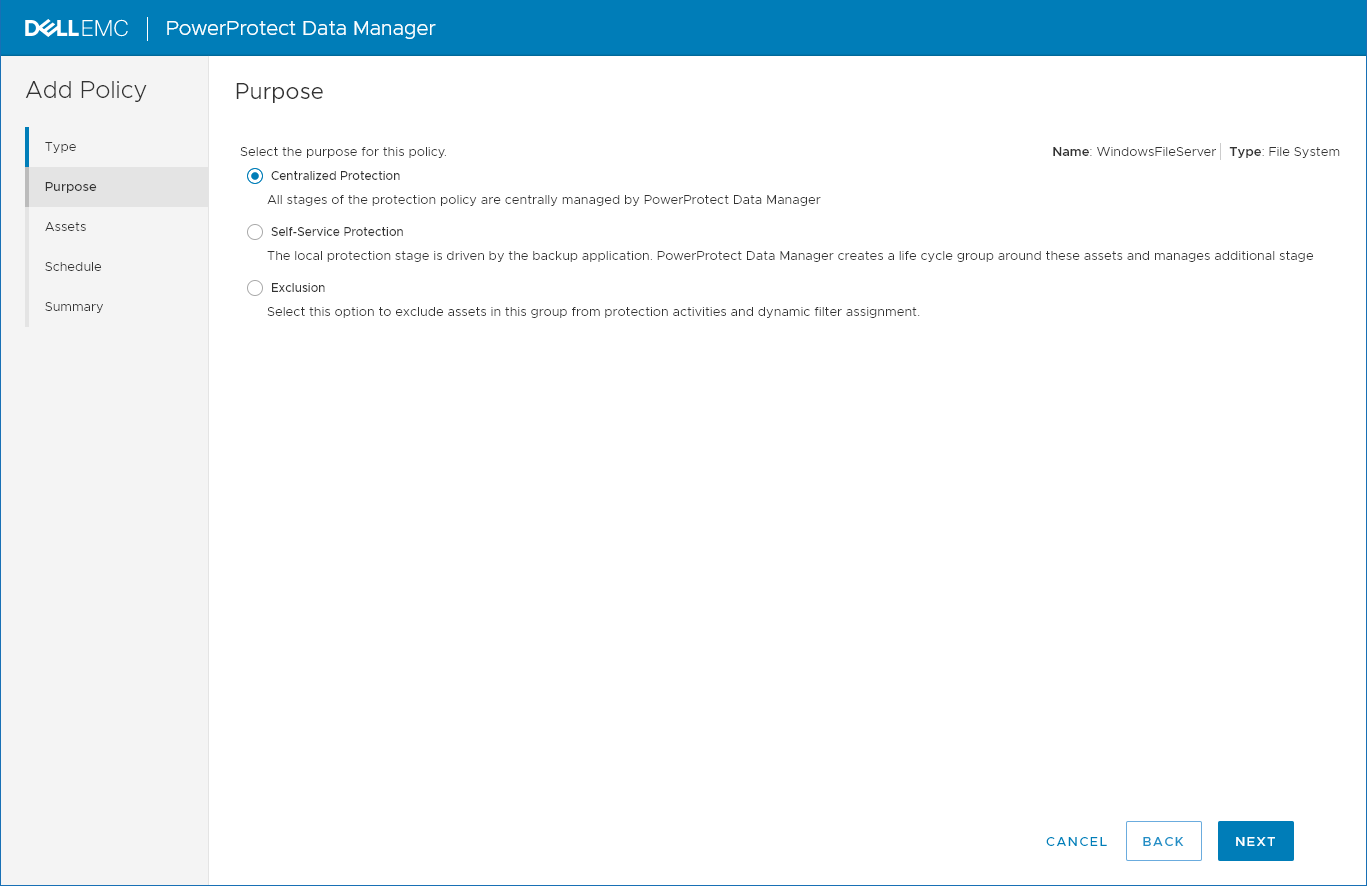
The purpose of the policy lets you define whether this is going to be a policy that is run from centralised service control, or will be self service (think database plugins). There’s also an exclusion option that I’ll cover in a future blog post.
For this policy I went with a centralised protection policy and clicked Next:
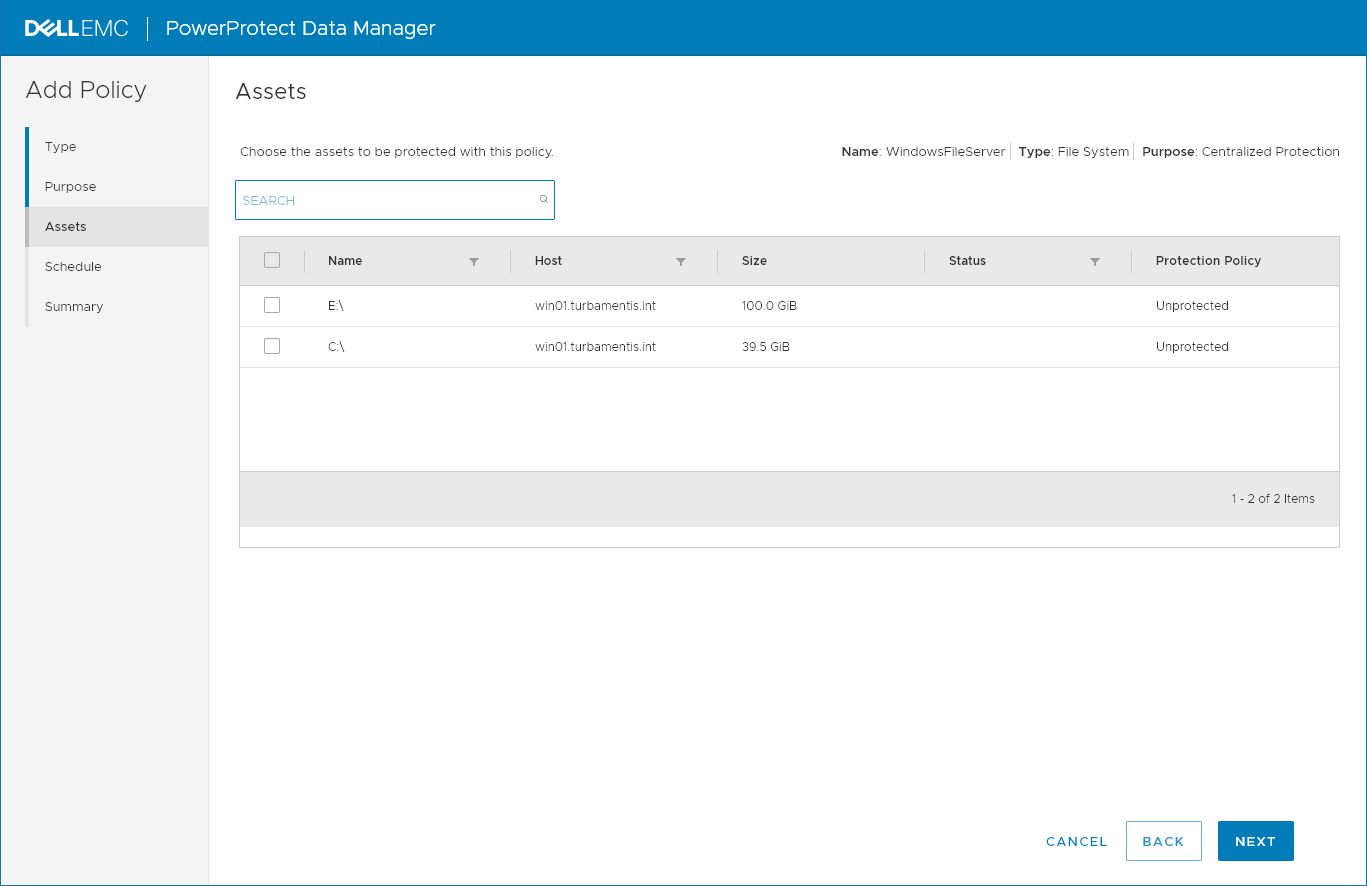
Here you choose your assets and the atomic components of the assets (e.g., which filesystems you want included in the protection policy). After you select what you want to protect, you can click Next to continue:
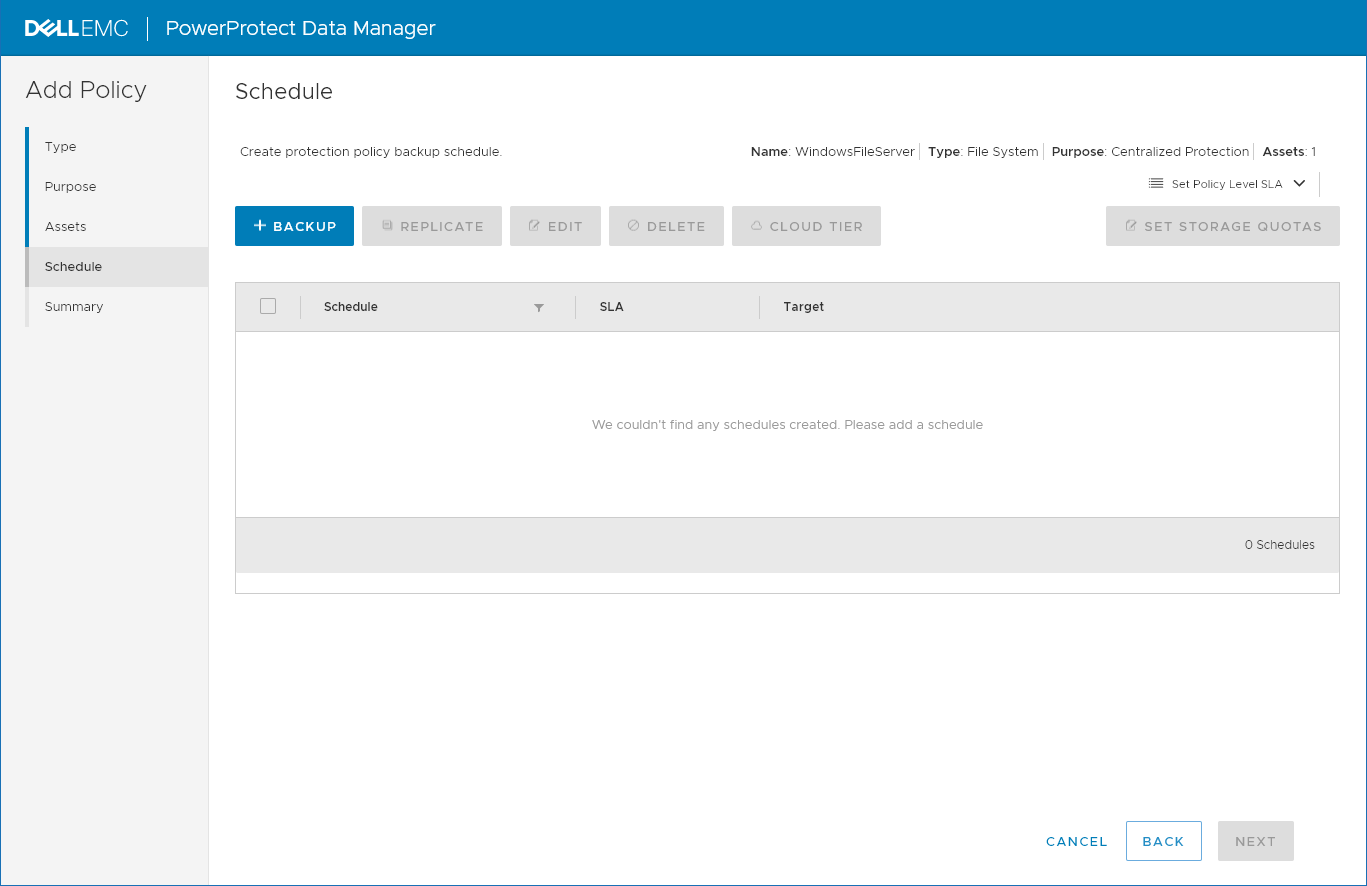
The next step as you can see above is to create a schedule. You can create backup schedules, replication schedules, and cloud tier schedules here — and set storage quotas for this policy. I just wanted a basic policy so I focused on Backup:
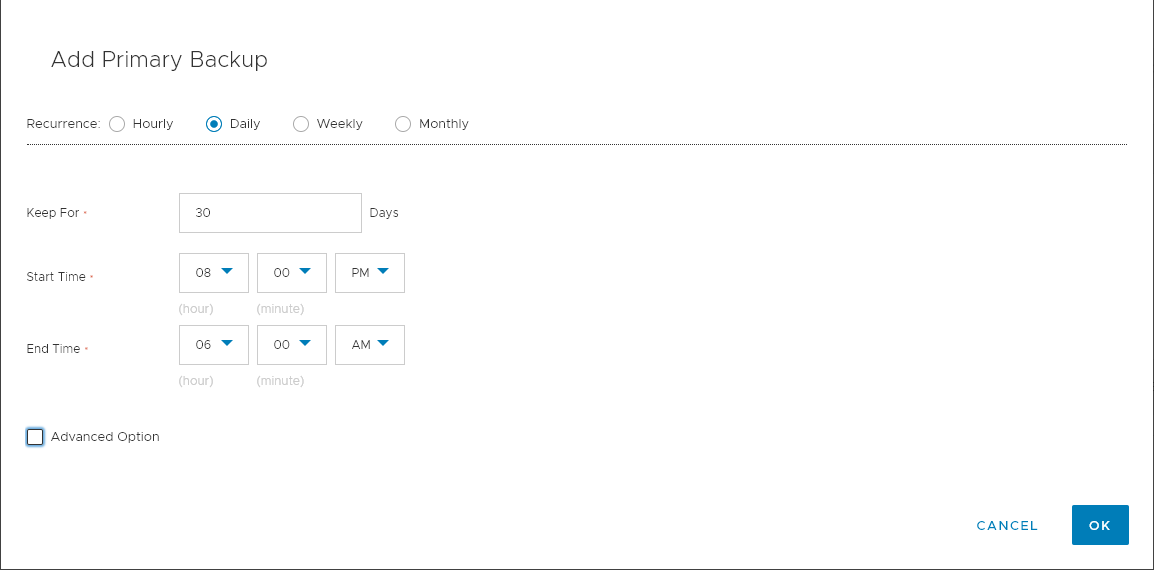
You can choose policy recurrence options of hourly, daily, weekly or monthly. In this, you also set the retention time of the backups generated by the policy. When you’re defining a daily recurrence, you specify the start and end time for the policy. I left that as the default, though later I came back and changed it so I could watch a policy start.
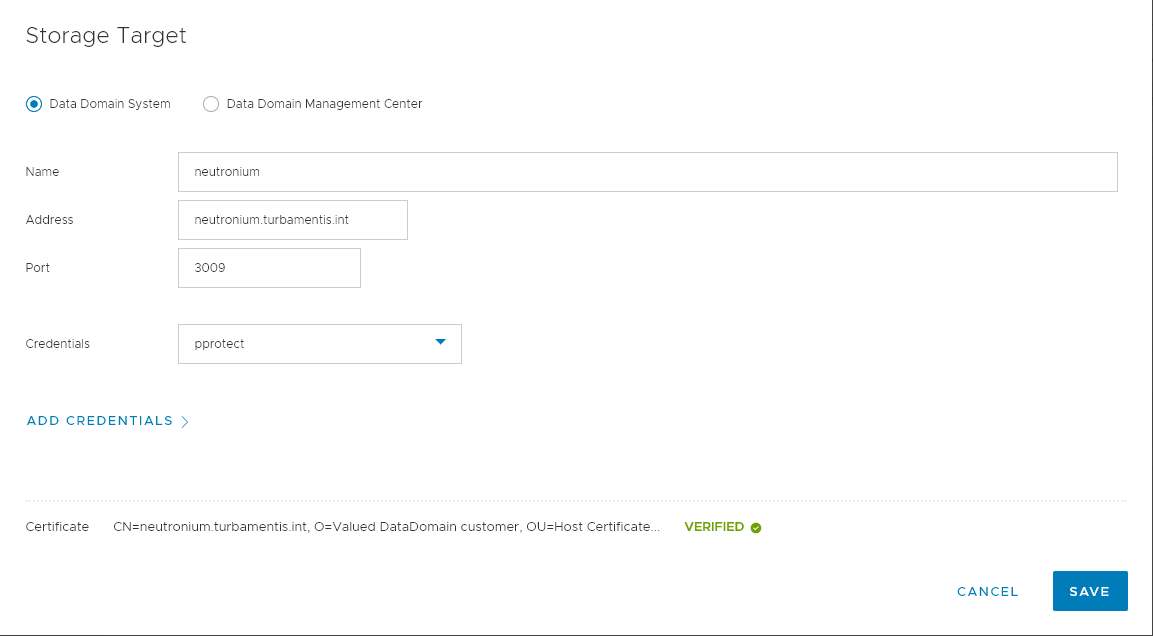
Backups have to go somewhere, so I assigned a storage target of one of my lab’s 0.5TB DDVE systems, and hooked up the PowerProtect Data Manager policy with the access credentials for that Boost storage unit.
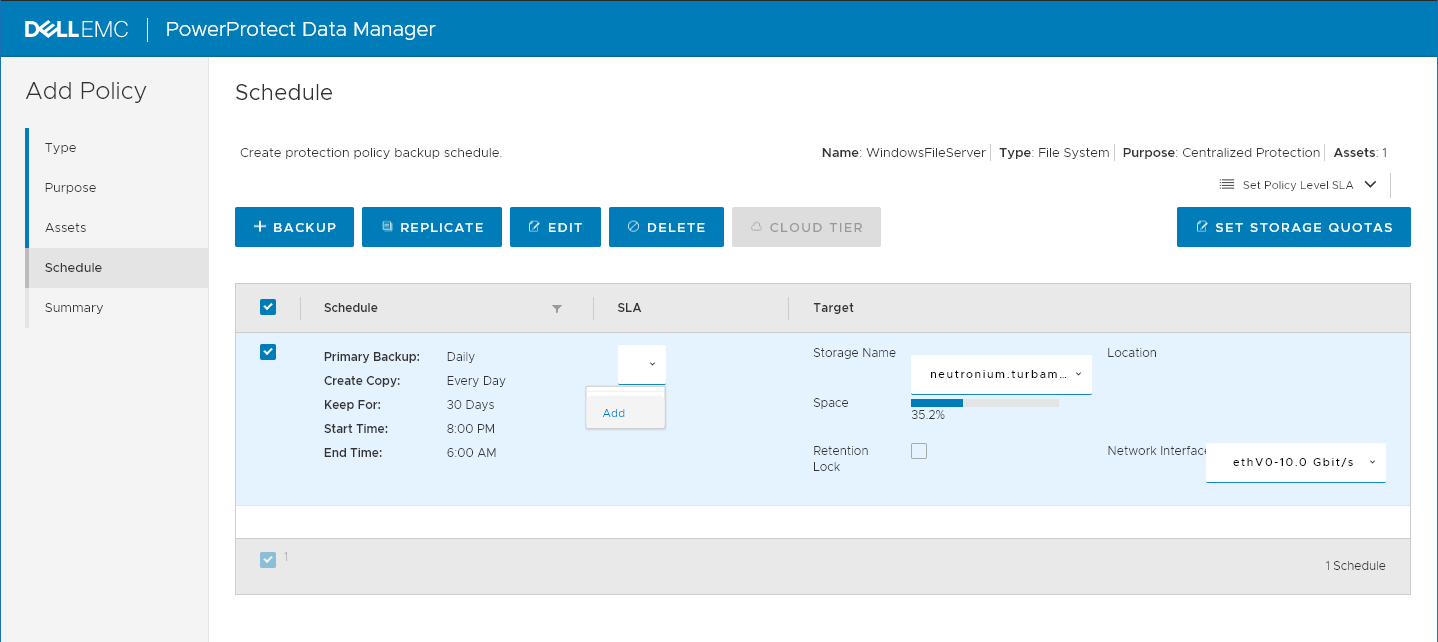
Once you’ve got a schedule created, you not only assign the target, but you can also assign an SLA. Again, I’ll cover off SLAs in a future blog post.
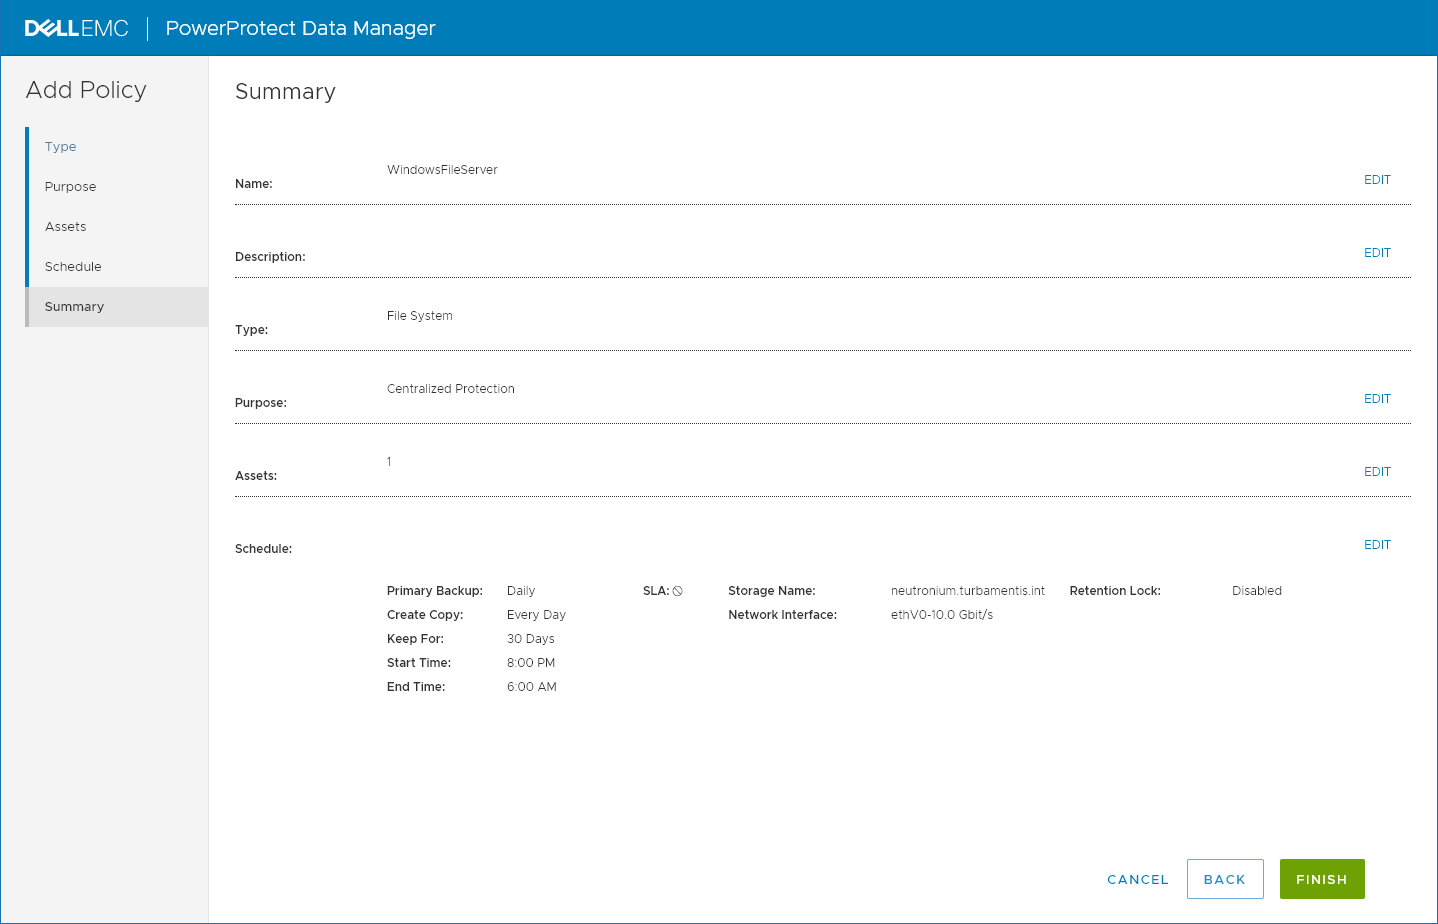
Once you’ve created the schedules you need, you can move on to the summary page and click Finish to get everything setup.
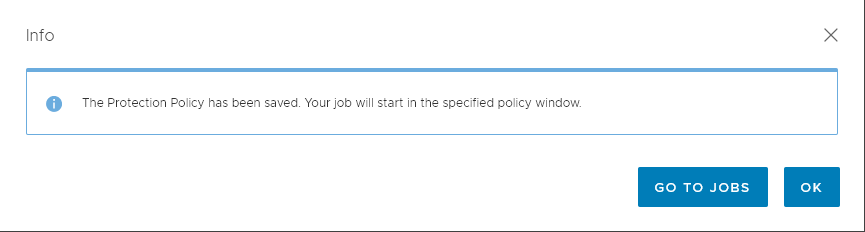
Once the policy has been created, you can either dismiss the wizard or go directly to the jobs window. I dismissed the window, then went in and edited the policy schedule to start after about fifteen minutes, so that I could see it automatically initiate in the jobs window:
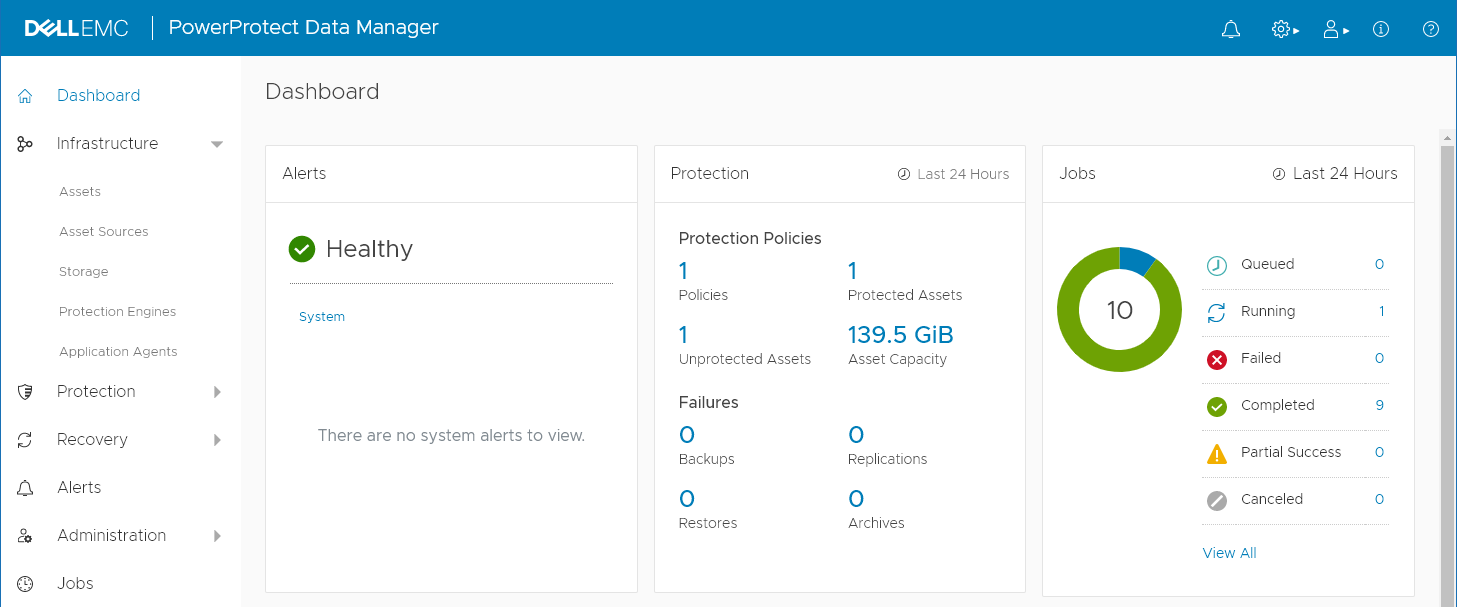
Here’s a view of the dashboard with the job running:
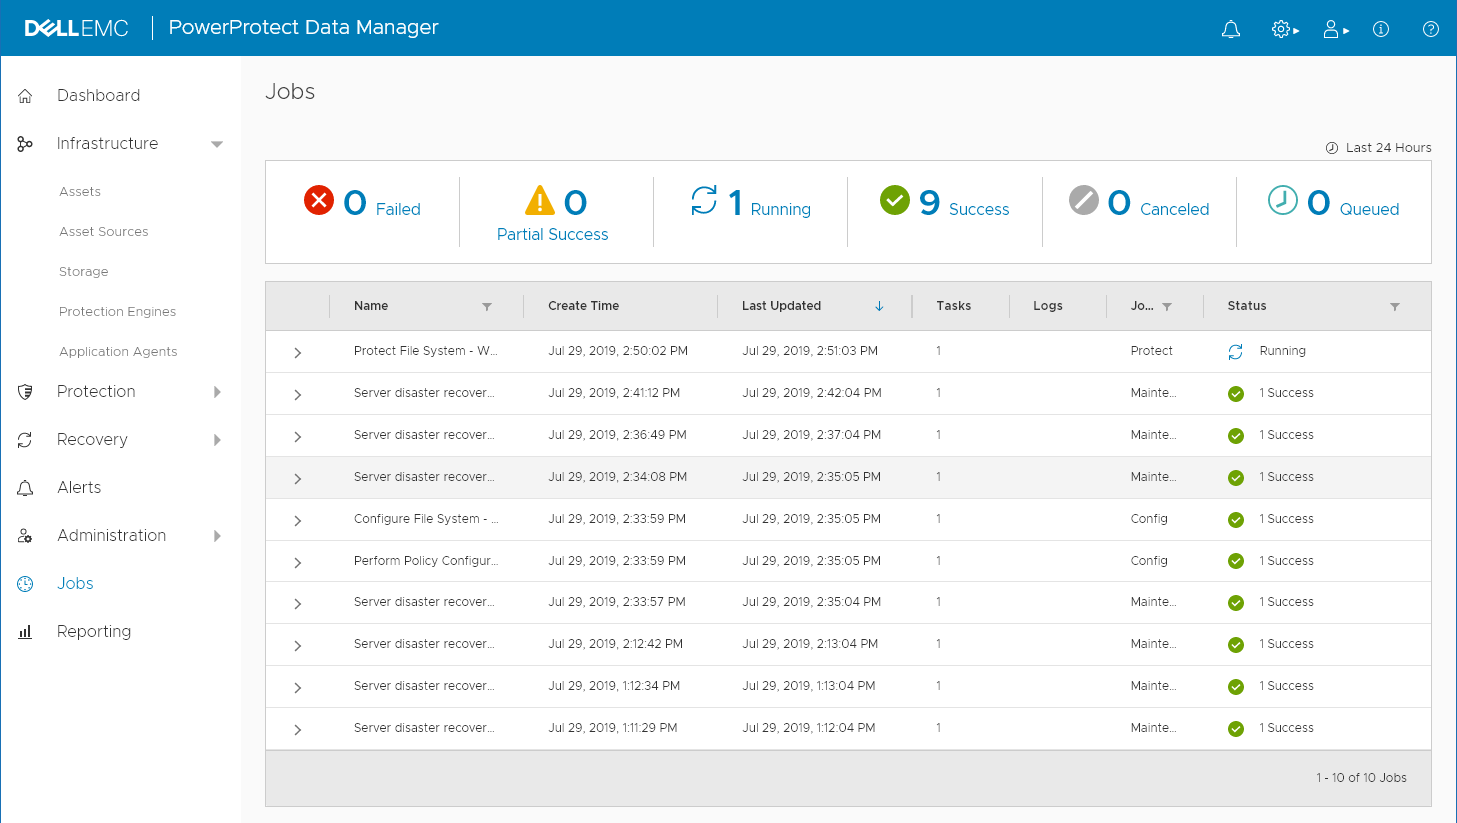
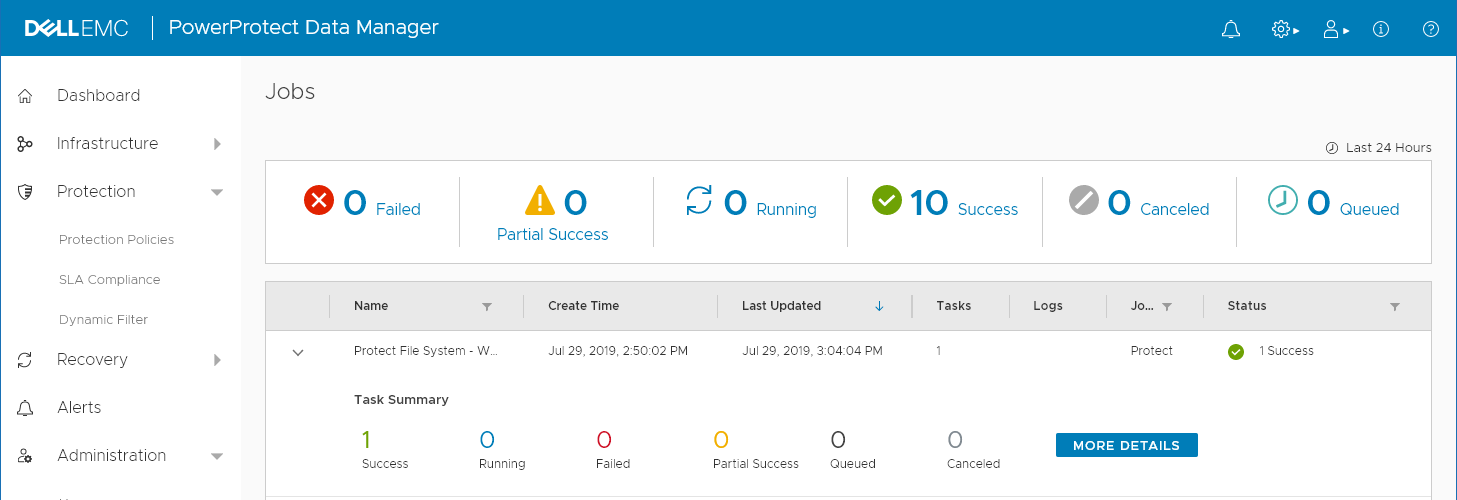
Finally, here was the backup policy completed in the Jobs view:
There’s so much more…
PowerProtect Data Manager is going to evolve over time, and you can expect to see a lot more blog articles over time. This post isn’t meant to be the be-all and end-all of PowerProtect Data Manager information, not by a long shot. But, hopefully it’ll give you an idea of what it looks like. I’m hoping to get a post in soon with VMware protection, but there’s a bit of tidy-up I need to do in my lab first.
By the way, I’m writing another book (I’ll have more details on that either later this year, or early next year), but I’ll continue to slot in blog articles on PowerProtect — the Data Manager and the storage appliance — (as well as everything else related to Dell EMC data protection) in the coming months. Keep an eye out for more details!