Technically you shouldn’t need to backup object stores such as Amazon S3. Object stores are designed with massive durability levels, and best practices for protection include:
- Enable versioning
- Use replication
- Object write splitters (with subsequent versioning and replication as required, as well)
- Use snapshots
(OK, as far as I’m aware, snapshotting an S3 bucket isn’t an option – though it is with Azure’s equivalent object storage.)

Beware that, when fighting monsters, you yourself do not become a monster … fot when you gaze long into the abyss, the abyss gazes also into you.
Friedrich Nietzsche
So, how does one backup a bucket1of data using Avamar?
Here’s a list of what you’ll need:
- Avamar (preferably with a Data Domain system, unless the bucket is small)
- A bucket
- A Linux system running S3FS – s3fs-fuse.
For my setup, I used:
- Avamar 19.1 server (AVE) connected to a DDVE running DDOS 6.2.0.30
- Linux server running CentOS 7.7.1908, with s3fs-fuse-1.85.el7.
- Curl/libcurl 7.29.0-54.el7.
- Permissions enabled such that the Linux system can access the bucket.
- Avamar client 18.1.100-33 installed on the Linux system.
The s3fs-fuse software is an open-source project designed around the idea of instantiating an object store as a mountable file-system. Once it’s visible as a file-system on a host, you’ve got additional options for dealing with the data it contains.
I won’t document the s3fs-fuse configuration process – the project documentation is average, at best, but it can be muddled through.
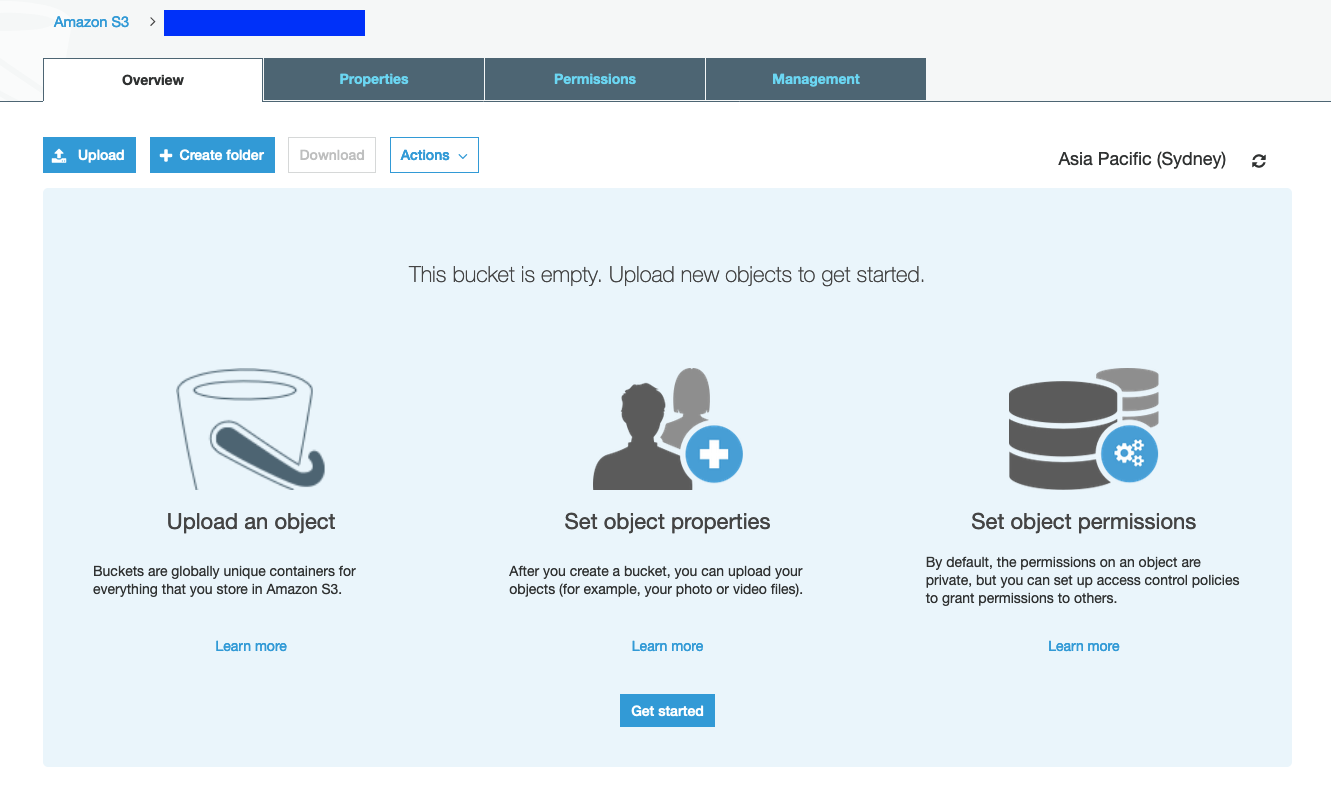
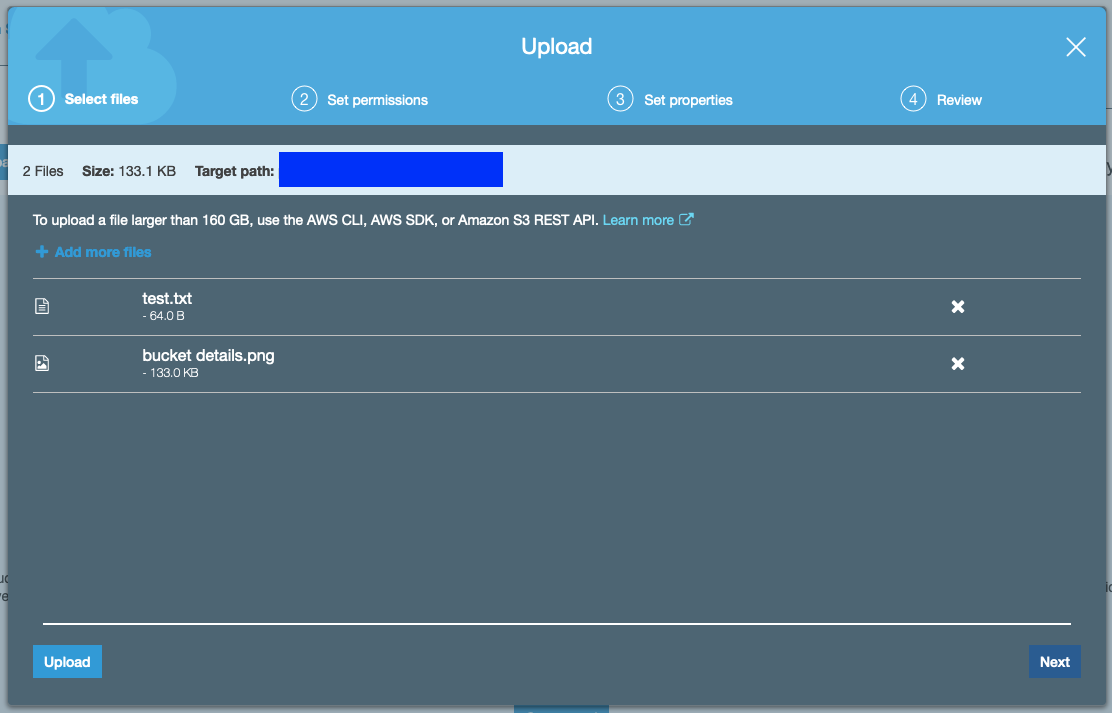
I started with an empty bucket and uploaded a couple of files to it to get started. (I’m using the free AWS experimentation account, so I’m not going to load up an example with hundreds of gigabytes.)
When uploading to the bucket, I chose to store it in conventional S3, since there’s a small amount of S3 provided in the free experimentation accounts.
To enable access to my bucket, I configured IP level access since I was accessing from a fixed IP address in my home lab. (In practice, you’d probably want to grant access into a VPC running within AWS as this would be faster than doing it over the Internet.) My bucket policy looked like the following:
{
     "Version": "2012-10-17",
     "Id": "S3PolicyId1",
     "Statement": [
         {
             "Sid": "IPAllow",
             "Effect": "Allow",
             "Principal": "*",
             "Action": "s3:",
             "Resource": [
                 "arn:aws:s3:::bucketNameGoesHere",
                 "arn:aws:s3:::bucketNameGoesHere/*"
             ],
             "Condition": {
                 "IpAddress": {
                     "aws:SourceIp": "A.B.C.D/32"
                 }
             }
         }
     ]
 }
(Bucket permissions will be set and maintained by your cloud team, so the example I’ve provided just shows the construct I used.)
I also configured a user within my AWS account with permissions only for buckets, and then wrote the access key and secret key in the format ACCESS:SECRET to /root/.passwd-s3afs on my Linux server.
I created a directory, /s3 on the Linux server, and issued the following mount command:
# s3fs bucketNameGoesHere /s3 -o retries=1 -o passwd_file=/root/.passwd-s3afs -o use_path_request_style -o dbglevel=info -f -o curldbg -o endpoint=bucketNameGoesHere.amazonaws.com -o url=https://s3-regionNameGoesHere.amazonaws.com
The debug options were essential to tell me what I was doing wrong, though it seems the output of the debug commands leaves a lot to be desired – as does the manpage for s3fs. That being said, after a few trials of formatting the options differently, I got a successful mount:
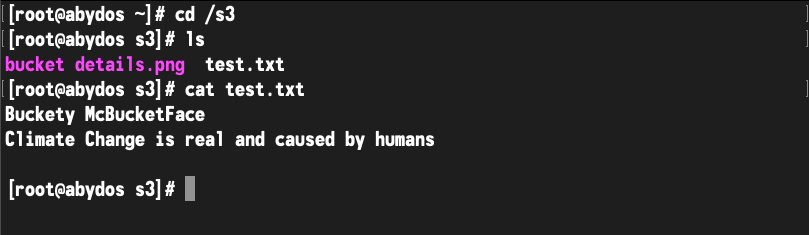
Now, just to make things interesting, I added a subfolder:

Right, so what about Avamar? I installed and registered the client software2, then configured a policy. There’s really not much to the policy at all – here are the first few screens of it:

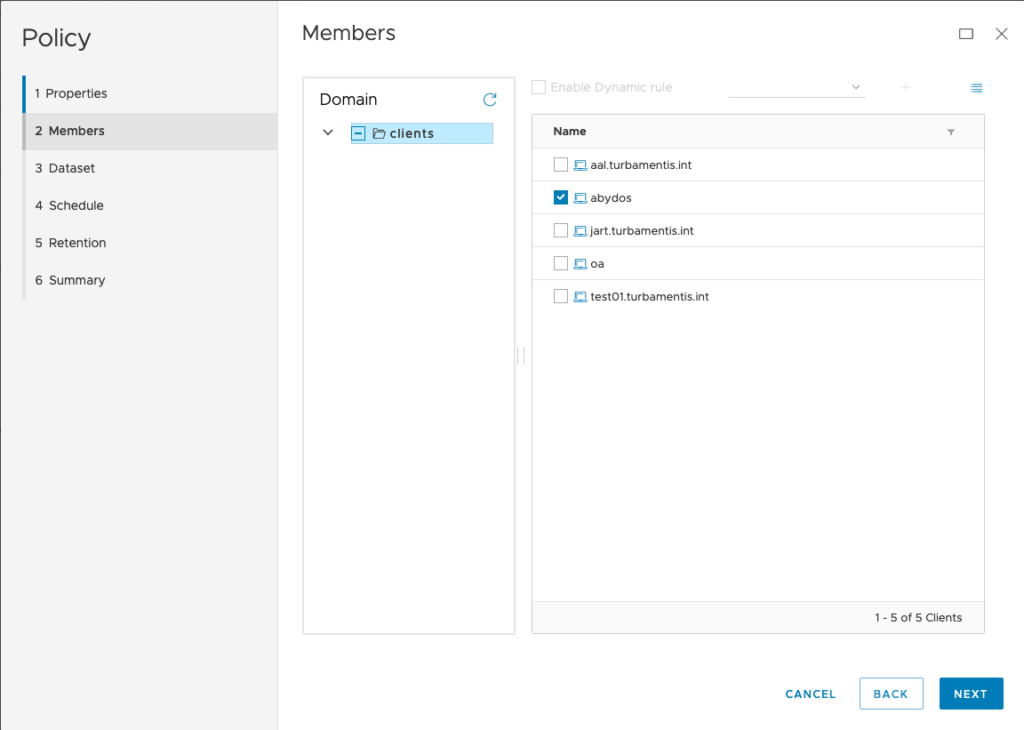
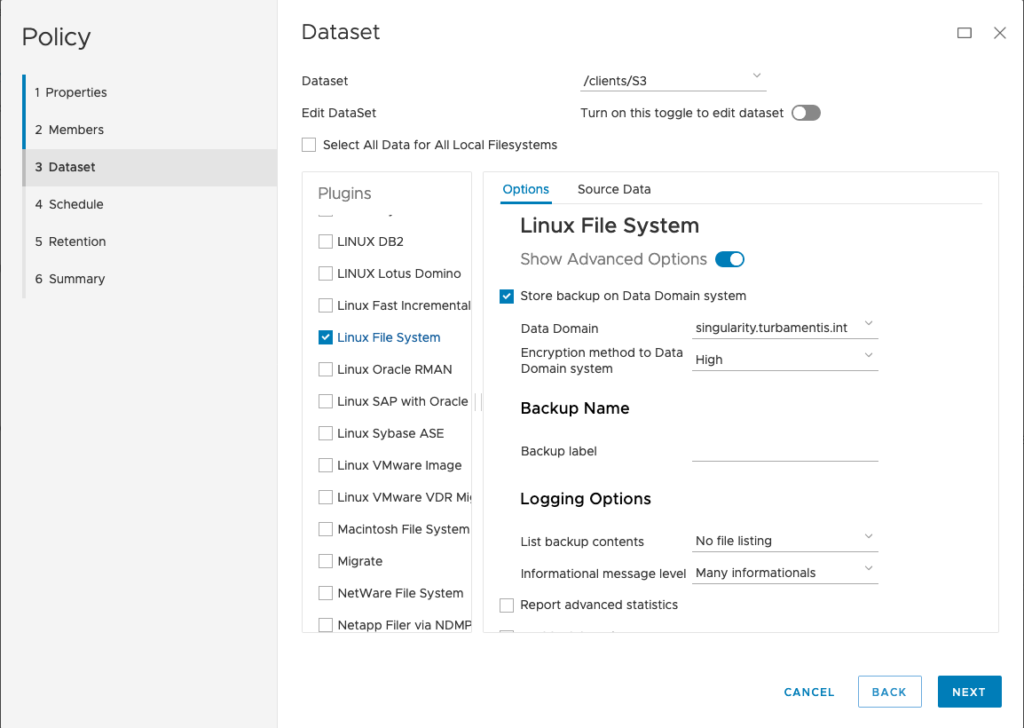
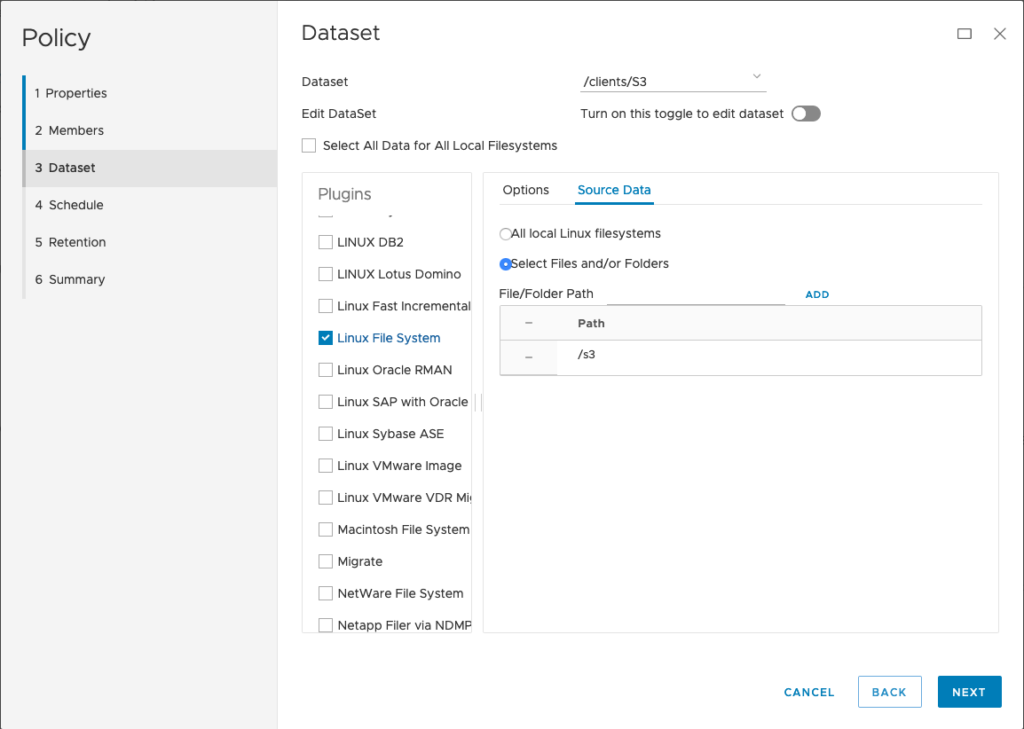
For my policy, I configured a dataset selection of just /s3. (Here’s where you’d need to be cautious – even with source-side deduplication, bucket backups will cost you in reads, so you have to factor that into your cost modelling and choose the appropriate frequency with which you wish to perform a backup.)
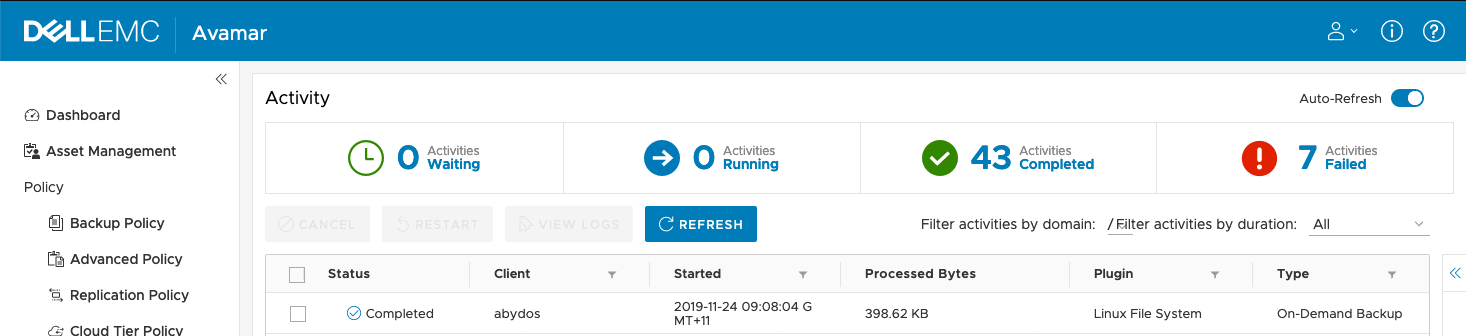
Running the policy with the debugging options mentioned in the s3fs mount command earlier will trigger a lot of output. Ideally, once you’re satisfied things are working, adjust your s3fs mount command to do the appropriate logging and run in the background. (You may even want to enable local filesystem caching and to backup that cache, instead.)
For my environment, the activity monitor shows the backup completing quite quickly:
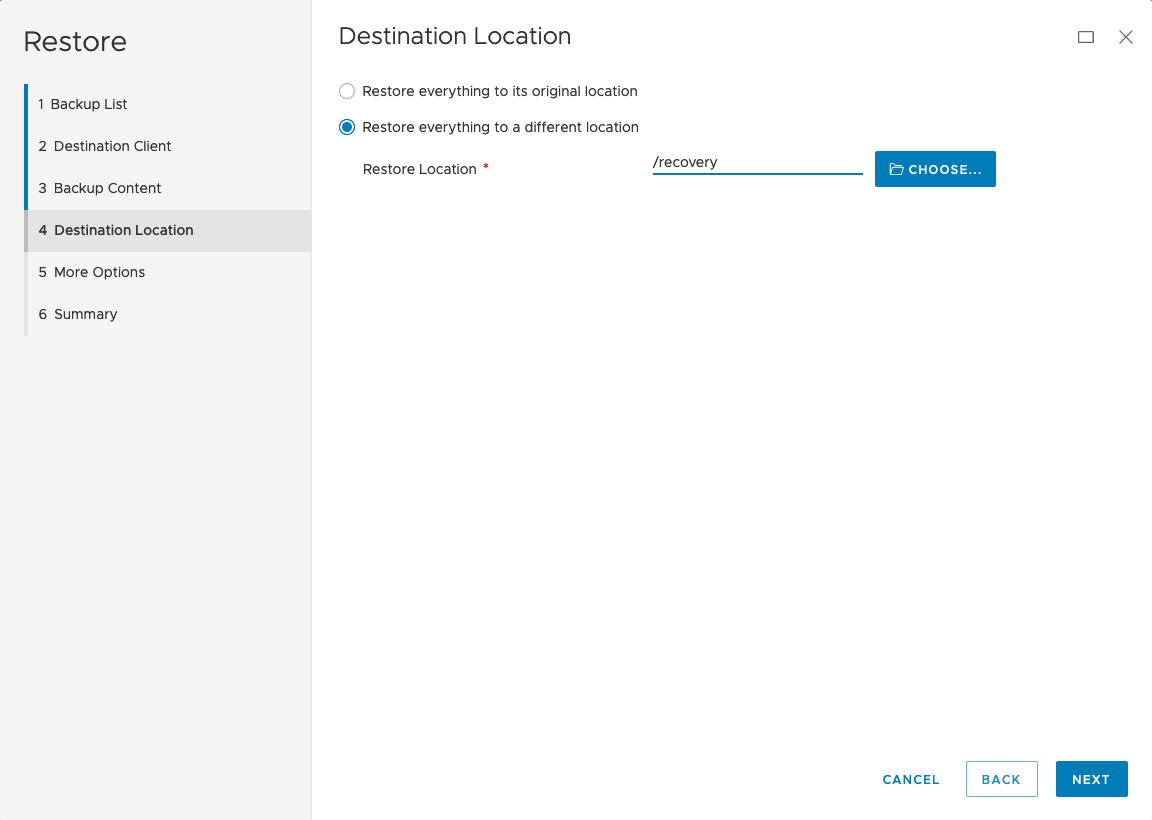
Now, what about data recovery? Let’s start with a recovery to an alternate location:
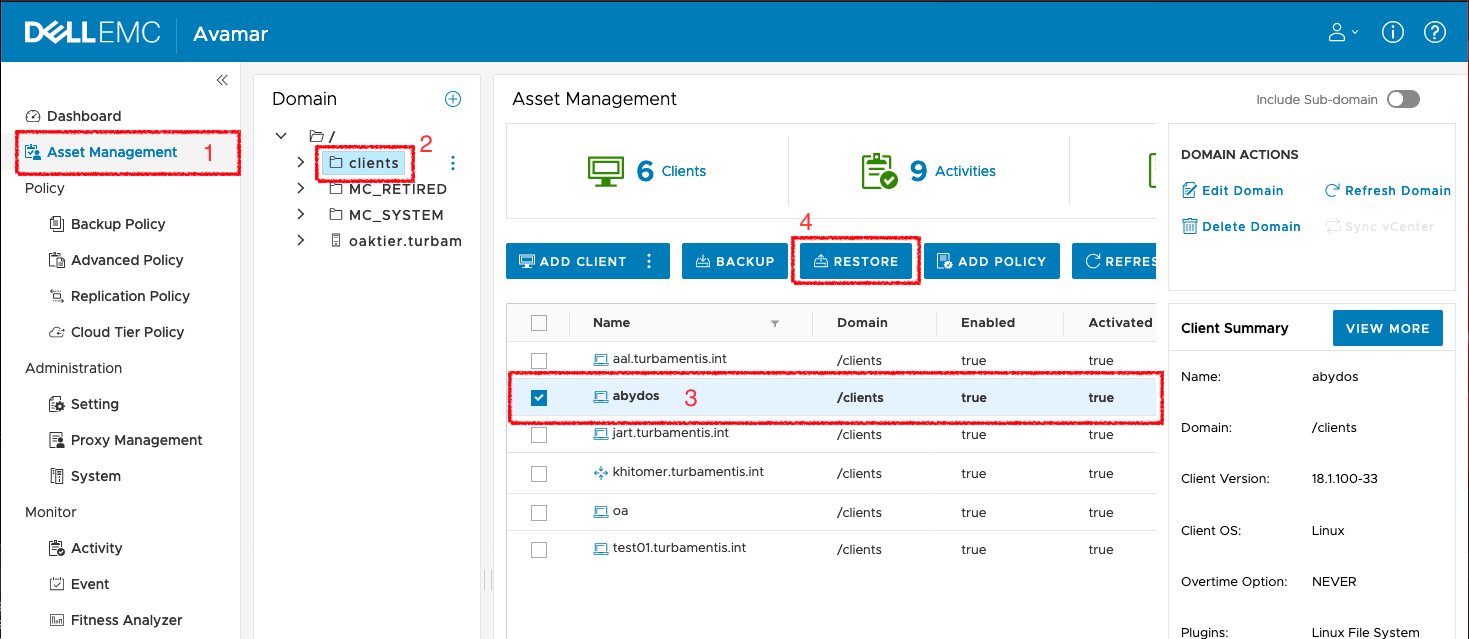
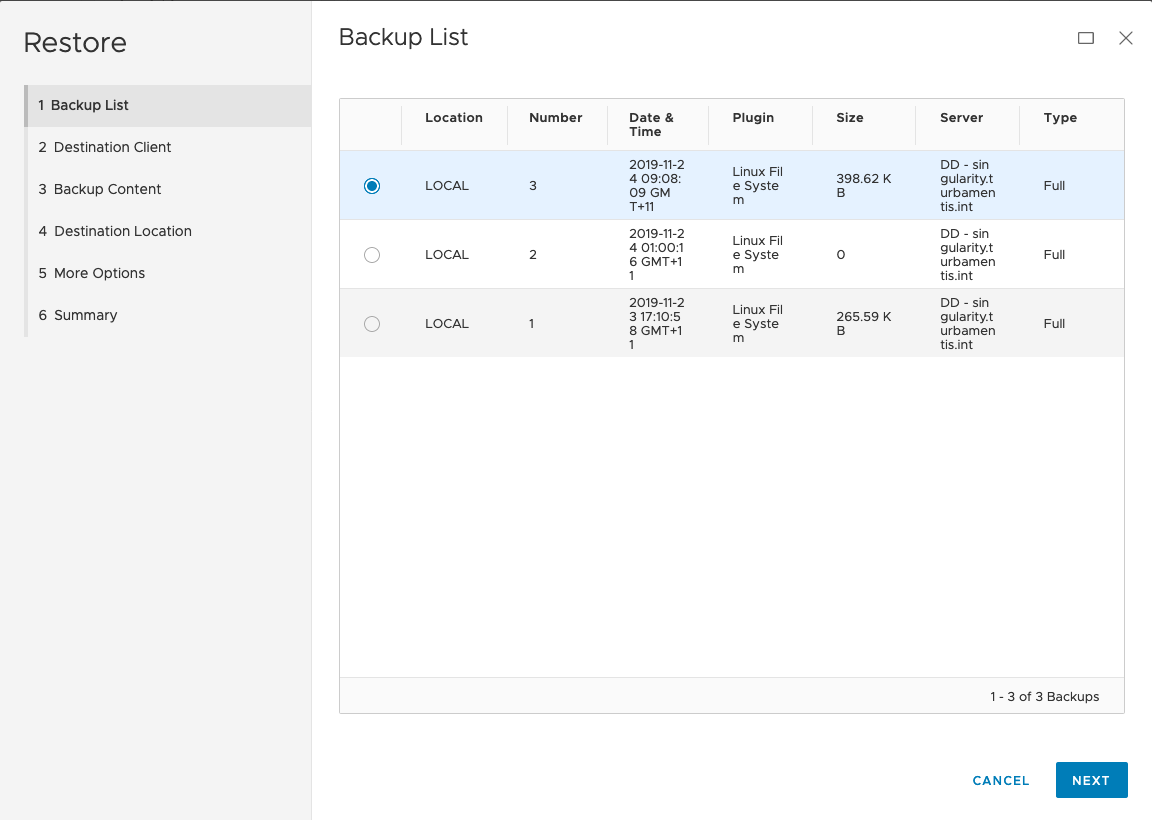
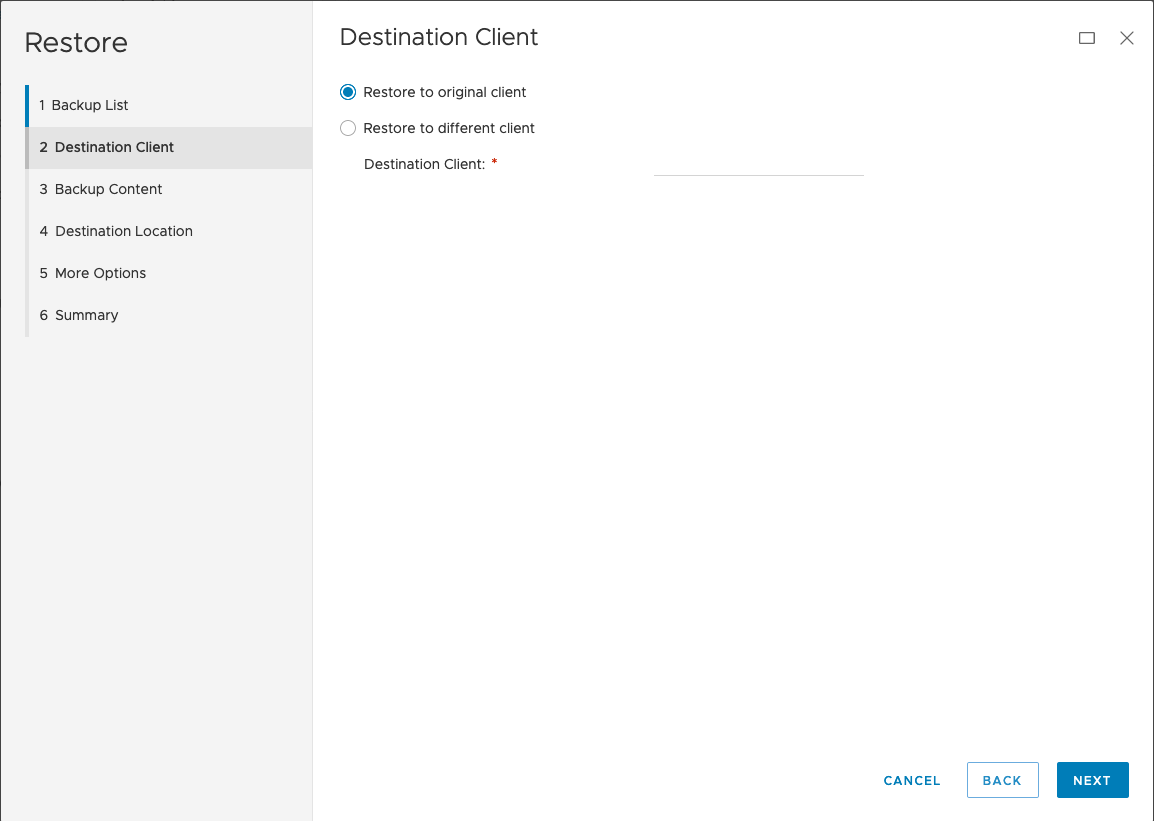
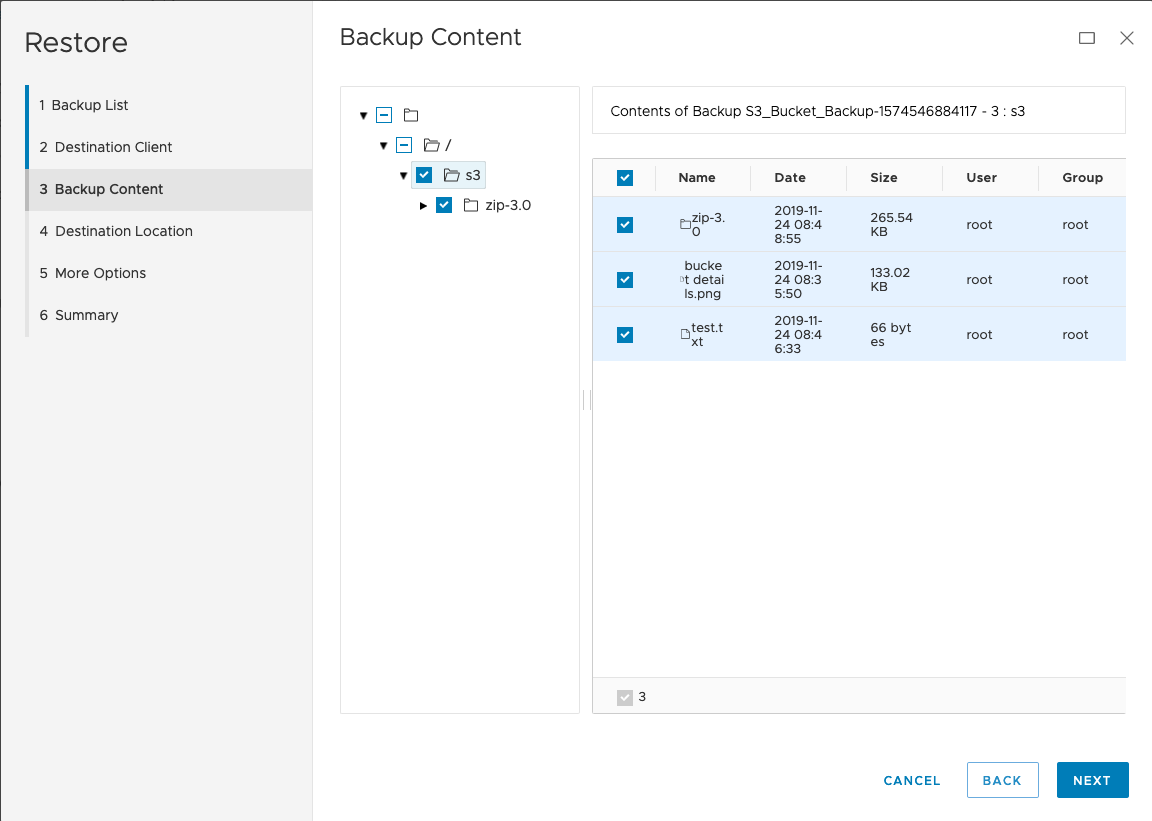
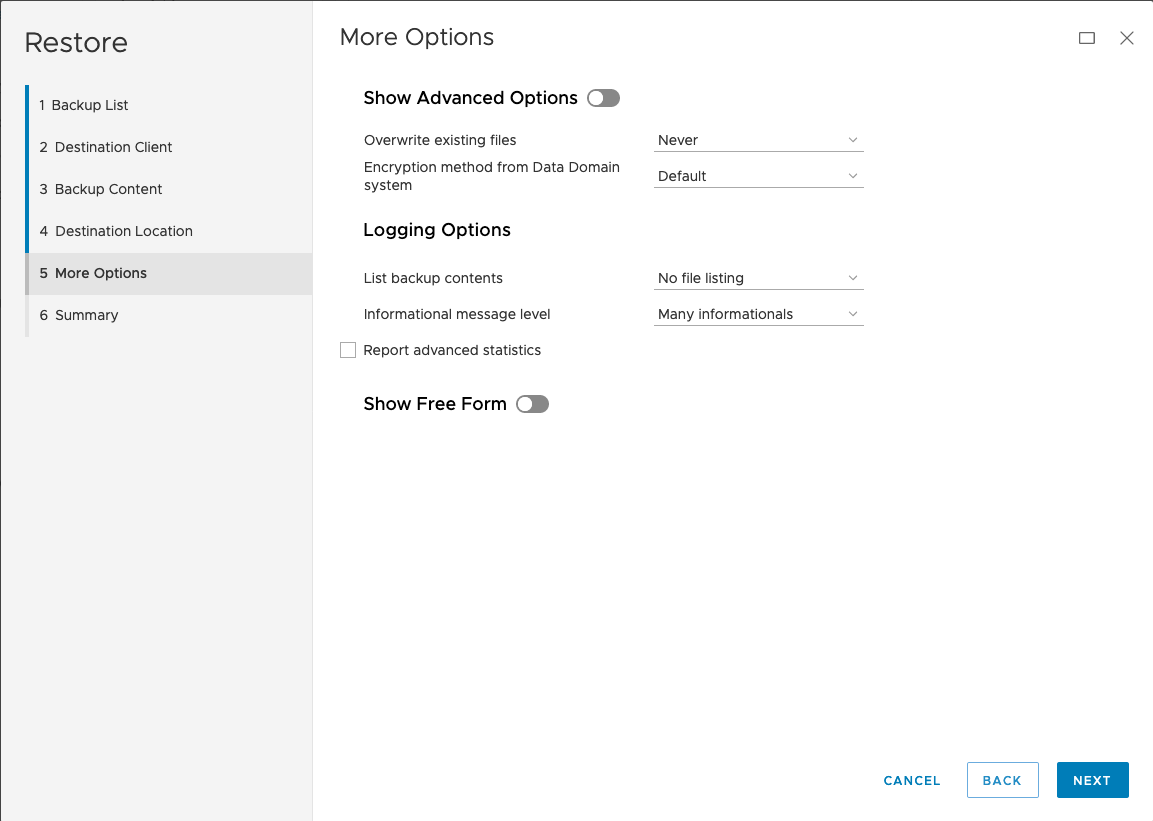
Here’s the walk-through of the restore wizard:
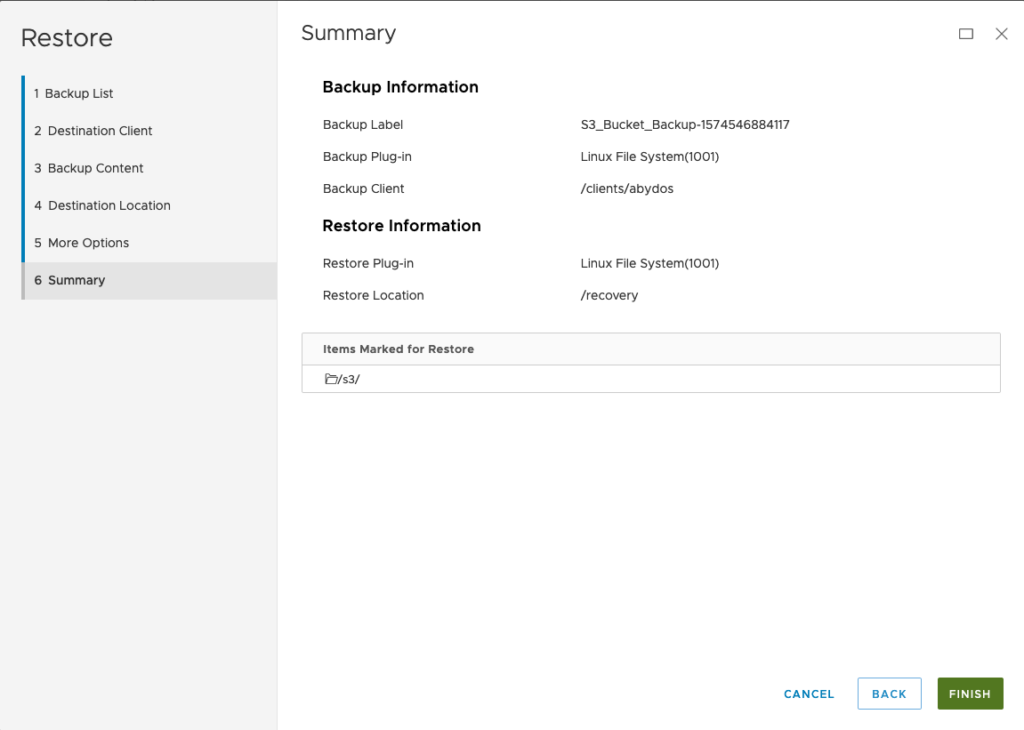
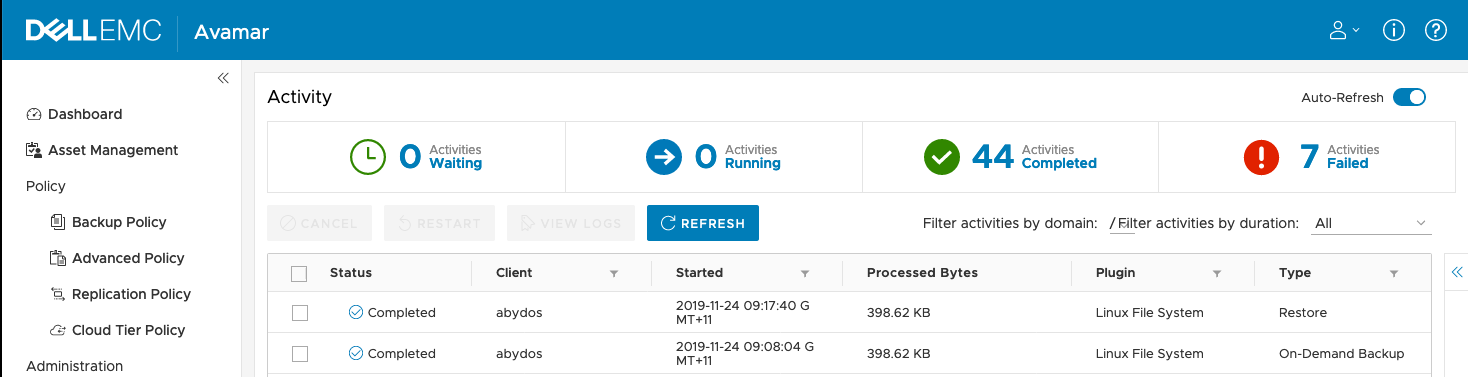
After clicking ‘Finish’, the restore was initiated and it finished relatively quickly according to the ‘Activity’ view:
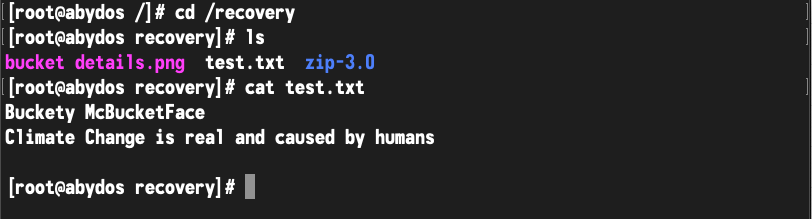
And here’s a look at the recovered content:
But what about recovering back into the bucket?
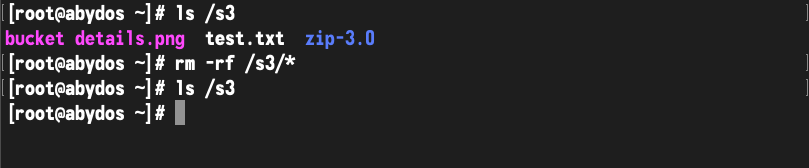
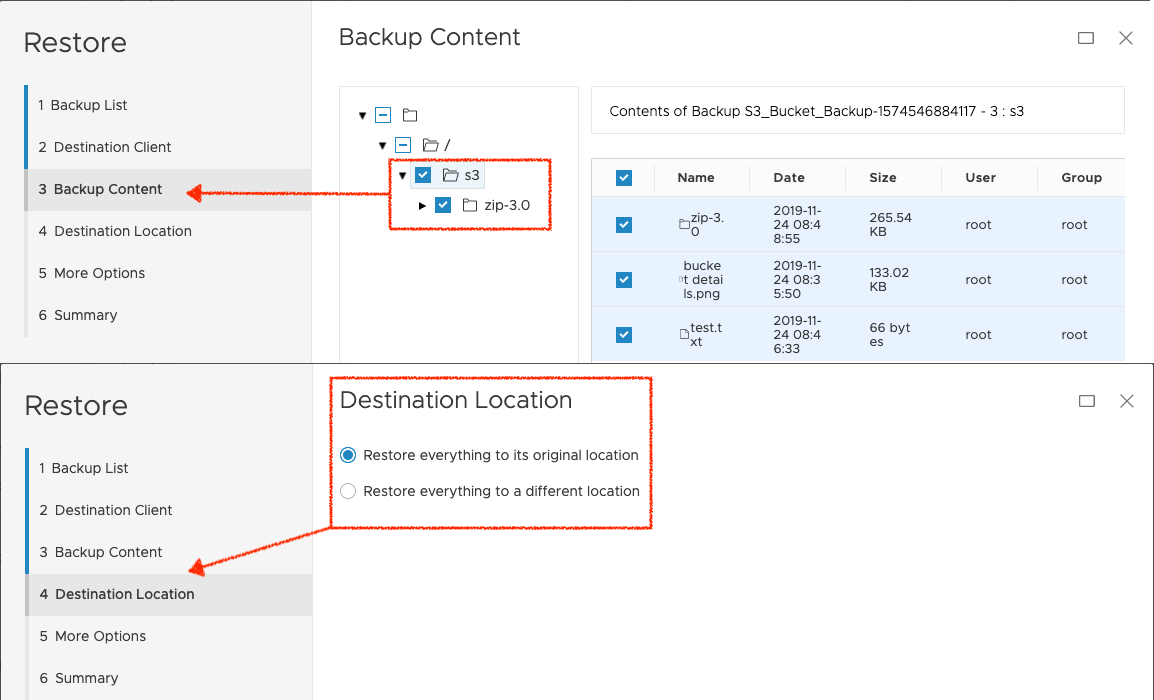
I won’t run through the entire restore wizard again, but here are the two key screens where we select the content to recover and leave the destination as the original location:
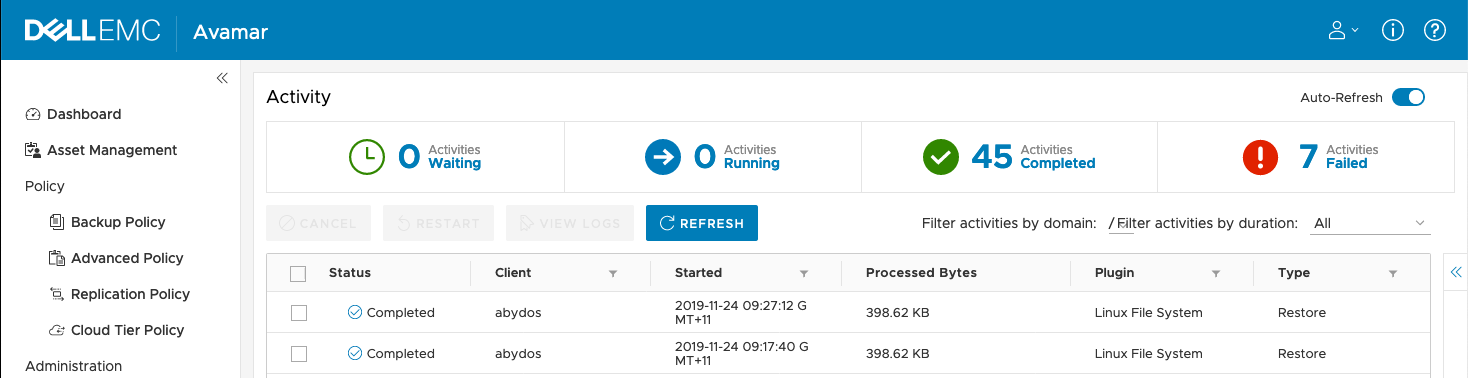
The obligatory view of the completed restore via activity monitoring:
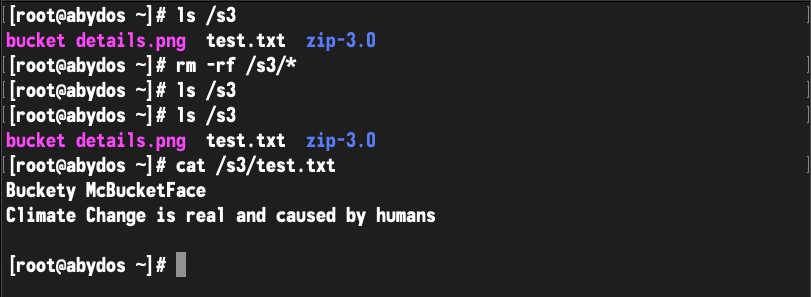
And finally, verification that we did indeed recover the data:
So, there you have it! That’s how you can backup and recover data in an S3 bucket (or other object stores compatible with s3fs-fuse) with Avamar. I’ll wrap up by giving a few architectural recommendations:
- Unless absolutely necessary, place the system that’ll mount the bucket for backup topologically near the object store – I hosted my client within my lab rather than within AWS.
- Deduplication is essential here – you want to limit your egress costs, after all.
- Be careful with bucket permissions, of course! Getting them wrong can leave you with a horrendous security issue!
- Consider using versioning and other forms of native bucket protection and focus on this as a compliance level backup, executed with reduced frequency.
1 thought on “Basics – Using Avamar to Protect S3 Bucket Data”