Avamar 18.1 has been out for a while now, so this post is a little tardy, I know. That being said, I really do want to give you an overview of what a stellar interface Avamar now has.

That’s right, I’m going pretty literal with the intro graphic: a stellar view for a stellar interface.
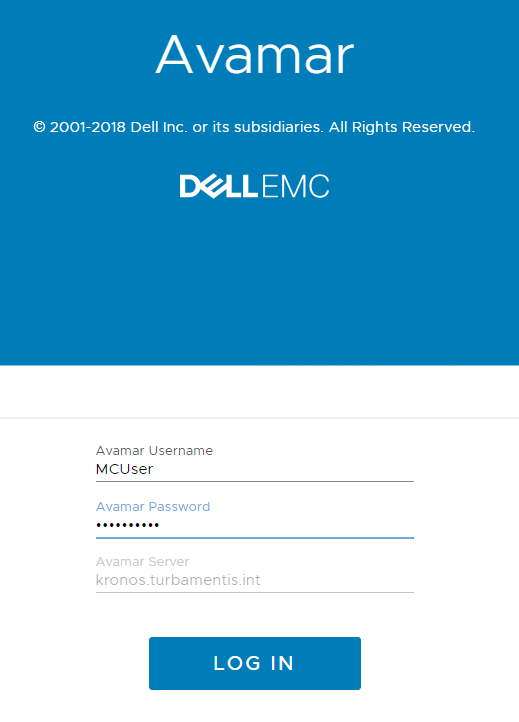
You can access the HTML5 interface by browsing to https://avamarServerName/aui, where you’ll be presented with a login that resembles the following:
Once you’re in, you’re presented with the operational dashboard. In my case, there’s a few alerts, but that’s because I don’t have email configured to send autosupports:
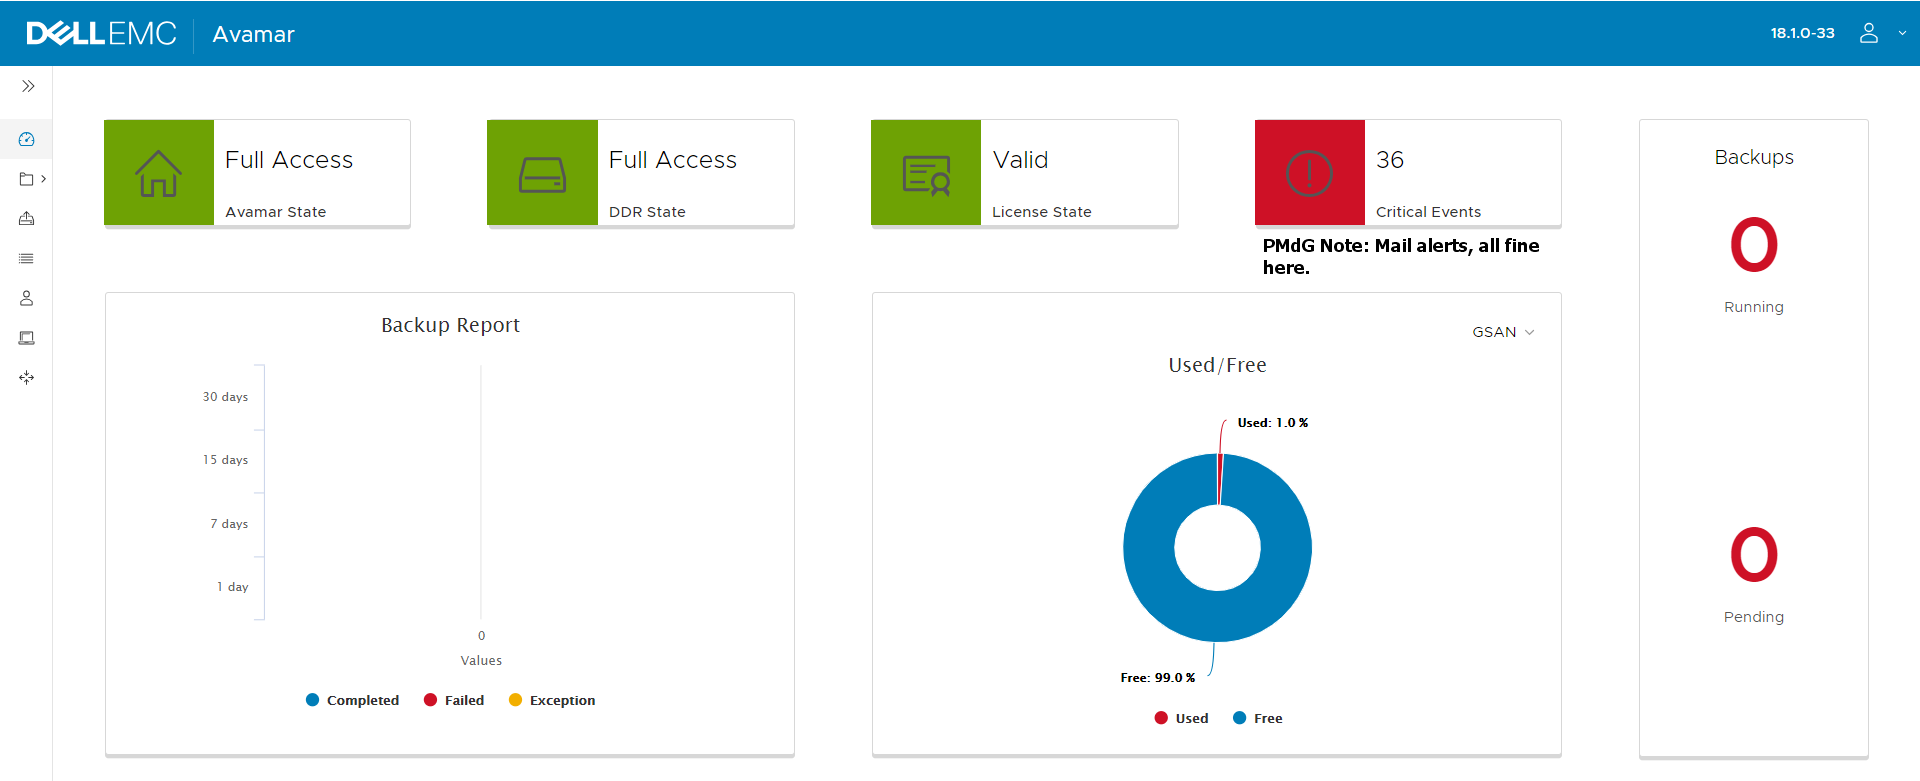
You’ll notice down the left hand side there’s some icons, and the >> symbol. Clicking >> will expand the left hand control panel:
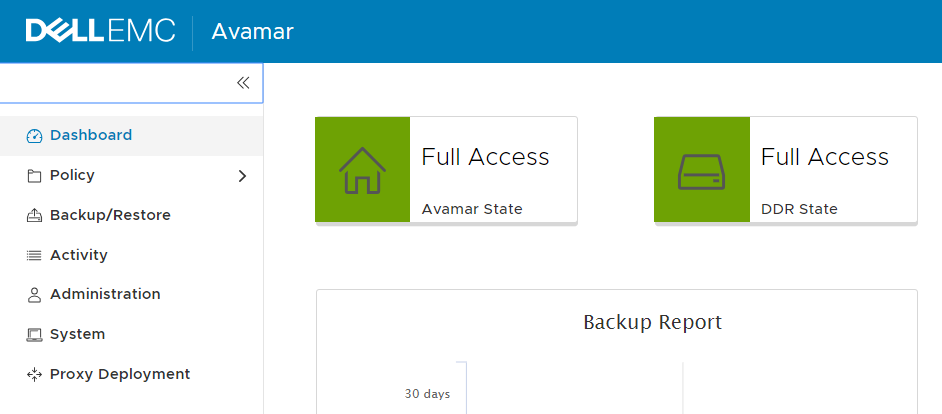
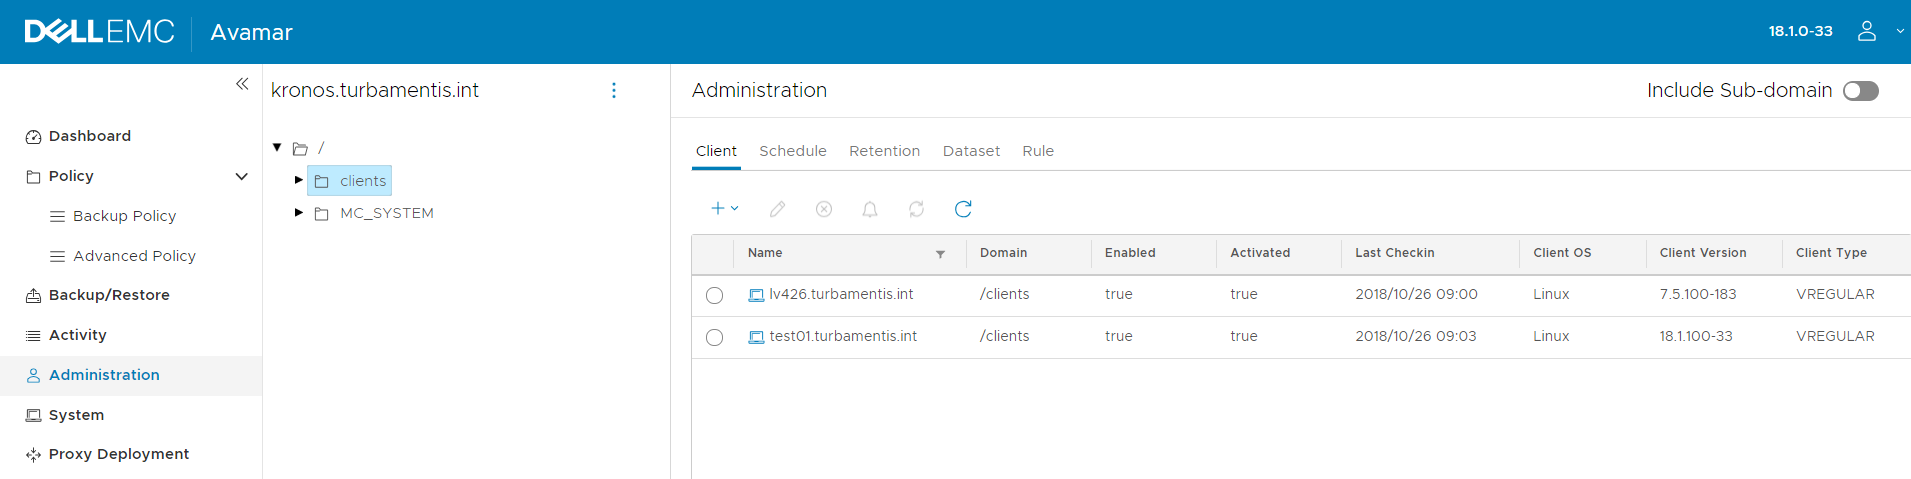
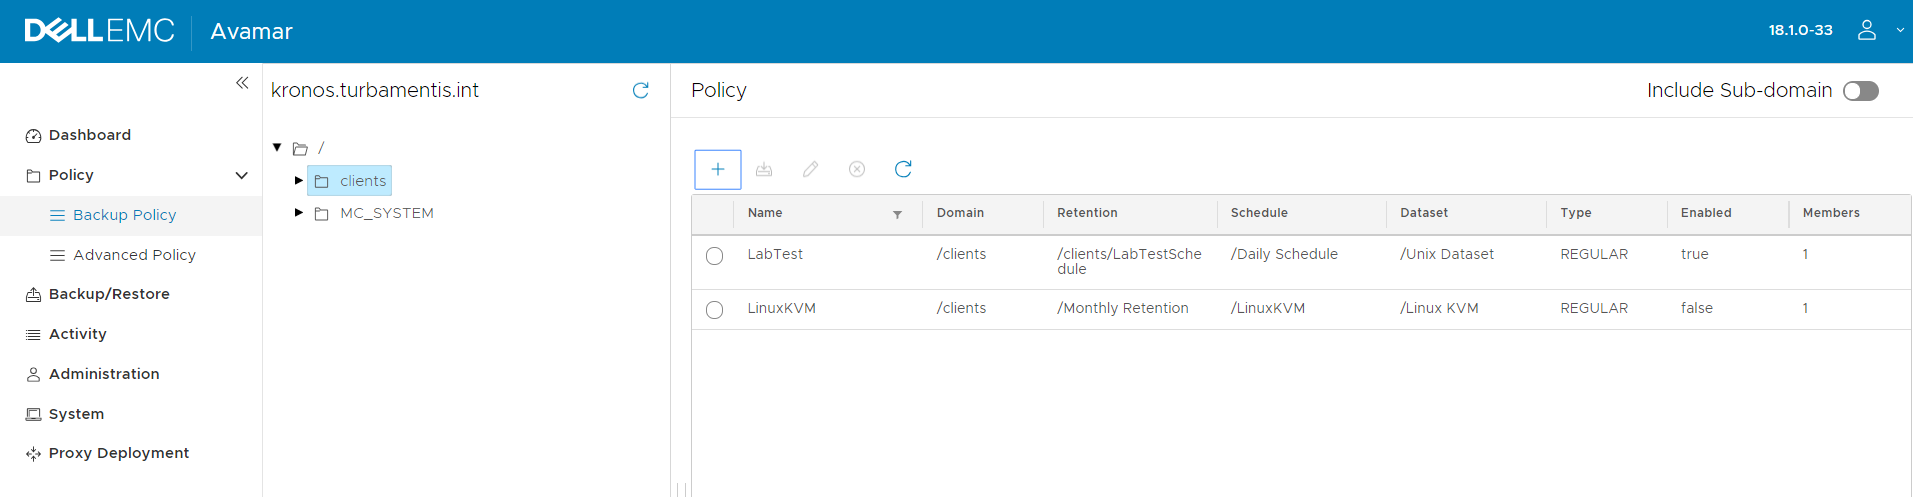
From the left hand control panel, you’ve got access to all primary functions: activity monitoring, administration, system views, VMware proxy deployment, etc. Here’s a quick look at the policy and client views available on my basic lab server:

To take you through the HTML5 interface, I figured I’d run through a standard sort of process: setting up a new backup policy, running it, then doing a test recovery. For this, I’m using a standard agent. So, let’s start by creating a new policy:
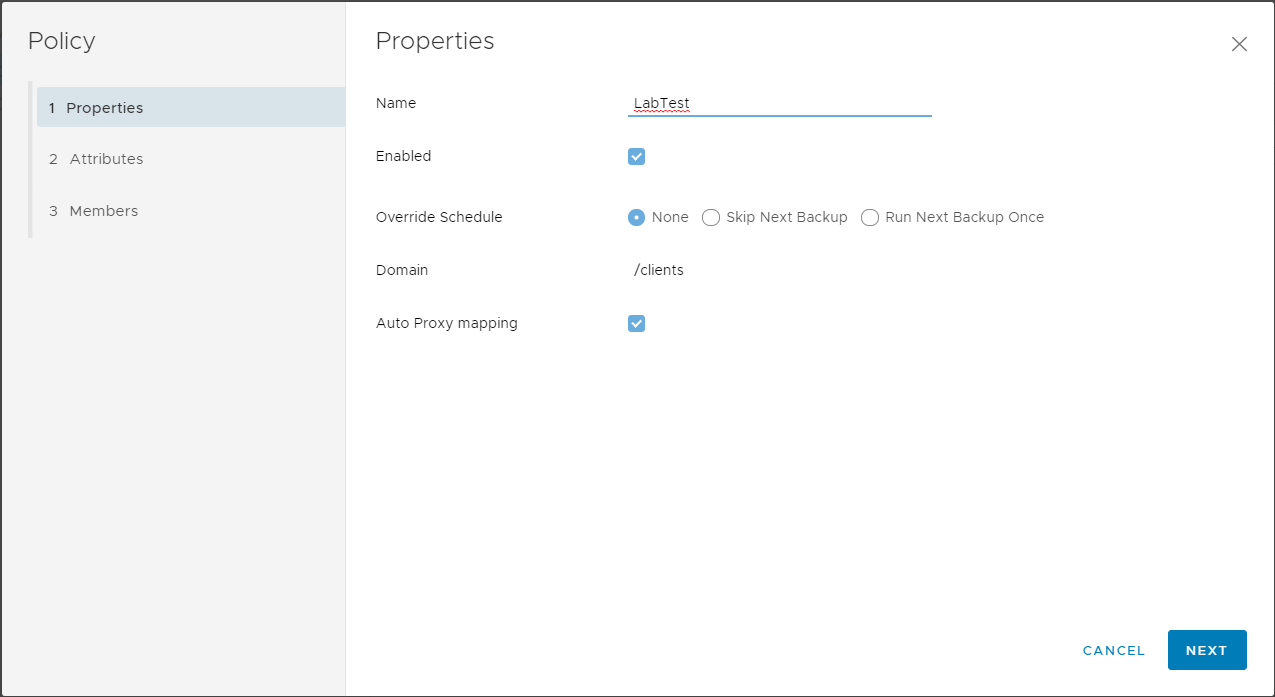
To add a new policy, click the Policy area in the control panel, navigate to where in the hierarchy you want to create the policy and click the Plus button to start the process. Above, I’ve done that, entered the policy name (LabTest), and enabled the new policy. It’s then Next to continue to the Attributes section. It was then I realised I wanted a new retention policy as well, and there’s an option to create that retention policy on the spot, which I followed:
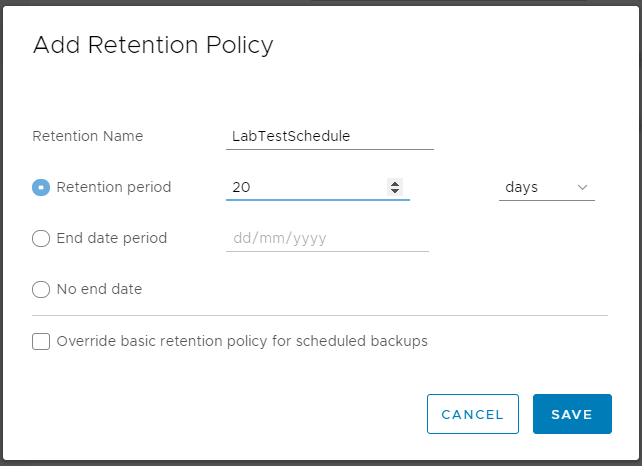
Having entered the retention policy details I clicked Save to return to the policy configuration:
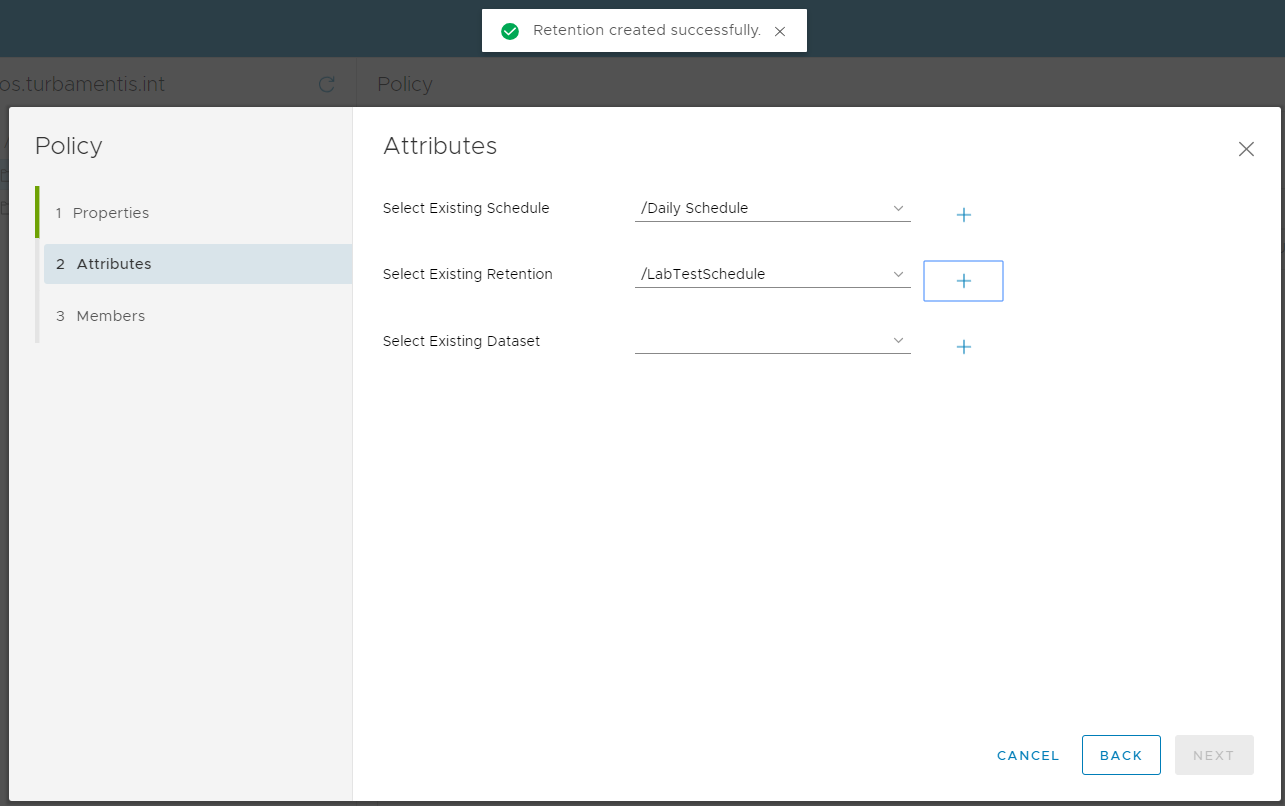
You’ll see there that there’s a popup alert at the top of the page saying the retention policy was added successfully (and automatically assigned). Next step of course is to select the dataset to define what you’ll be backing up – in this case I just selected the standard Unix one:
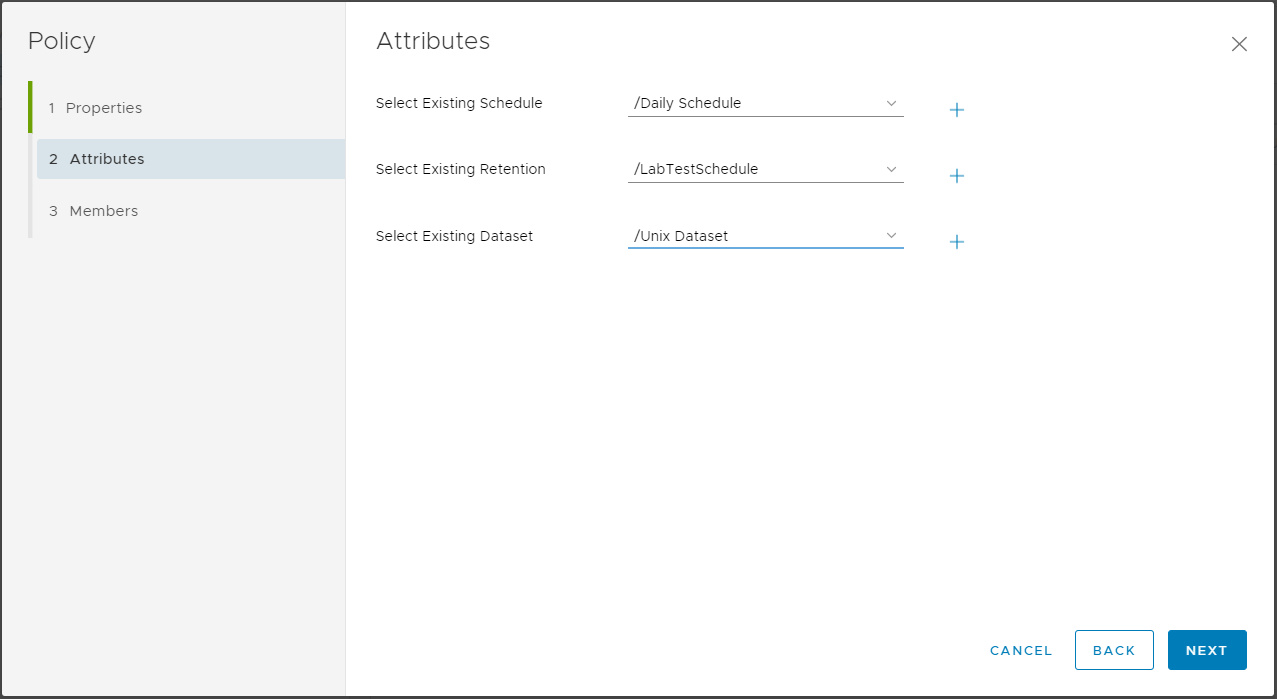
After those details are filled in, it’s Next to move on and assign clients to the policy:
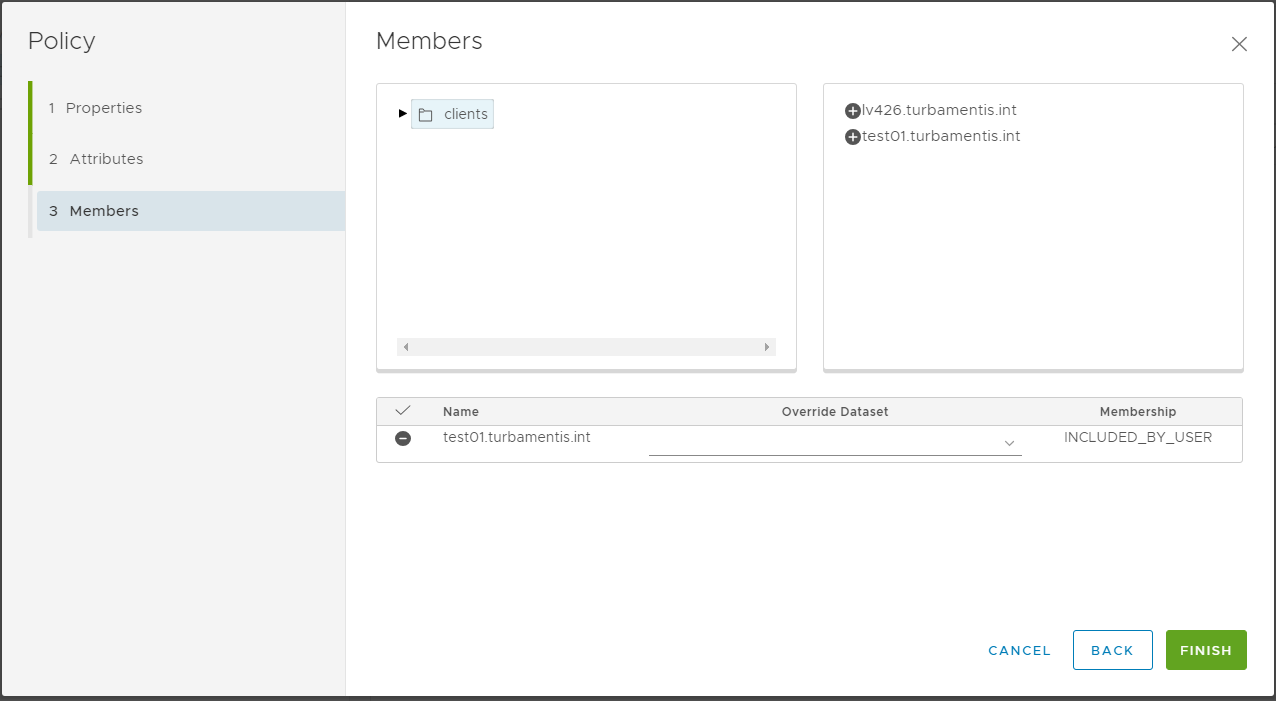
In this case I only wanted a single client, test01.turbamentis.int to be added to the policy, so it was short work before I could click the Finish button.
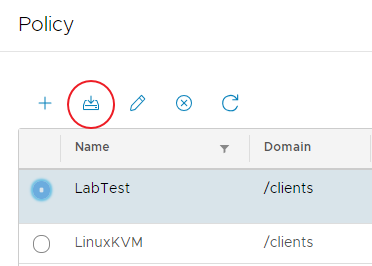
With my policy completed, I wanted to kick it off immediately. It was going to be the test01 system’s first backup, so I ran my genfs utility to generate a random filesystem on the host – around 850,000 files comprising 23.5GB or thereabouts. When the system was ready, it was time to run the backup, which you can do by selecting a policy then clicking the highlighted button below:
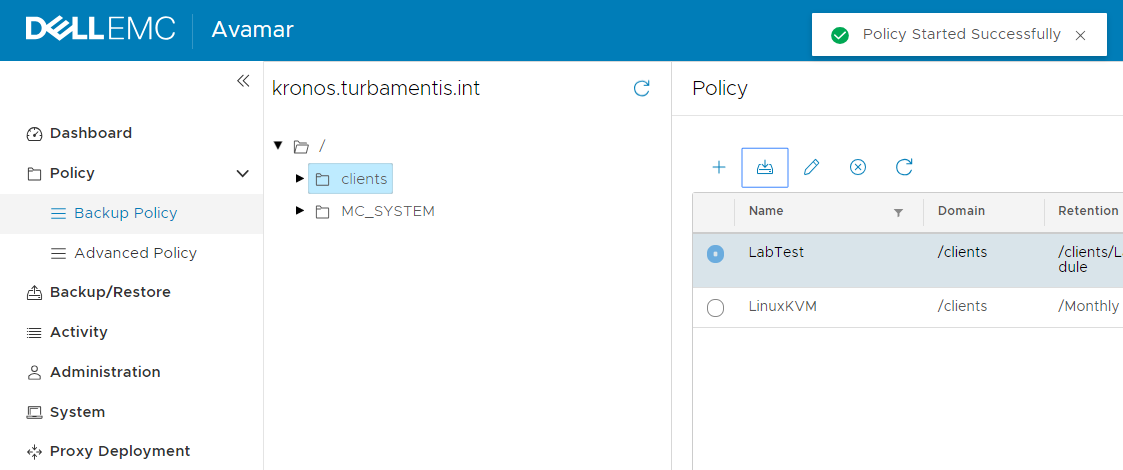
Clicking that triggered a notice that the policy had been started successfully:
Then to watch the policy run, all I had to do was to jump click the Activity viewer in the control panel:
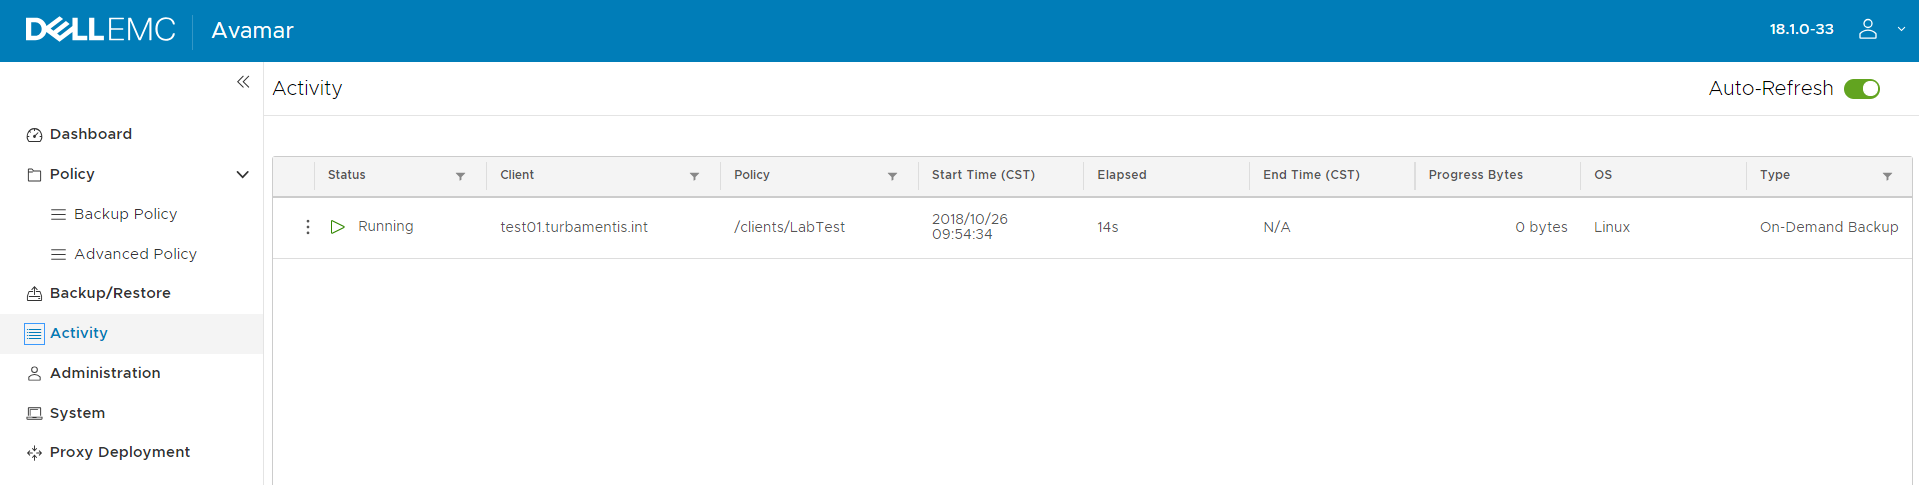
In the above screen shot, the policy had just started. The activity dashboard does auto refresh, so before too long you’ll start to see the progress update:
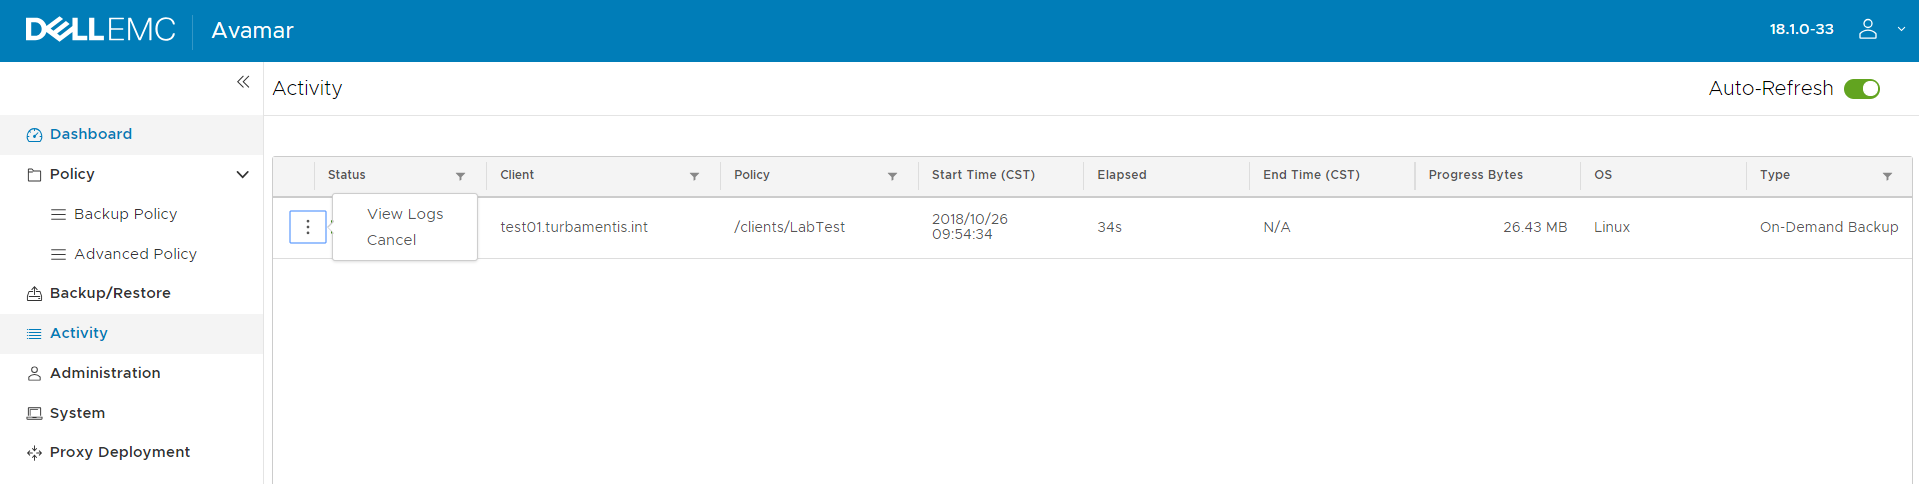
You’ll see there that you can also click the 3 dots icon associated with the activities of a client, from there you can either view the logs, or cancel the activity. In this case, I let the policy run to completion. As I mentioned, that was the first backup, and being in my lab, it took about an hour to run:
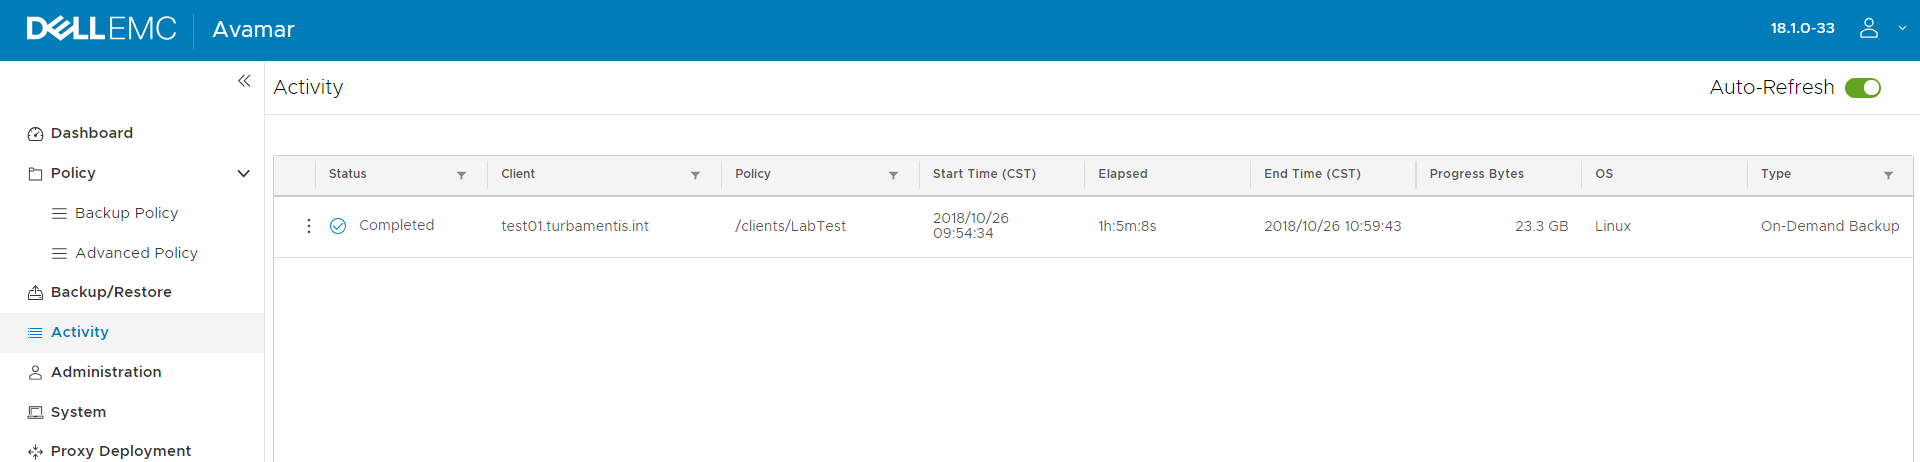
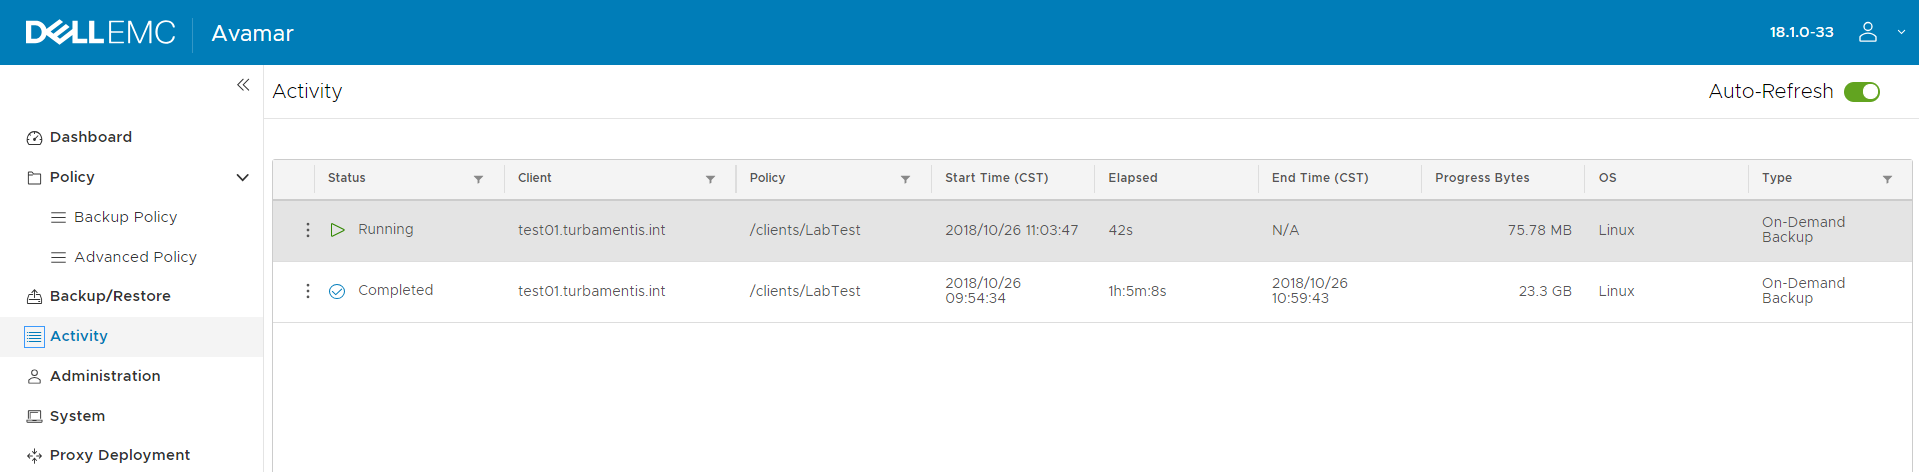
Once it had finished running, I jumped back onto the test server and generated another 80,000 or so files into the test filesystem so there’d be something to capture in the next backup (which of course, being Avamar, is a full backup each time, but only ever processing the incremental changes to the system). Here’s the activity viewer showing that one running:
Now here I realised I wanted to see the new bytes percentage between backups; there’s a little tri-panel icon down the bottom of the activity monitor view (not shown above) which allows you to select which columns you want displayed, so I clicked on that:
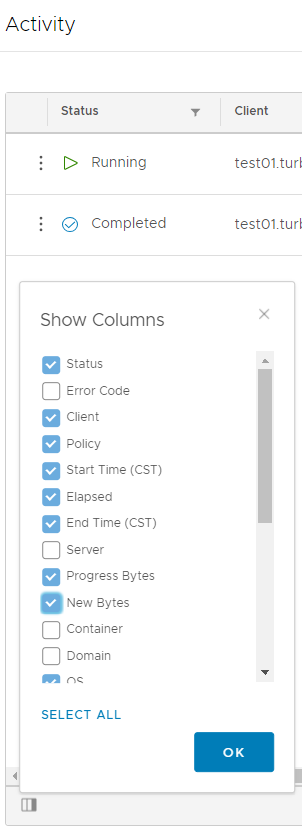
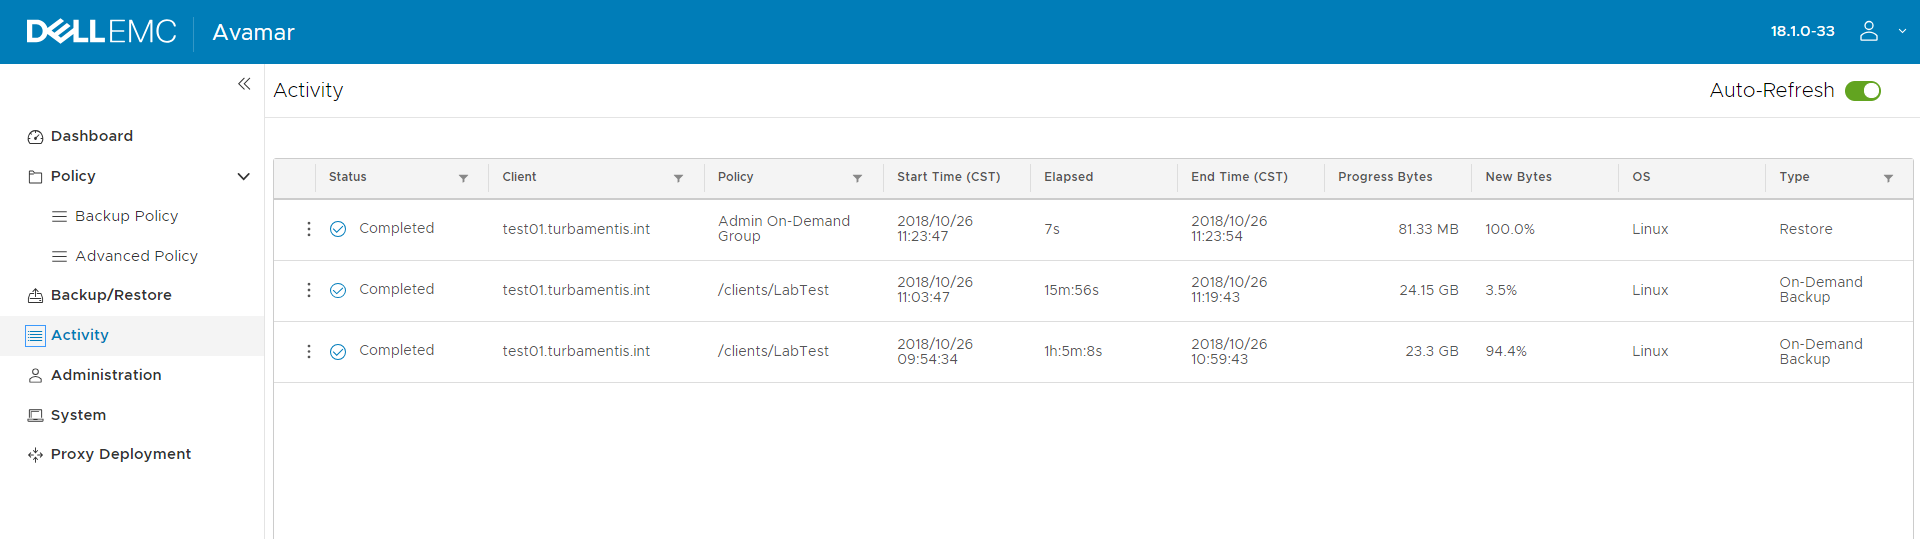
With that added, and the second full backup completed now in under 16 minutes, with 3.5% new data added to the system, the Activity viewer showed:

OK, so that’s a couple of backups done; time to move on to performing recoveries. To start a recovery, you go to the Backup/Restore option in the left hand control panel, click the Restore option in the main view and navigate to the client you need to run a recovery for:
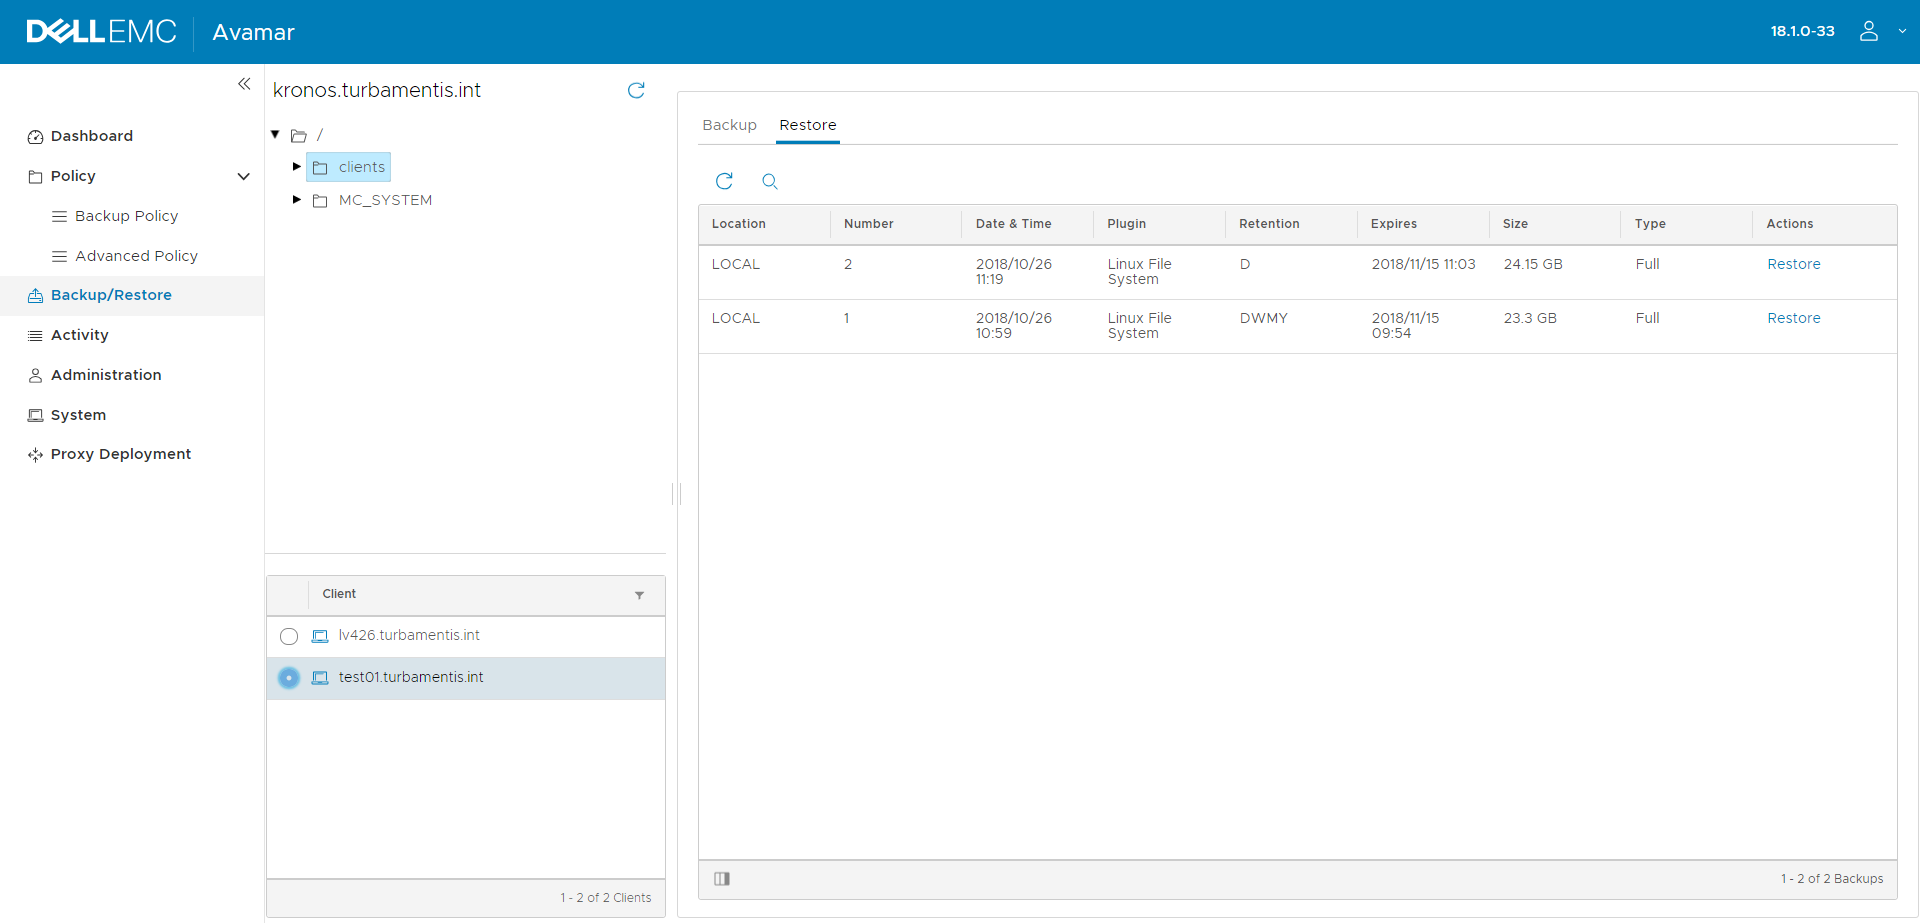
Once you’ve selected a client, you’ll see a list of the backups available. Now, if you come from a non-Avamar background, don’t forget that each Avamar backup is full, since it maintains a complete mapping of the relationship of backups to one another for maximised space efficiency. In short, you just click on the backup you want and Avamar presents you a filesystem view of that particular backup (NetWorker of course presents a similar view for its backups, but via a different indexing mechanism). Once you’ve picked the backup you want to recover from, click the Restore button to start the process of selecting the content you want to pull back:
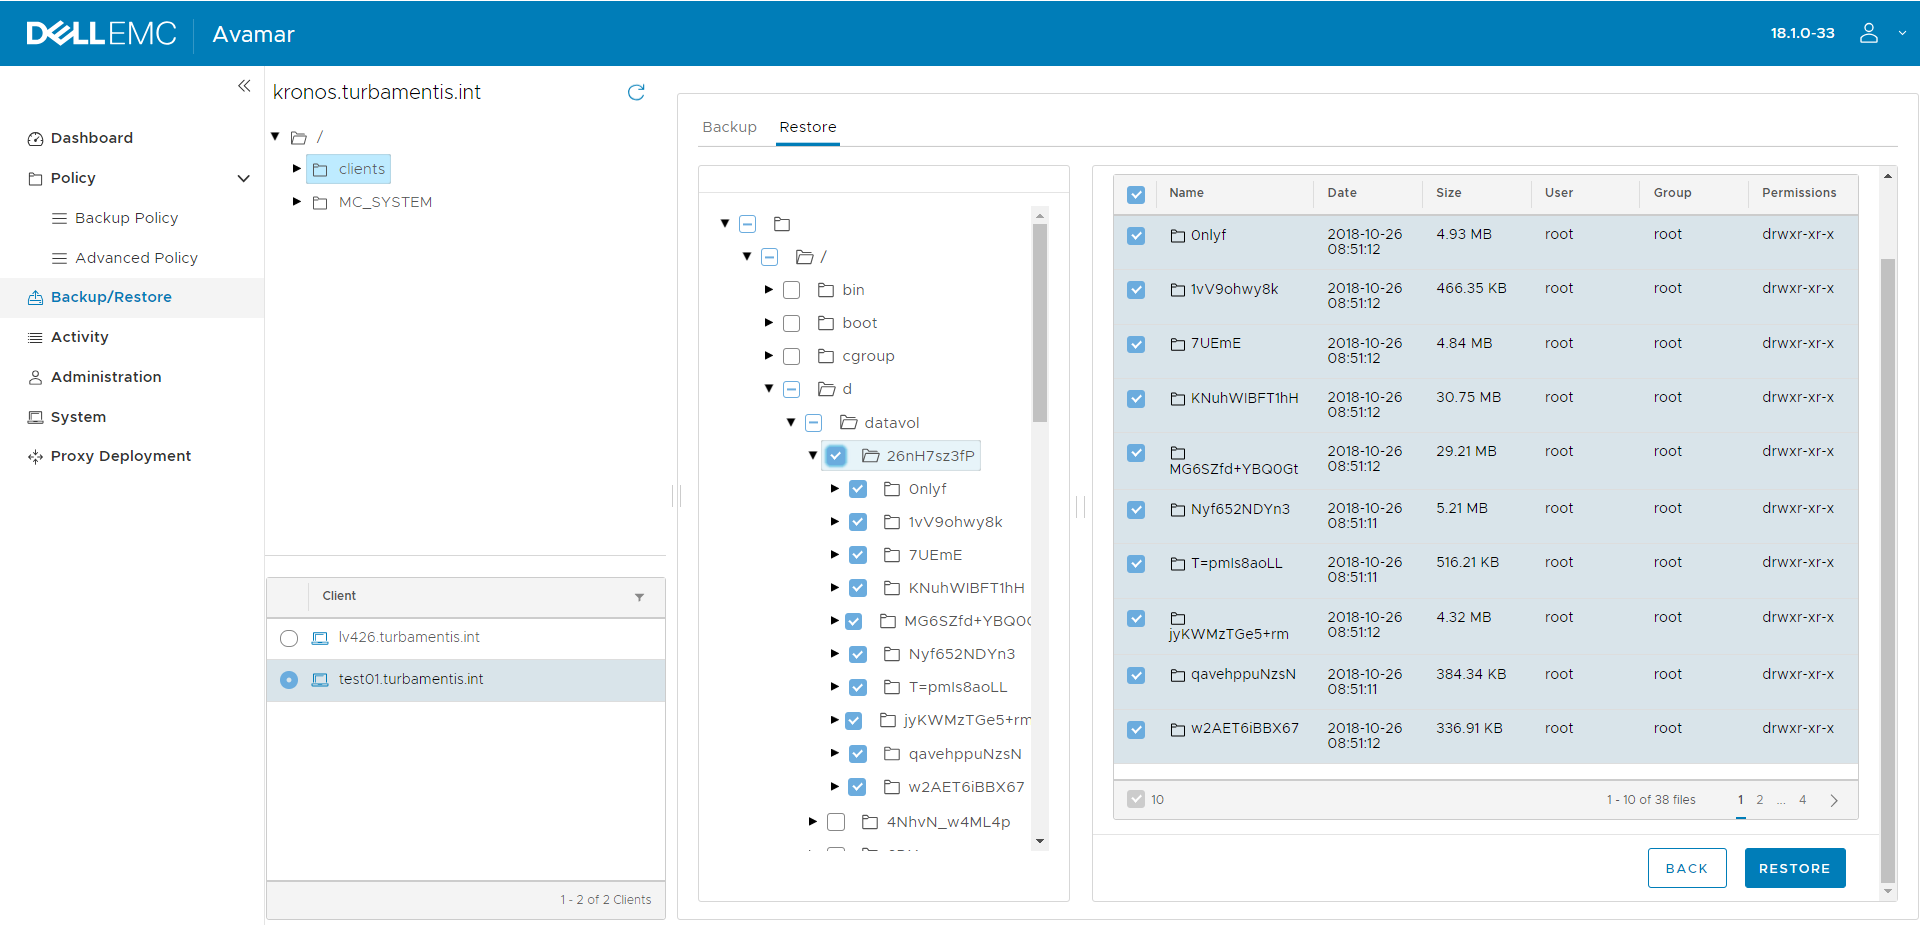
Don’t be concerned about the weird file and directory names there – it’s just the default randomised naming process my genfs utility does. I selected a top level directory of a mounted filesystem (/d/datavol) and once I was ready, it was time to click the Restore button to start the process of defining the recovery options:
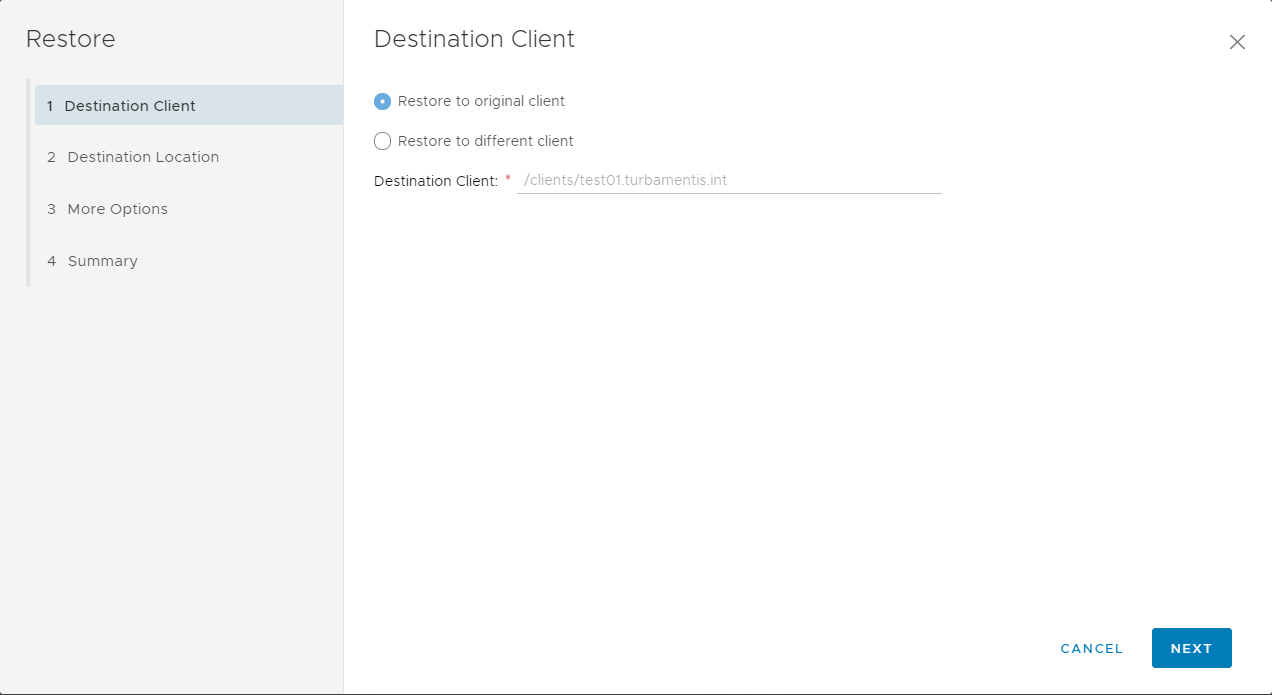
The first option is of course: what client do you want to recover to? In this case, I wanted to recover back to the original client, so could click Next straight away:
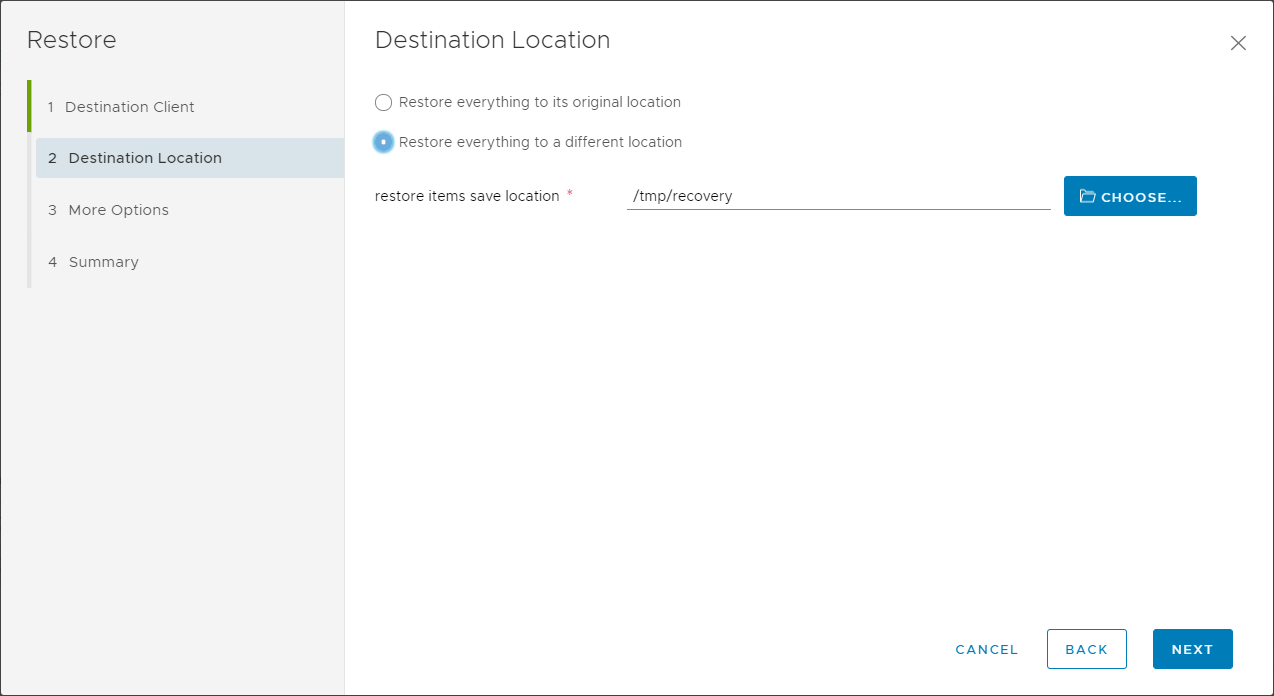
The next thing you need to do is choose where you want to recover to – either the original location, or to an alternate location. In this case, I chose to recover to an alternate location and entered a path of /tmp/recovery. After that, I could click Next to continue again. At this point, you’ve got a raft of fine-granularity controls over the recovery:
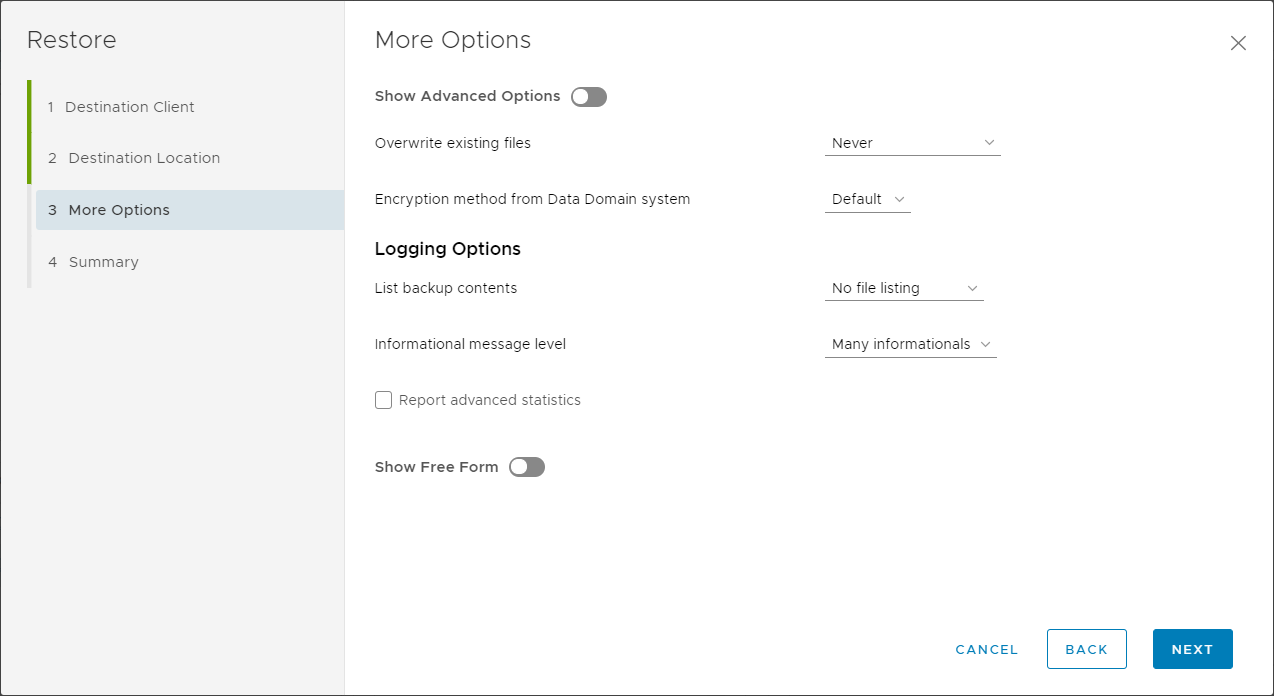
I didn’t need to use any of those recovery options, so I just clicked Next to continue to the summary of options:
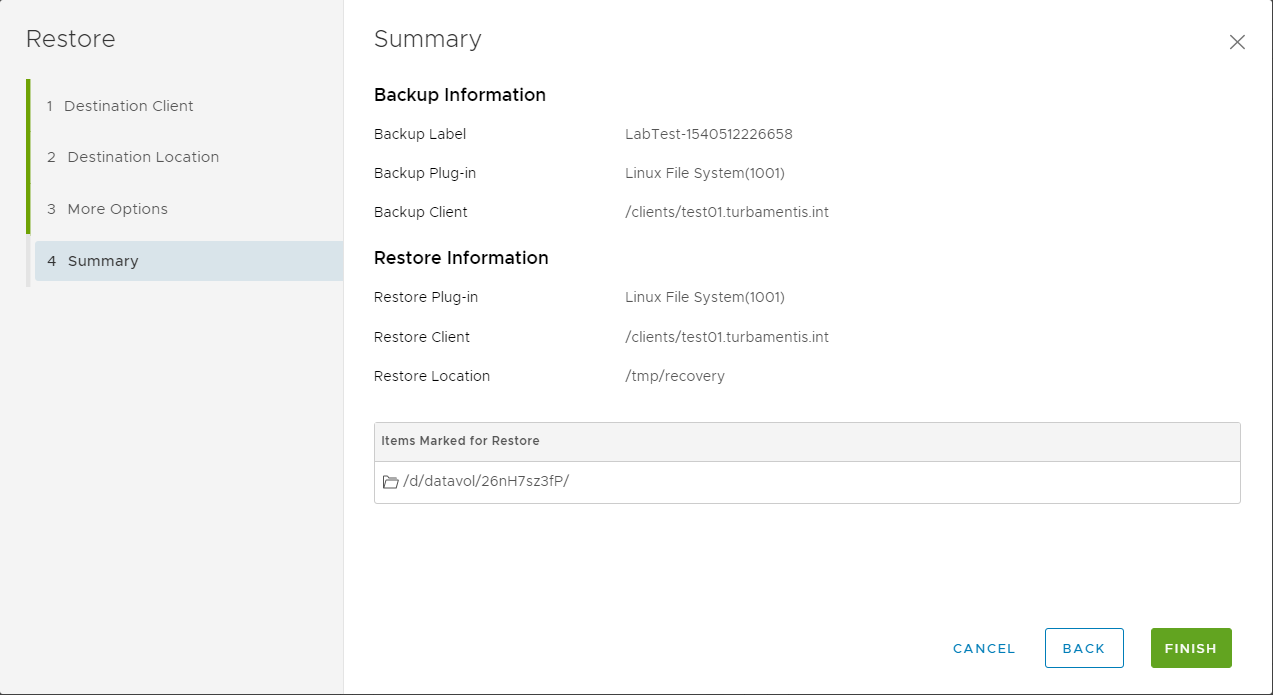
With my options confirmed, I clicked Finish to start the streaming of the recovery from the Data Domain back to the client. Of course, that triggers an alert that the recovery has been successfully initiated:
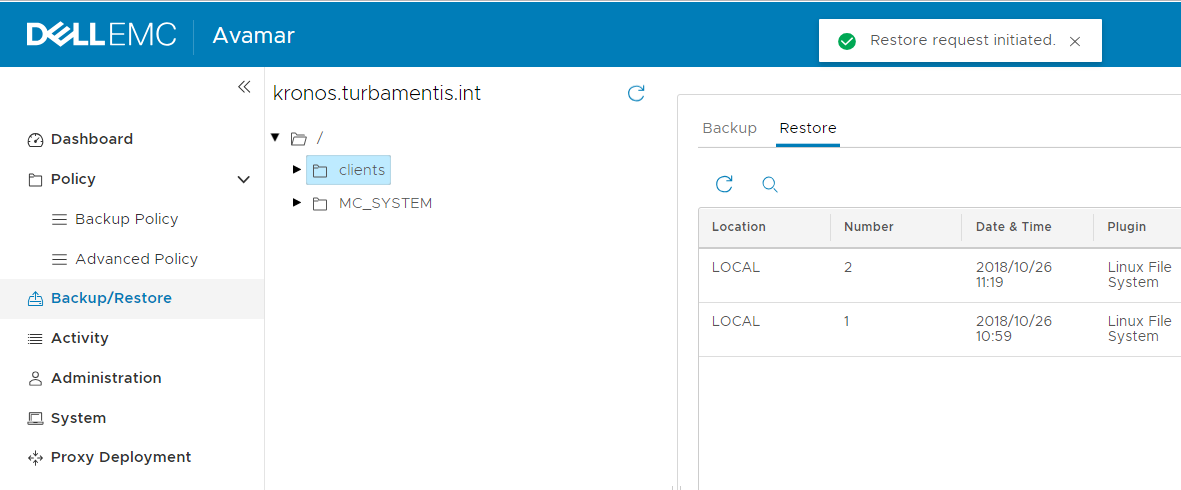
In the time it took me to switch across to the Activity monitor, the 5,700+ files were recovered:
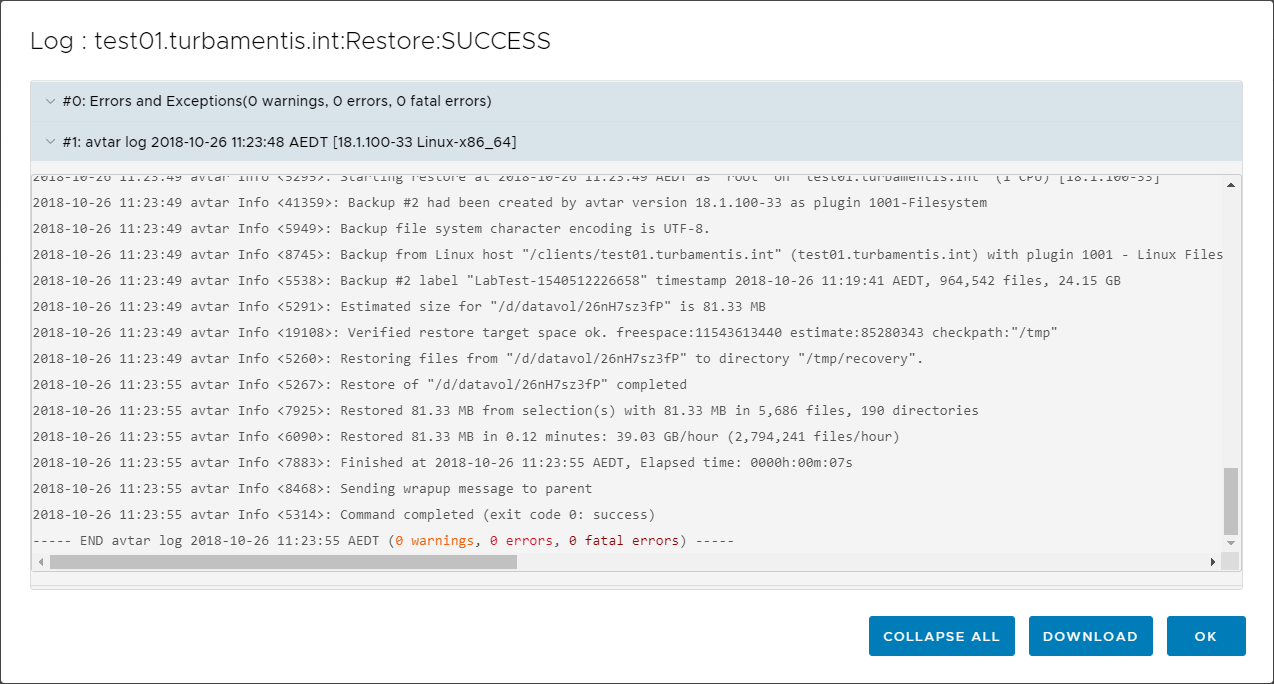
Don’t forget you can click the three buttons on the side of the recovery to get logs:
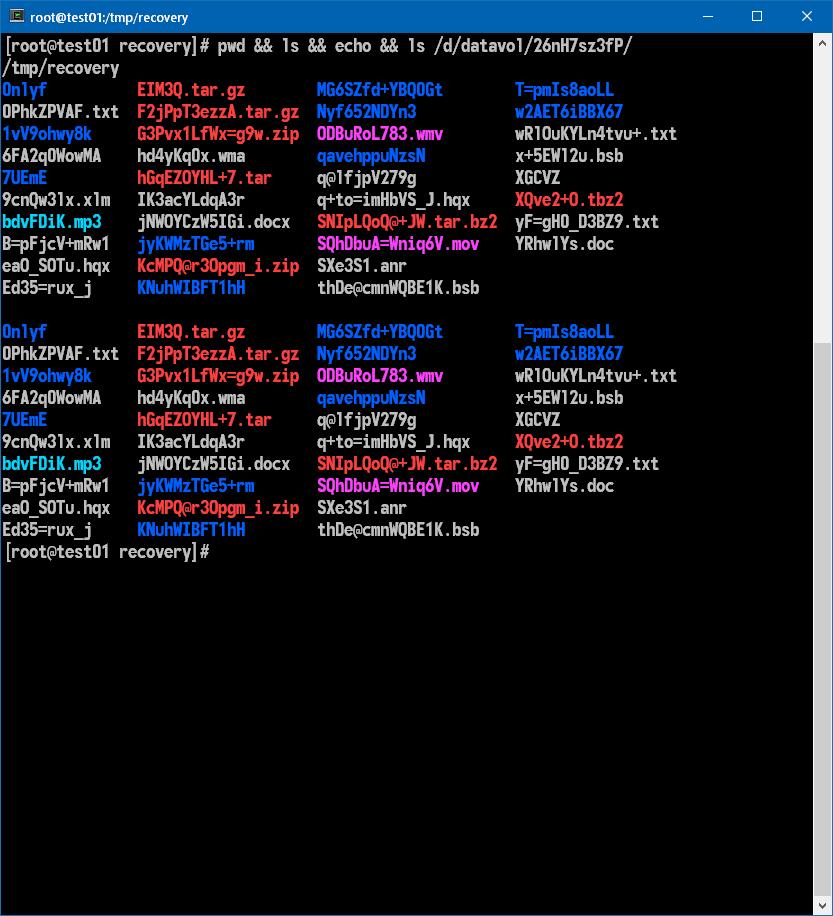
Of course, no recovery is complete without an obligatory screen shot showing the original directory and the recovered directory:
So there you have it – a brief run through the Avamar HTML5 interface. It’s modern, it’s crisp, and it’s easy to use.
Awesome writeup. Thanks!!!!